Preservation Technique: Lactfermenting Vegetables in Jars
Lacto-fermentation is an age-old method of preserving vegetables that not only extends their shelf life but also enhances their flavor and nutritional profile. This technique relies on the natural bacteria present on the vegetables themselves, particularly lactic acid bacteria, to create an environment that is inhospitable to spoilage organisms. As these bacteria consume the sugars in the vegetables, they produce lactic acid, which acts as a natural preservative. The process is simple yet requires attention to detail to ensure safety and success. Whether you're fermenting crunchy cucumbers into pickles or transforming cabbage into tangy sauerkraut, lacto-fermentation is a rewarding technique that brings the art of preservation into your kitchen. This guide will walk you through the steps to create your own lacto-fermented vegetables in jars, offering a deeper dive into the science behind the process, common pitfalls to avoid, and tips to ensure your ferments are safe and delicious.
Notes
The science behind lacto-fermentation is fascinating: lactic acid bacteria thrive in a low-oxygen, salty environment, which inhibits harmful bacteria and molds. Ensuring vegetables are fully submerged is crucial, as any exposure to air can lead to spoilage. Common mistakes include using iodized salt, which can hinder fermentation, or packing vegetables too loosely, allowing air pockets to form. Safety is paramount; always use clean equipment and discard any ferments that show signs of mold or off odors. For make-ahead and storage, lacto-fermented vegetables can be kept in the refrigerator for several months, though their flavor and texture are best enjoyed within a few weeks of reaching your desired level of fermentation.
Steps
- 1 Select fresh, firm vegetables and wash them thoroughly.
- 2 Slice, shred, or chop vegetables into uniform sizes to ensure even fermentation.
- 3 Prepare a brine of 1-3 tablespoons of non-iodized salt per quart of filtered water.
- 4 Massage the salt into the vegetables to draw out moisture if needed.
- 5 Pack the vegetables tightly into clean, sterilized jars.
- 6 Pour the brine over the vegetables, ensuring they are fully submerged.
- 7 Use a weight to keep vegetables below the brine level.
- 8 Cover jars loosely with lids to allow gases to escape.
- 9 Store jars at room temperature, out of direct sunlight, for 1-4 weeks.
- 10 Check jars daily to release any built-up gases and ensure vegetables remain submerged.
- 11 After desired fermentation time, store jars in the refrigerator to slow down the process.
- 12 Taste test periodically to determine when the vegetables have reached your preferred flavor.
- 13 Once satisfied, seal the jars tightly and enjoy your fermented vegetables within several months.
Ingredients to explore
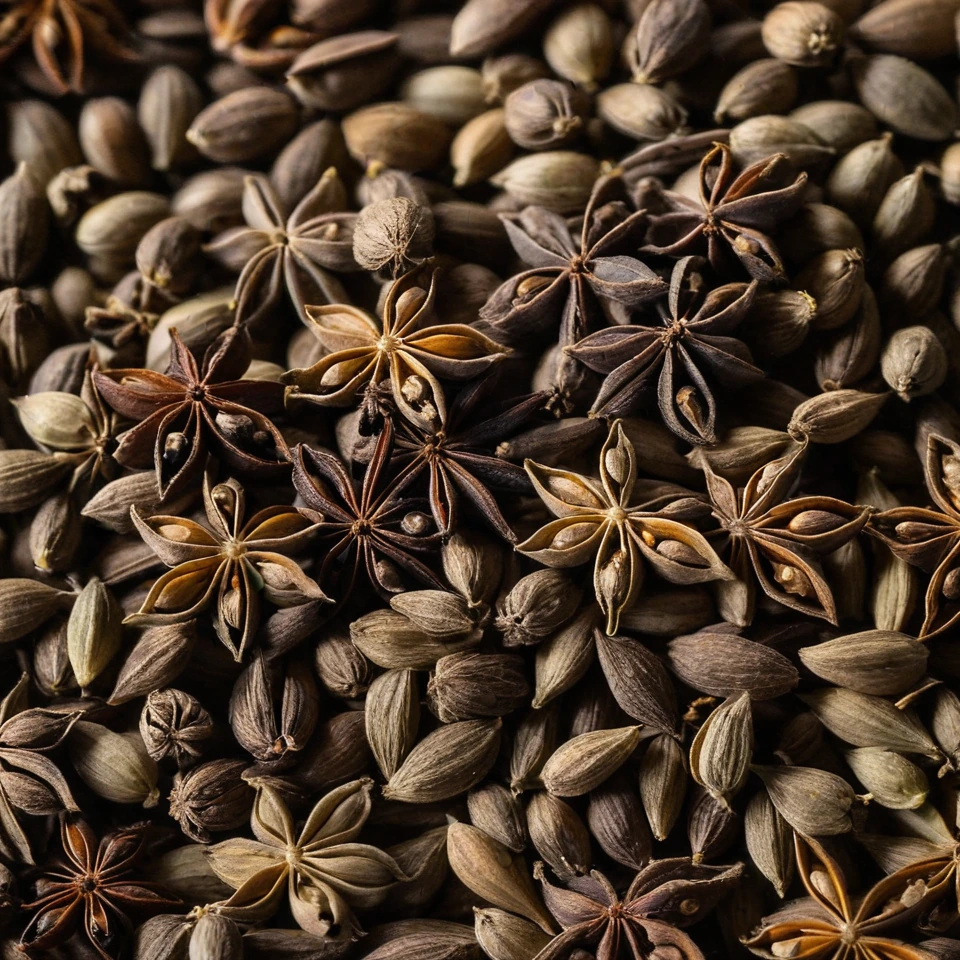
Anise Seeds
Anise seeds are small, oval seeds with a sweet, licorice-like flavor. They are commonly used in both sweet and savory dishes, offering a warm, aromatic taste.
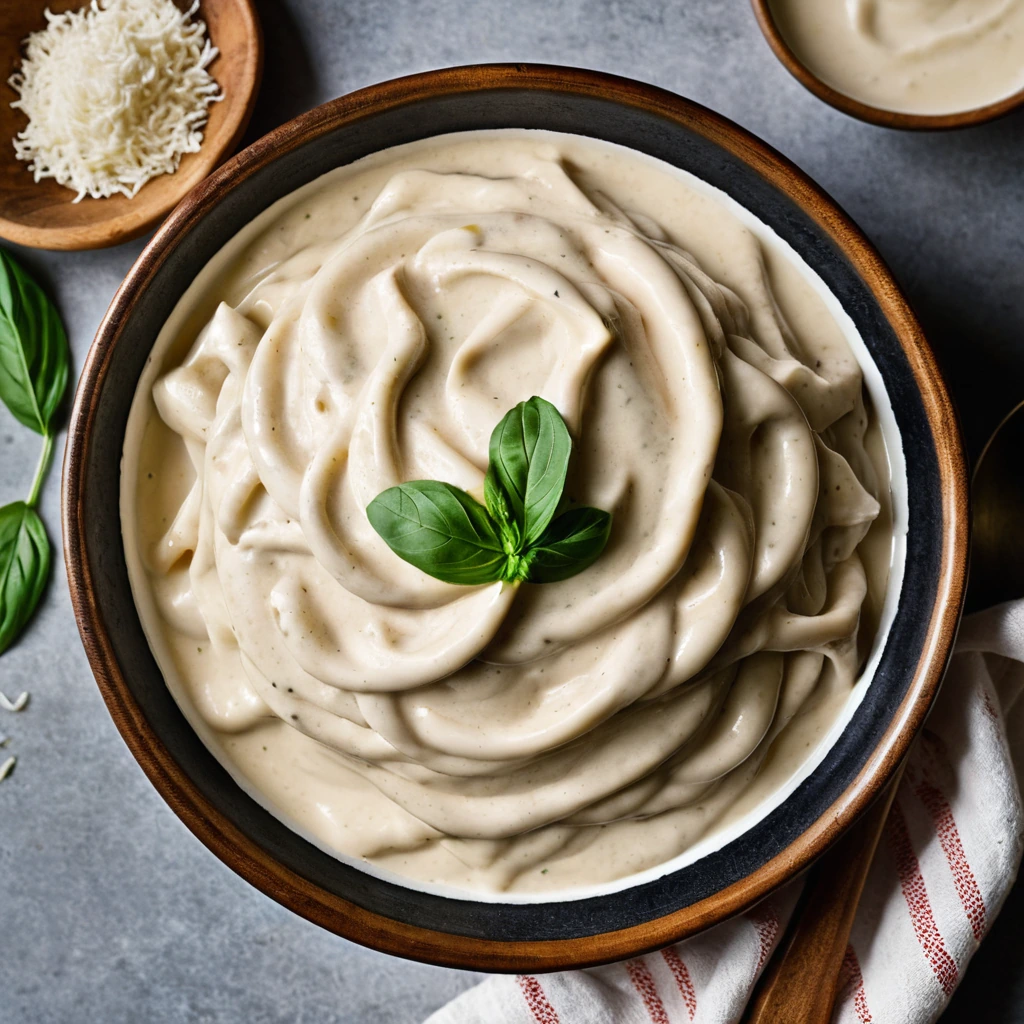
Alfredo Sauce
Creamy, rich, and utterly indulgent, Alfredo sauce is a dreamy blend of butter, heavy cream, and Parmesan cheese. Its velvety texture and savory depth make it a beloved staple in Italian-American cuisine.
Recipes to try

Mushroom and Lentil Bolognese over Spaghetti
A hearty, savory Bolognese packed with earthy mushrooms and protein-rich lentils, served over perfectly al dente spaghetti.

Mediterranean Chickpea Bowls with Lemon Tahini
A vibrant medley of textures and flavors, these bowls are packed with lemony tahini drizzle and fresh Mediterranean herbs.