Meat & Poultry: Using Resting Racks to Preserve Crusts
When you've spent time searing, roasting, or grilling meat and poultry to achieve that perfect crust, the last thing you want is for it to lose its texture and flavor while resting. Enter the resting rack, your unsung hero in the kitchen. This technique ensures that your hard work doesn't go to waste. A resting rack allows air to circulate around your masterpiece, keeping the crust crisp and flavorful while the juices redistribute within the meat. In this guide, we'll delve into why resting racks are essential, how to choose the right one, and how to use it properly. We'll explore the science behind why resting meat is crucial, how the rack helps preserve the crust, and common pitfalls to avoid. Whether you're a weekend warrior at the grill or a weeknight cook roasting chicken, mastering this technique will elevate your meals to new heights.
Notes
Resting meat allows the juices to redistribute, resulting in a moister and more flavorful cut. The resting rack is key because it lets air circulate, preventing the crust from becoming soggy due to trapped steam. Common mistakes include covering the meat too tightly with foil, which can steam the crust, or resting it directly on a plate, which hinders air flow. For safety, ensure your resting rack and baking sheet are clean to avoid cross-contamination. You can prepare your resting rack setup ahead of time for efficiency. Store leftovers promptly after serving, keeping the crust in mind; reheat gently to maintain its texture.
Steps
- 1 Preheat your oven or prepare your grill to cook your meat or poultry.
- 2 Season your meat or poultry liberally with your choice of seasonings.
- 3 Sear or cook your meat until it reaches your desired doneness, ensuring a flavorful crust forms.
- 4 Remove your meat or poultry from the heat source.
- 5 Transfer the cooked meat or poultry to a resting rack immediately after cooking.
- 6 Place the resting rack on a clean baking sheet to catch any drippings.
- 7 Tent the meat or poultry loosely with foil to keep it warm, but not too tight to trap steam.
- 8 Allow the meat or poultry to rest for 10-20 minutes, depending on its size and thickness.
- 9 Check the crust periodically to ensure it remains crisp and doesn’t become soggy.
- 10 Once rested, carve or serve your meat or poultry while the crust is still intact and flavorful.
Ingredients to explore
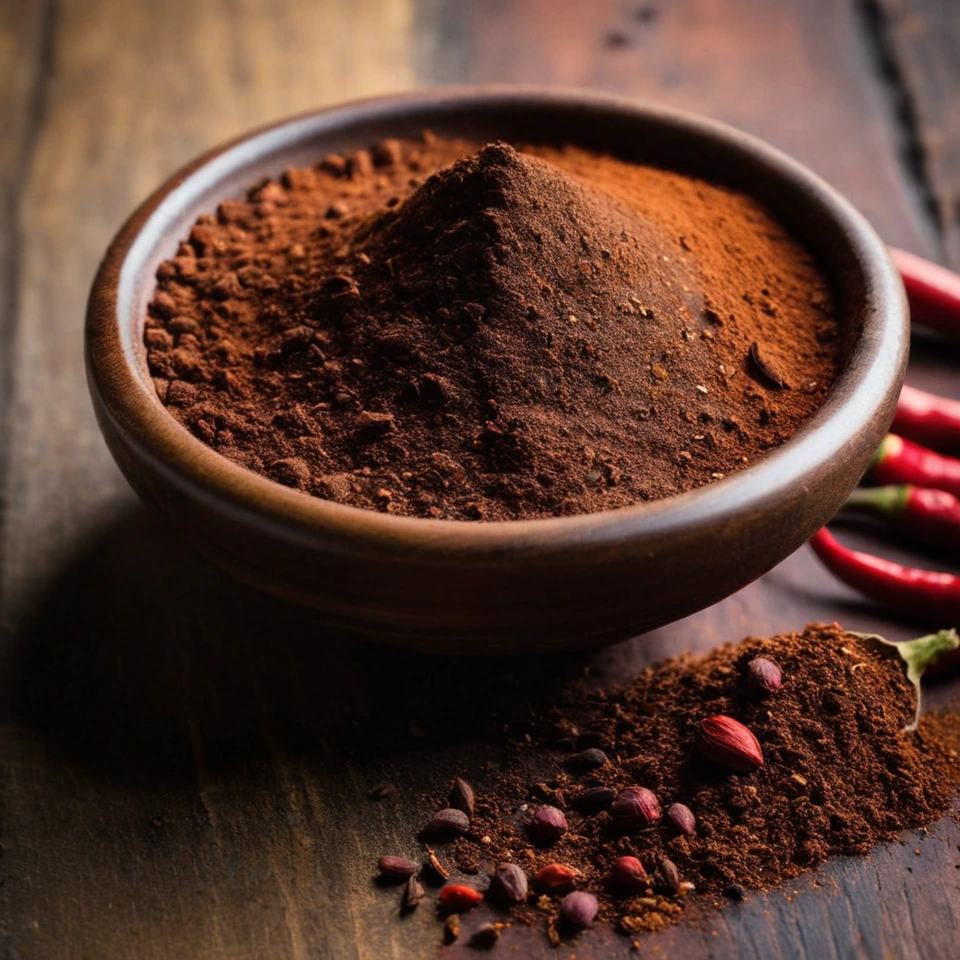
Ancho Chili Powder
Ancho chili powder offers a deep, smoky sweetness with hints of dried fruit and cocoa, reminiscent of its origin as dried poblano peppers from Mexico. Its aroma is warm and inviting, with a mild heat that lingers gently. The texture is fine and velvety, making it easy to incorporate into a variety of dishes. This powder is prized for its ability to add complexity without overwhelming spice, ideal for enriching both traditional Mexican moles and contemporary global cuisines.
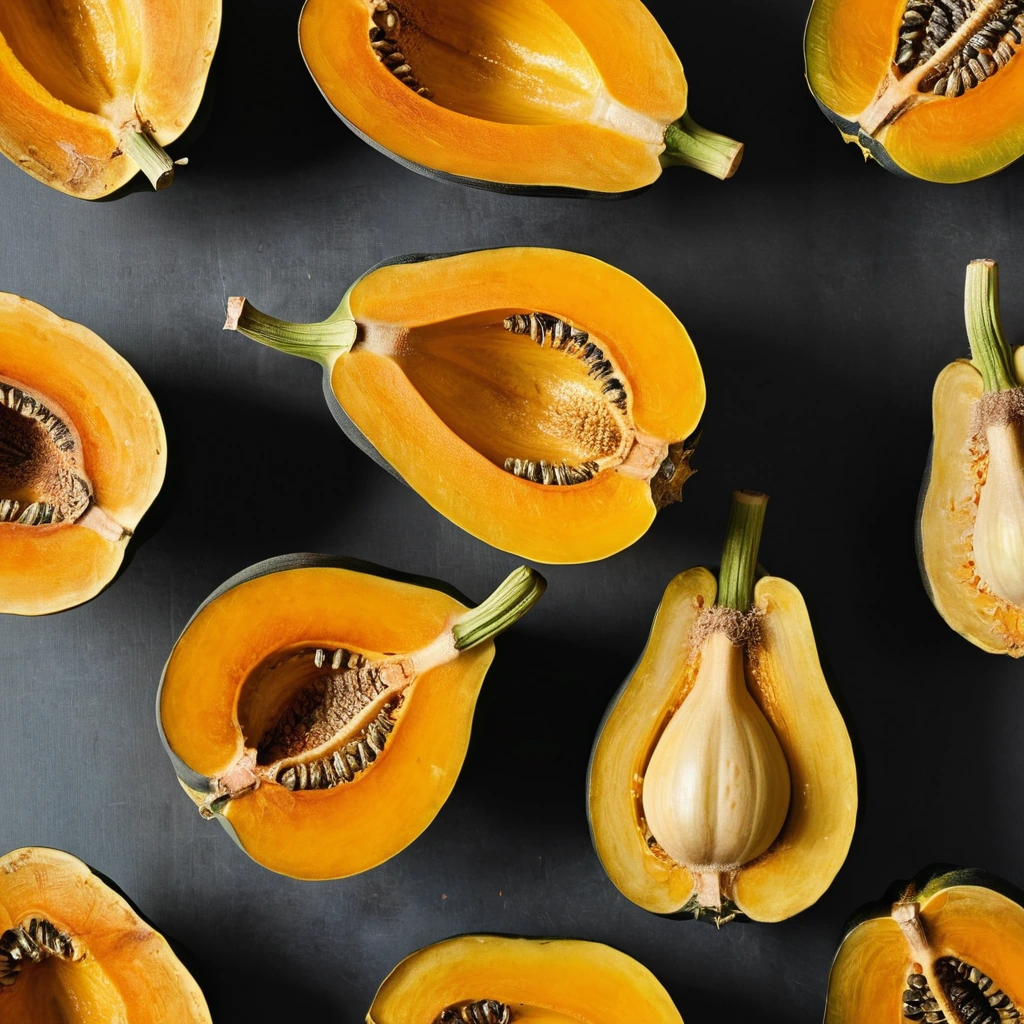
Acorn Squash
Acorn squash is a winter squash variety known for its distinctive teardrop shape and deep ridges resembling the texture of an acorn shell. Originating in the Americas, it has been cultivated for centuries and is a staple in autumn cuisine. The flesh is sweet and nutty with a hint of earthiness, offering a delightful contrast to savory dishes. Its texture is dense yet tender when cooked, making it ideal for roasting or pureeing. In cooking, acorn squash holds its shape well and absorbs flavors from herbs and spices, enhancing both its taste and versatility in recipes.
Recipes to try
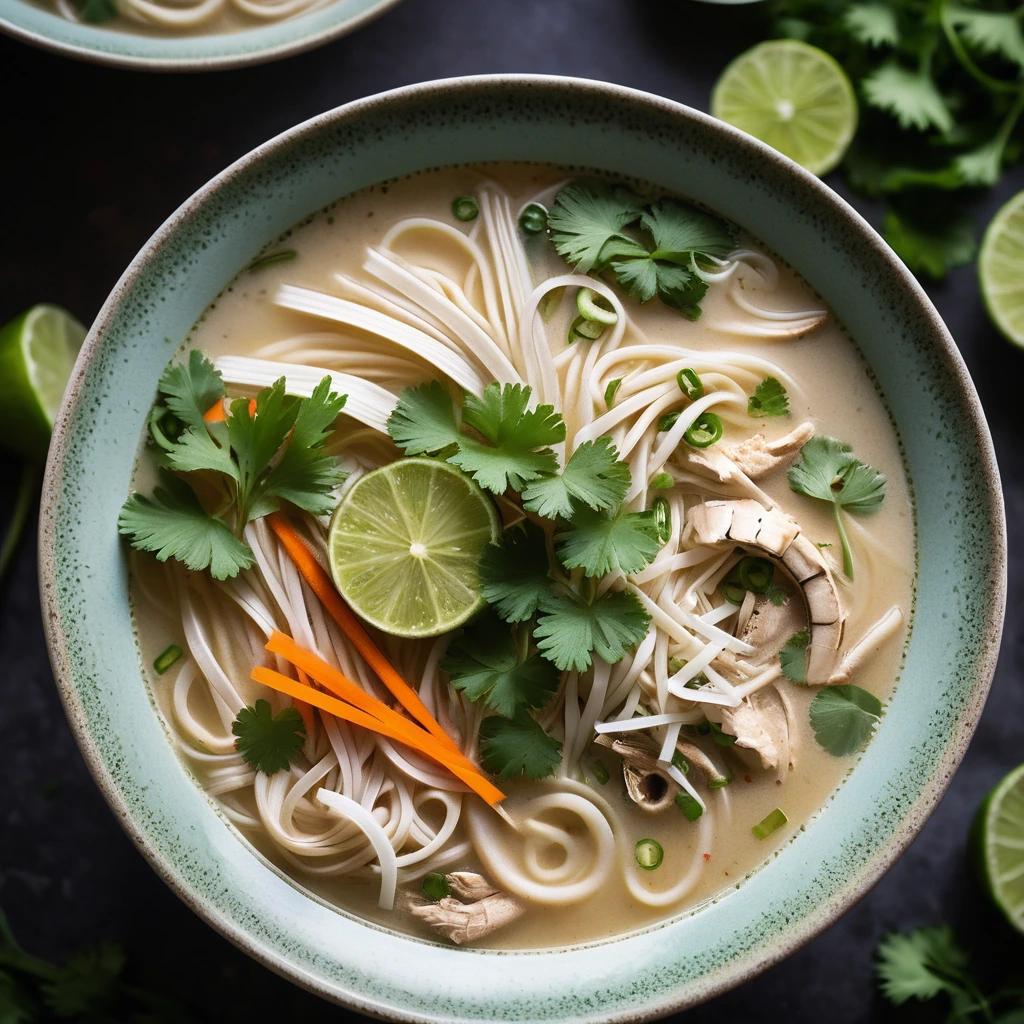
Thai Chicken Coconut Noodle Soup
Warm and fragrant, this soup is a symphony of coconut milk, zesty lime, and tender chicken with a hint of spice.
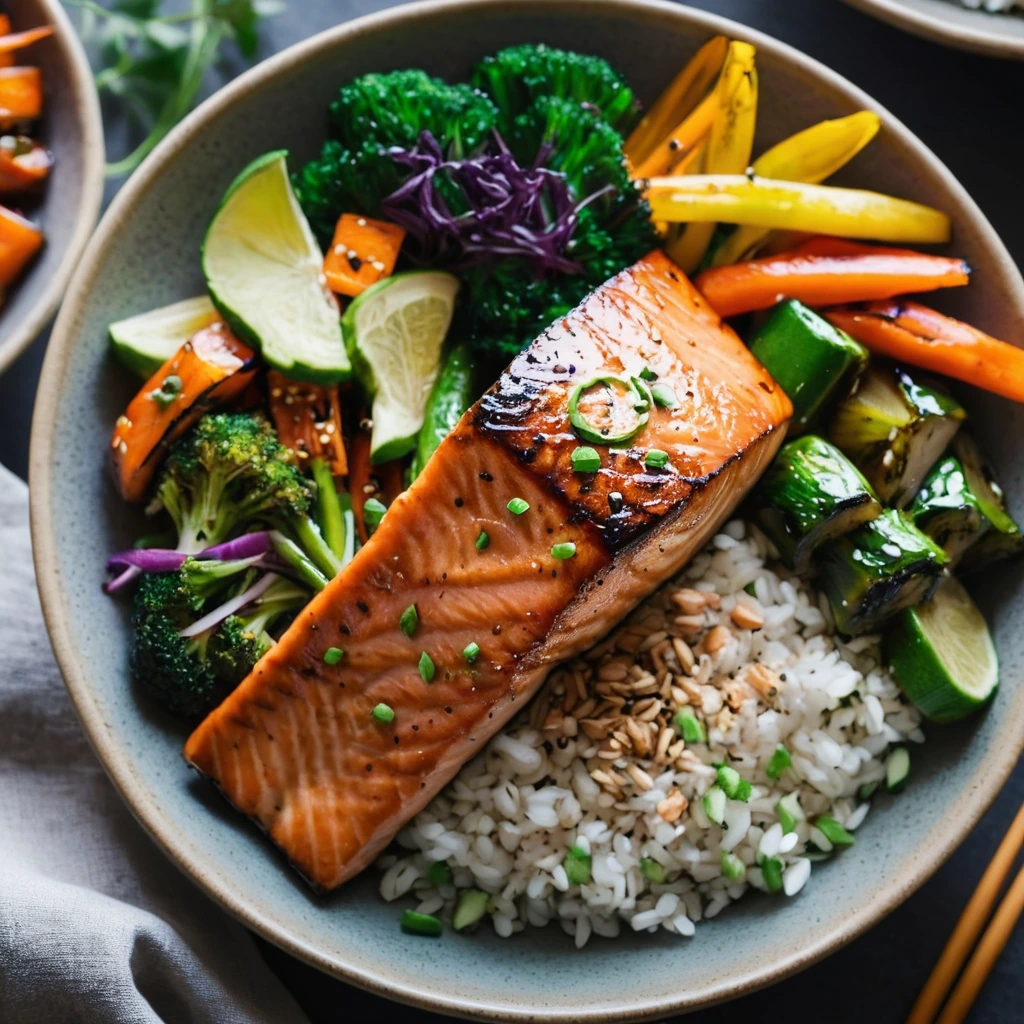
Teriyaki Glazed Salmon and Veggie Bowls
Sweet and savory teriyaki glaze coats succulent salmon fillets atop a vibrant medley of colorful veggies, creating a symphony of flavors in every bite.