Meat & Poultry: Glazing Wings in Stages for Sticky Skin
Glazing wings in stages is a technique that transforms ordinary chicken wings into irresistibly sticky, flavorful bites. This method involves applying a glaze incrementally while the wings cook, ensuring that the sugar in the glaze caramelizes properly without burning. The key is patience and timing, as each application of the glaze builds layers of flavor and texture. Start by preparing a robust glaze, often made from a balance of sweet and savory ingredients like honey, soy sauce, garlic, and a touch of heat. As the wings cook, they develop a golden crust that's perfect for the glaze to adhere to. The initial stages of glazing are about building that base layer, allowing each coat to set before adding the next. This prevents the glaze from becoming too runny and sliding off the wings. The wings are typically baked or grilled, with the glaze applied every 10-15 minutes. The heat activates the sugars, creating a beautiful caramelization that results in a deep, rich color and a sticky, glossy finish. Understanding the science behind sugar caramelization and the Maillard reaction is crucial for perfecting this technique. Troubleshooting common mistakes like burning the glaze or ending up with overly crisp skin can be managed with careful monitoring and adjusting oven temperatures. Finally, storing glazed wings requires attention to maintain their texture and flavor, often best enjoyed fresh but can be stored in an airtight container for up to 3 days.
Notes
The science behind glazing lies in the caramelization of sugars and the Maillard reaction, which occurs when proteins react with sugars under heat. This creates complex flavors and the coveted golden-brown color. A common mistake is applying too much glaze too quickly, which can lead to burning. To avoid this, ensure your oven temperature is correct and apply the glaze in thin layers. Safety is important when working with hot ovens and sugars; use oven mitts and be cautious of splatters. Glazed wings are best enjoyed fresh, but if storing, keep them in an airtight container in the refrigerator for up to 3 days. Reheat in a low oven to maintain texture.
Steps
- 1 Preheat oven to 400°F.
- 2 Pat wings dry with paper towels and season with salt and pepper.
- 3 Arrange wings on a wire rack set over a baking sheet.
- 4 Bake wings for 20 minutes.
- 5 Prepare glaze by combining honey, soy sauce, minced garlic, and chili flakes.
- 6 Brush a thin layer of glaze over the wings after the initial 20 minutes.
- 7 Continue baking, brushing wings with glaze every 10-15 minutes.
- 8 After 40 minutes total bake time, increase oven temperature to 425°F.
- 9 Apply a final generous coat of glaze and bake for another 5-10 minutes until glaze is bubbly and skin is sticky.
- 10 Check wings for desired color and crispness, adjusting time as needed.
- 11 Remove wings from oven and let rest for 5 minutes before serving.
- 12 Ensure glaze is sticky and wings are golden-brown.
- 13 Serve immediately for best texture.
Ingredients to explore

2% Milk
Creamy and just a touch lighter than whole milk, 2% milk offers a perfect balance of richness and reduced fat. Its smooth texture and subtle sweetness make it a delightful choice for sipping or cooking.
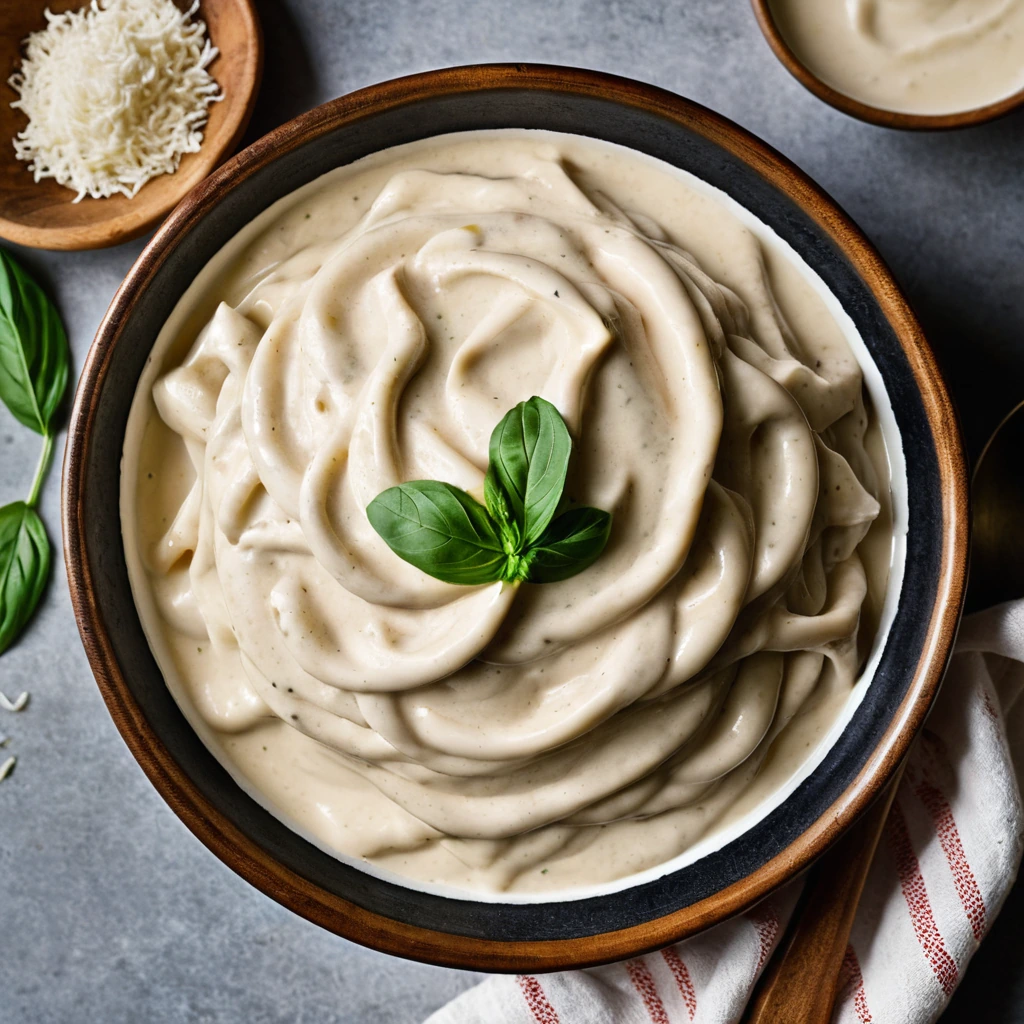
Alfredo Sauce
Creamy, rich, and utterly indulgent, Alfredo sauce is a dreamy blend of butter, heavy cream, and Parmesan cheese. Its velvety texture and savory depth make it a beloved staple in Italian-American cuisine.
Recipes to try
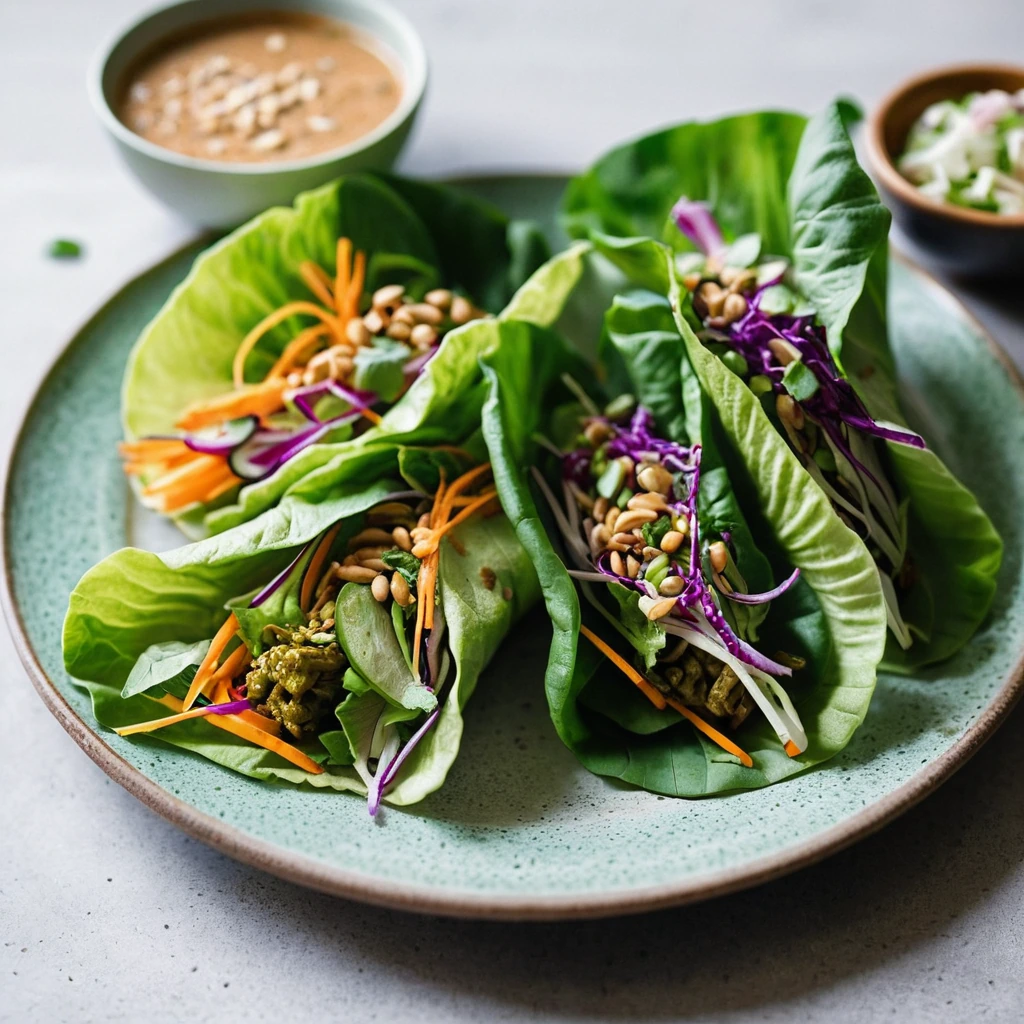
Thai Peanut Veggie Lettuce Wraps
Crispy, fresh veggies hugged by buttery lettuce leaves, drizzled with a creamy, tangy peanut sauce that'll make your taste buds do the tango.

Savory Breakfast Bowls with Quinoa and Eggs
A hearty bowl brimming with fluffy quinoa, perfectly poached eggs, and a sprinkle of fresh herbs for a zesty morning start.