Legume Technique: Cooling Cooked Beans in Their Own Liquid
Cooling cooked beans in their own liquid is a simple yet crucial technique for preserving texture and flavor. This method ensures that your beans remain tender, flavorful, and ready to use in future dishes. When beans are left to cool in their cooking liquid, they absorb the flavors they've released during cooking, creating a self-contained, tasty package. Additionally, the liquid helps maintain moisture, preventing the beans from drying out. This technique is particularly useful for home cooks who want to save time by preparing beans in bulk. Understanding the science behind this process helps you harness its benefits fully. The gradual cooling process allows the beans to reabsorb some of the cooking liquid, which contains starches and proteins that contribute to their creamy texture. This method is also environmentally friendly, as it reduces waste by utilizing the nutrient-rich cooking liquid rather than discarding it. Furthermore, cooling beans in their liquid mitigates the risk of bacterial growth, as the liquid acts as a barrier against contamination. However, it’s important to cool the beans quickly initially to prevent them from lingering in the temperature danger zone where bacteria thrive. Proper storage techniques are crucial to ensure the beans remain safe and delicious for future use. Whether you're planning to use them in soups, salads, or as a protein-packed side, mastering this technique will elevate your legume game.
Notes
This technique works because the cooking liquid is rich in starch and proteins, which are reabsorbed by the beans during cooling, enhancing their texture and flavor. The initial rapid cooling is critical to prevent bacterial growth, which thrives between 40°F and 140°F. A common mistake is leaving the beans to cool at room temperature for too long, increasing the risk of spoilage. Always use an ice bath to expedite cooling. Another pitfall is not covering the beans with enough liquid, leading to dried-out beans. For safety, never leave beans cooling in their liquid at room temperature for more than 2 hours. Make-ahead and storage tips include dividing beans into smaller containers for quicker cooling and reheating. This method allows flexibility in meal planning, offering convenience without sacrificing quality.
Steps
- 1 Cook beans until tender in a flavorful liquid, such as water with aromatics.
- 2 Remove the pot from the heat source immediately after cooking.
- 3 Cover the pot with a lid to retain heat and moisture.
- 4 Let the beans sit undisturbed for 10 minutes to stabilize.
- 5 Transfer the beans and their liquid to a shallow container to facilitate quicker cooling.
- 6 Cool the beans rapidly by placing the container in an ice bath for 30 minutes.
- 7 Stir the beans gently every 10 minutes to ensure even cooling.
- 8 Once cooled to room temperature, refrigerate the beans in their liquid.
- 9 Ensure the beans are covered by at least an inch of liquid for optimal moisture retention.
- 10 Store the container in the refrigerator for up to 5 days.
- 11 For longer storage, transfer the beans and liquid to airtight containers or freezer bags.
- 12 Freeze for up to 3 months for best quality.
- 13 Label containers with the date for easy tracking.
- 14 When reheating, use the cooking liquid to maintain flavor and texture.
Ingredients to explore
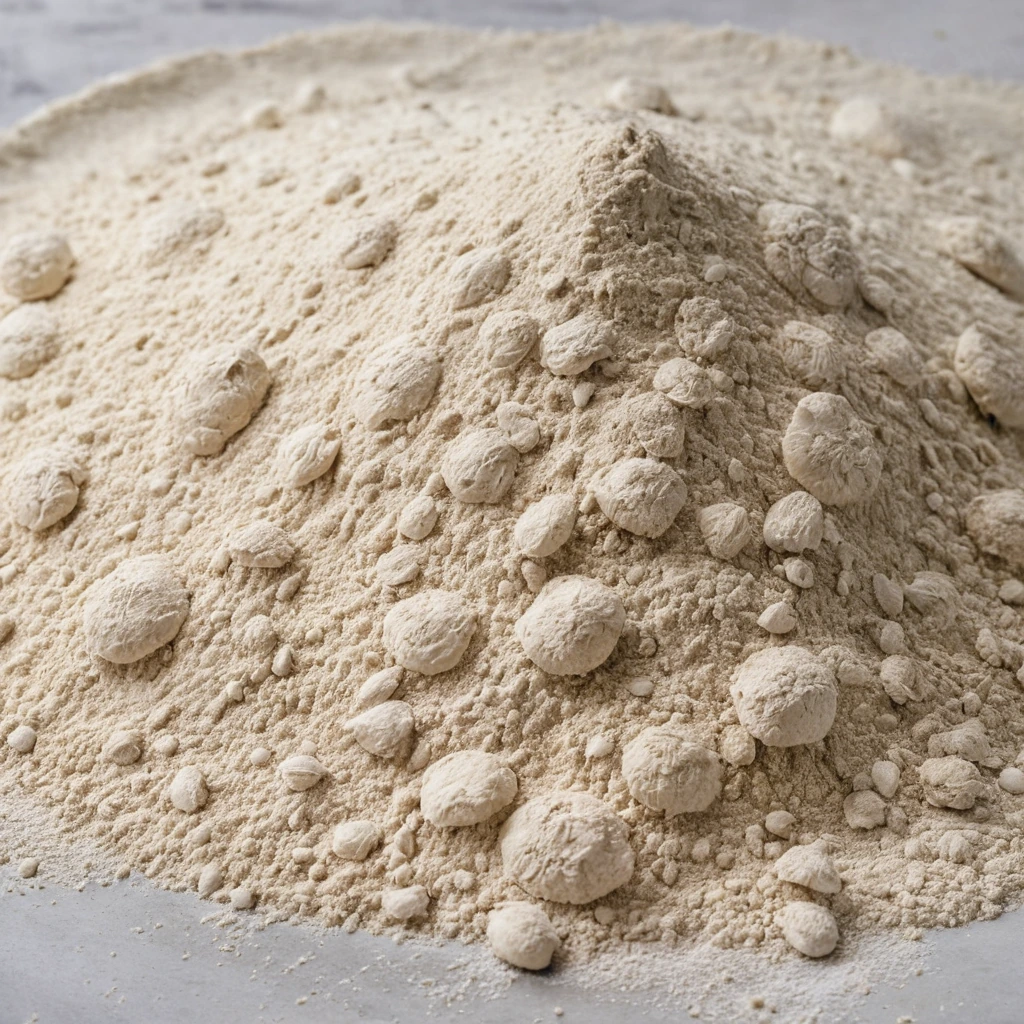
00 Pizza Flour
00 pizza flour is a finely milled Italian flour prized for its versatility in creating authentic Neapolitan-style pizza crusts. Originating from Italy, it is milled to a very fine consistency, which is reflected in its name, 'doppio zero,' indicating its fine grind. This flour has a balanced flavor profile, offering a mild, slightly sweet taste with a subtle nuttiness. Its texture is silky and smooth, contributing to a tender yet chewy crust when used in pizza making. In cooking, 00 pizza flour is known for its ability to hydrate quickly and develop a desirable gluten structure, resulting in a light and airy crust that can withstand high-heat cooking without becoming overly crispy or hard.
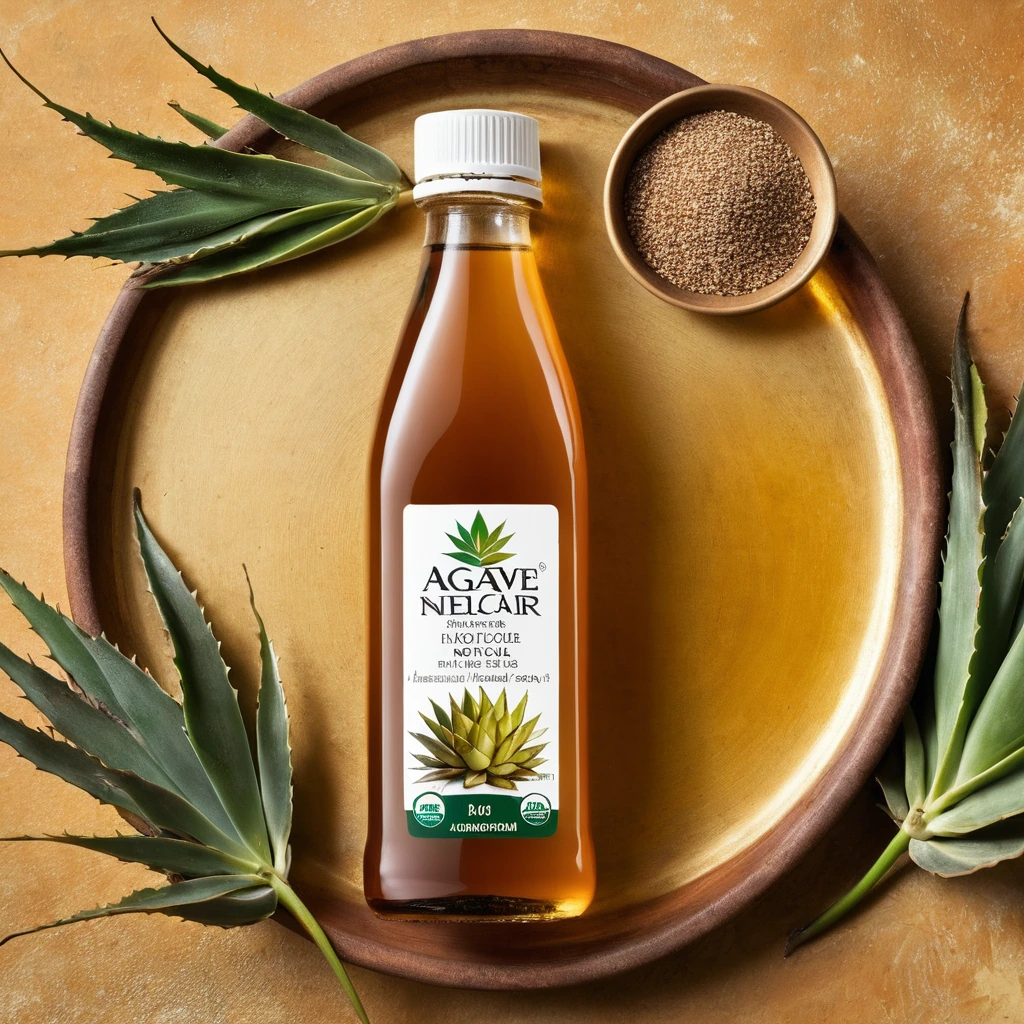
Agave Nectar
A golden, velvety sweetener derived from the agave plant, offering a subtly sweet flavor with a smooth, syrup-like texture.
Recipes to try
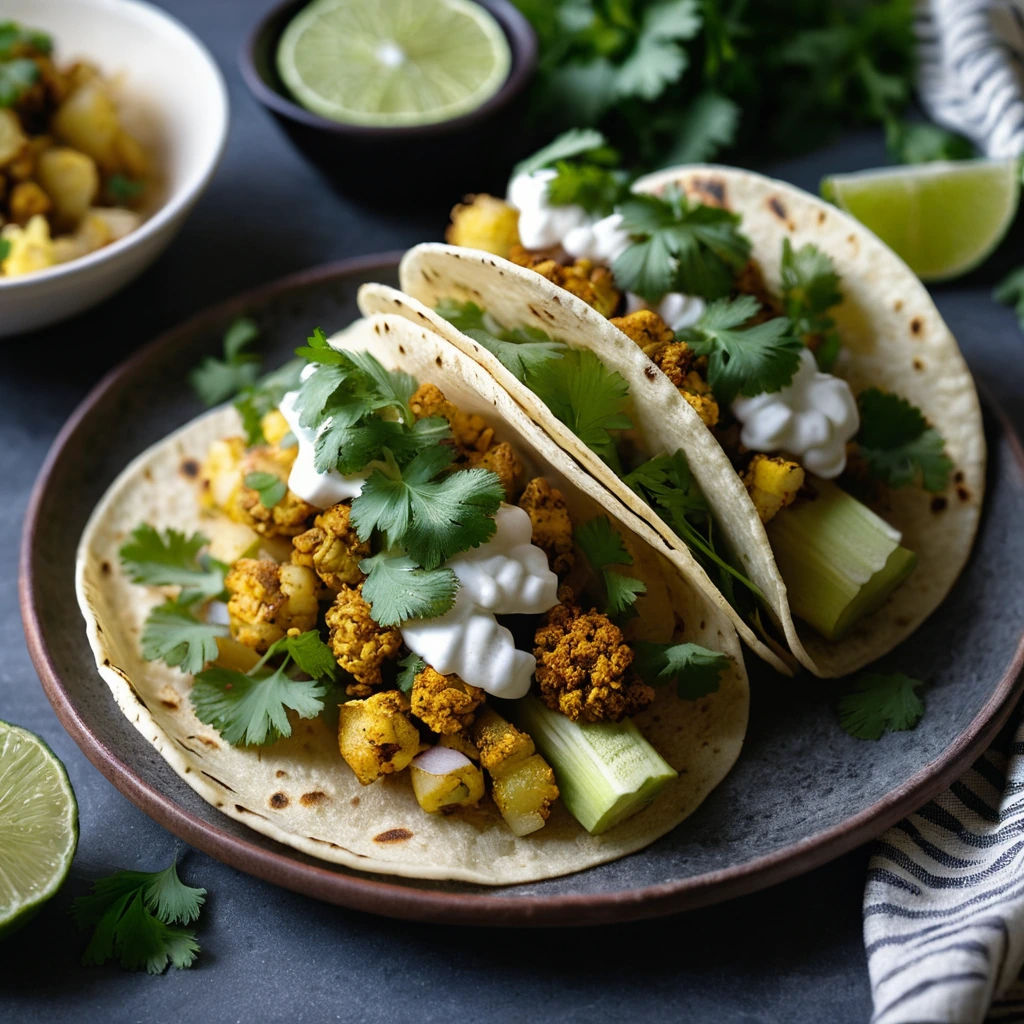
Spiced Cauliflower and Potato Street Tacos
Crispy spiced cauliflower and tender potatoes packed into warm tortillas for a veggie-packed taco night.
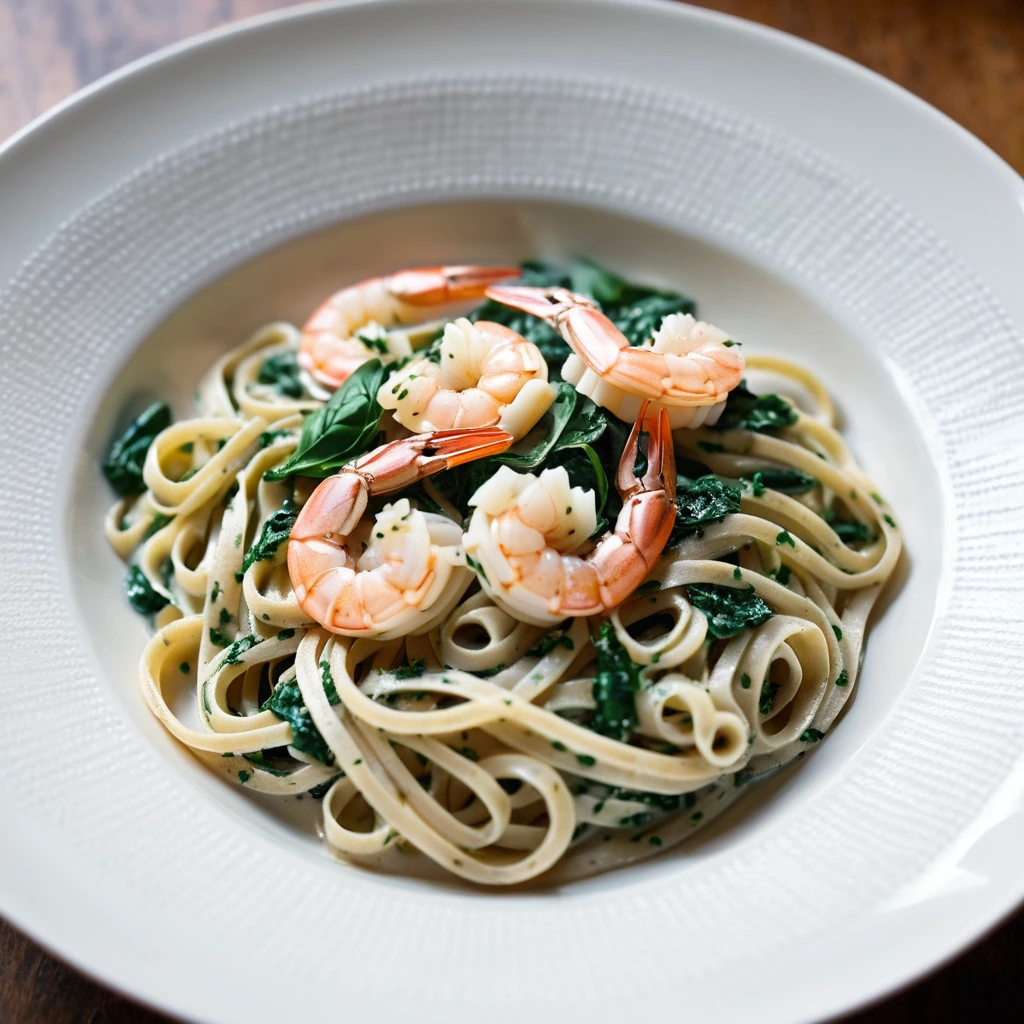
Shrimp and Spinach Linguine in White Wine Sauce
Succulent shrimp and fresh spinach mingle in a creamy white wine sauce, twirled into perfectly al dente linguine.