Egg Technique: Using Egg Wash for Bakery-Style Shine
Achieving that professional, bakery-style shine on your homemade pastries and breads is simpler than you might think. The secret? A well-executed egg wash. This technique not only enhances the visual appeal of your baked goods but also contributes to their texture and browning. An egg wash is a simple mixture of beaten eggs and a liquid, typically water, milk, or cream. The proteins in the eggs coagulate during baking, creating a glossy finish. The choice of liquid and additional ingredients like sugar or spices can further influence the color and texture of your crust. Understanding the nuances of egg wash application can elevate your homemade treats to bakery quality. The right consistency, application method, and timing are crucial. Too thick, and your wash might pool; too thin, and it won't adhere properly. This guide will walk you through everything you need to know to perfect this technique, ensuring your pastries dazzle with that coveted, golden glow.
Notes
The science behind egg wash is fascinating. Egg proteins coagulate at around 140°F to 160°F, sealing the surface and creating that glossy finish. Sugar in the mix caramelizes, enhancing browning. Common mistakes include applying too thick a layer, which can lead to uneven browning or sogginess. To avoid this, ensure your brush strokes are light and even. Safety-wise, always use pasteurized eggs if you're concerned about raw egg consumption. Egg wash can be prepared ahead and stored in the refrigerator for up to 24 hours. Cover your pastries loosely with foil if they begin to brown too quickly during baking. This technique isn't just about aesthetics; it's about enhancing the entire baking experience, from preparation to presentation.
Steps
- 1 Crack 1 large egg into a small bowl.
- 2 Add 1 tablespoon of water, milk, or cream to the egg.
- 3 Whisk the egg and liquid together until fully combined.
- 4 For a richer color, add a pinch of sugar or a dash of milk instead of water.
- 5 For savory items, consider adding a pinch of salt or herbs.
- 6 Using a pastry brush, lightly coat the surface of your unbaked pastry.
- 7 Ensure even coverage, avoiding pooling in any areas.
- 8 For extra shine, apply a second coat after a 5-minute rest.
- 9 Bake your pastry according to your recipe’s instructions.
- 10 Keep an eye on the browning process to avoid burning.
- 11 Remove from the oven when the desired golden-brown color is achieved.
Ingredients to explore
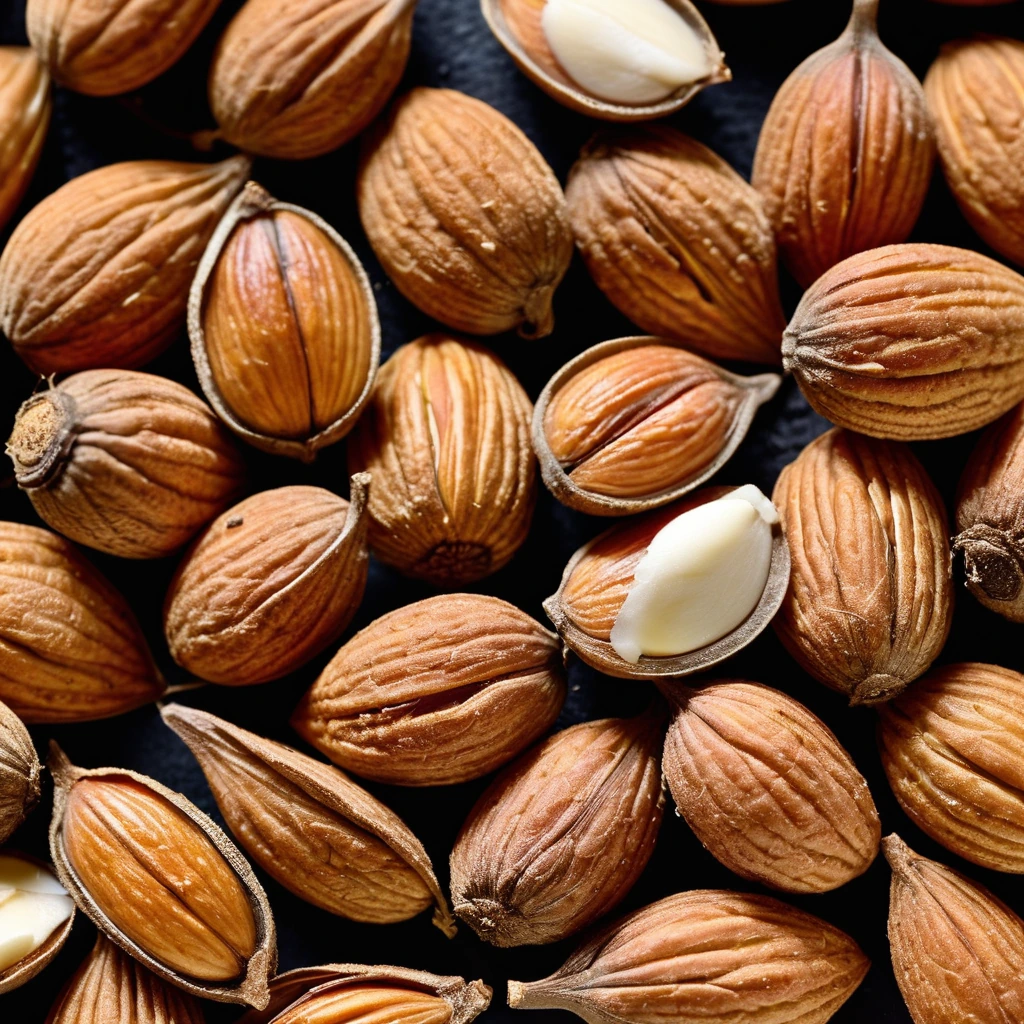
Almond Extract
A fragrant, golden elixir that captures the essence of freshly ground almonds, almond extract is a pantry staple that brings a rich, nutty aroma to your culinary creations.
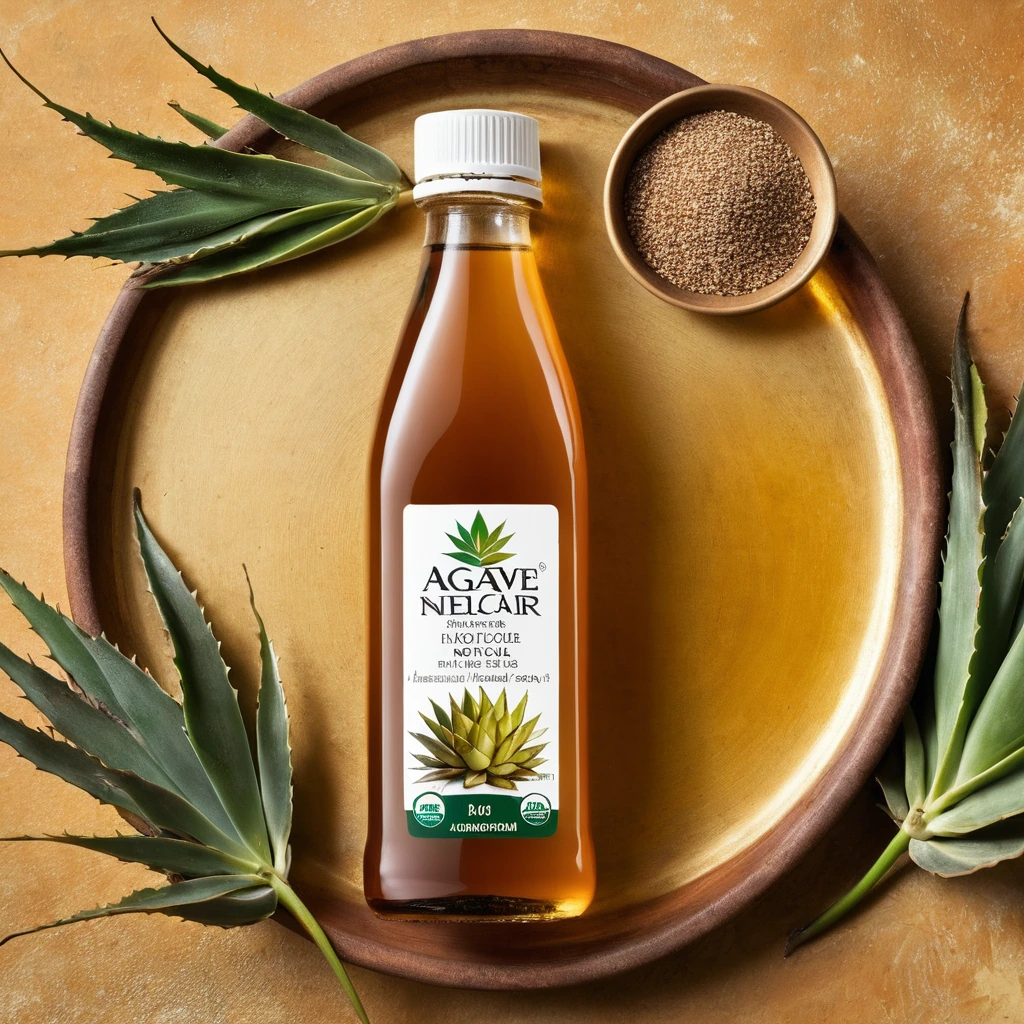
Agave Nectar
A golden, velvety sweetener derived from the agave plant, offering a subtly sweet flavor with a smooth, syrup-like texture.
Recipes to try
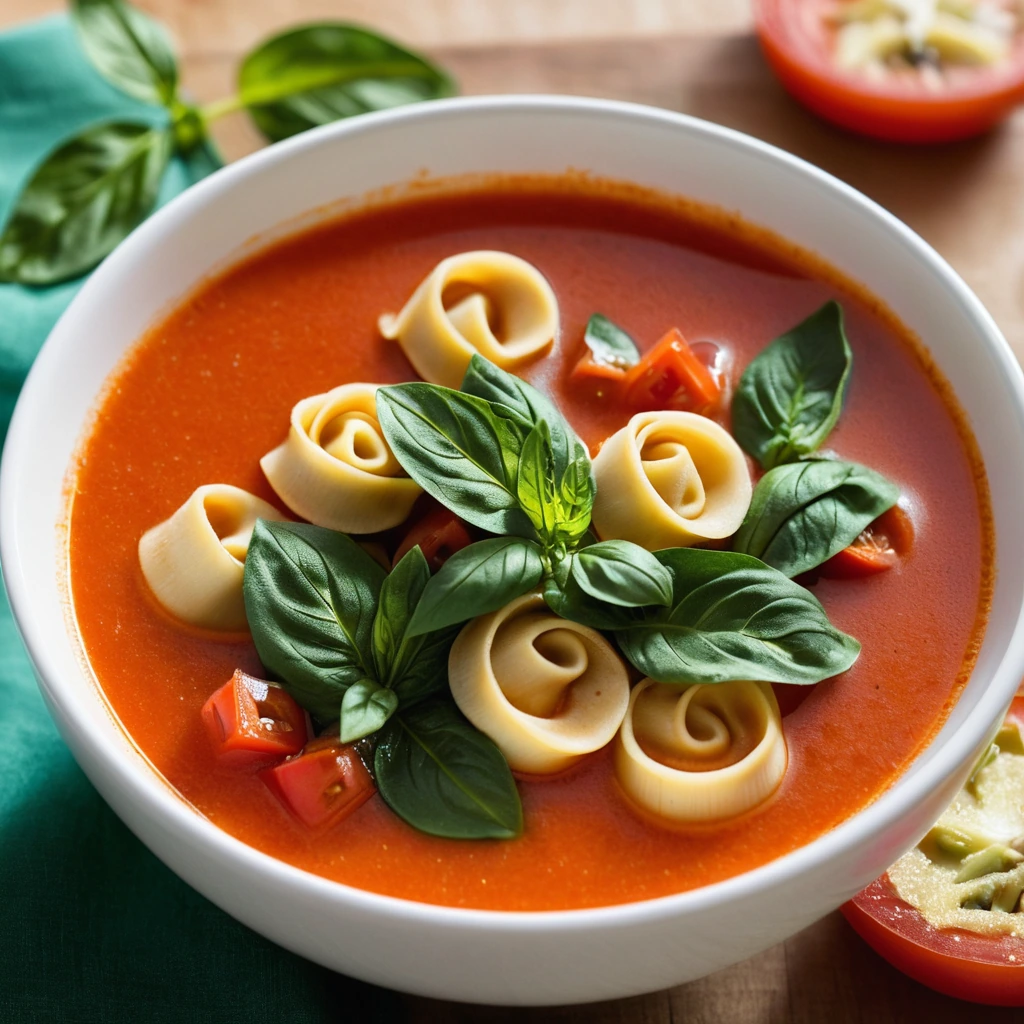
Tomato Tortellini Soup with Spinach
Warm up with this hearty, vibrant soup that's brimming with juicy tomatoes, tender tortellini, and a lush swirl of spinach.

Shrimp and Spinach Stuffed Portobellos
Tender shrimp mingles with sautéed spinach in a savory filling, nestled inside roasted portobello mushrooms for a satisfying vegetarian-friendly main.