Condiment Technique: Mixing Yogurt-Based Sauces That Don’t Split
Creating a luscious yogurt-based sauce is an art that requires precision and care. Yogurt, with its creamy texture and tangy flavor, is a versatile ingredient that can elevate any dish. However, its delicate nature means that it can easily split when mixed improperly, leading to an unappetizing, grainy mess. The secret to a smooth, stable sauce lies in understanding yogurt's protein structure and how it reacts to acids, heat, and agitation. By gently incorporating additional liquids and acids, and using techniques that stabilize the yogurt's proteins, you can craft sauces that remain silky and cohesive. This technique delves into the methods that prevent splitting, ensuring your sauces are picture-perfect every time. From cooling down ingredients to the correct order of mixing, each step is designed to maintain the integrity of your yogurt sauce, making it a delightful accompaniment to dishes like curries, grilled meats, and vegetable platters.
Notes
The science behind a successful yogurt sauce is all about maintaining the yogurt's protein structure. When yogurt is subjected to drastic changes in temperature or acidity, its proteins can coagulate and separate, resulting in splitting. Adding stabilizers like cornstarch helps to thicken the sauce and prevent separation. Common mistakes include adding too much liquid too quickly or incorporating acidic ingredients without first stabilizing the yogurt. To troubleshoot splitting, whisk in a small amount of cold water or milk to re-emulsify the sauce gently. Always store your sauce in the refrigerator and use within a week. For make-ahead convenience, prepare the sauce and store it in an airtight container, giving it a good whisk before serving.
Steps
- 1 Start with full-fat plain yogurt for the best texture and stability.
- 2 Ensure all ingredients are at room temperature to prevent shocking the yogurt.
- 3 In a medium bowl, whisk the yogurt gently to break up any large curds.
- 4 Gradually drizzle in a small amount of lemon juice or vinegar while whisking continuously.
- 5 Add a teaspoon of cornstarch or a small amount of flour mixed with water to act as a stabilizer.
- 6 Whisk in olive oil or another neutral oil in a thin stream to emulsify the sauce.
- 7 Incorporate minced garlic, herbs, or spices as desired, whisking to distribute evenly.
- 8 Season with salt and pepper to taste, adjusting carefully to avoid destabilizing the sauce.
- 9 Taste and adjust the acidity if needed with a few drops of lemon juice or vinegar.
- 10 Cover the sauce with plastic wrap pressed directly onto the surface to prevent a skin from forming.
- 11 Refrigerate for at least 30 minutes to allow flavors to meld before serving.
- 12 Give the sauce a final whisk before use to ensure a smooth consistency.
Ingredients to explore
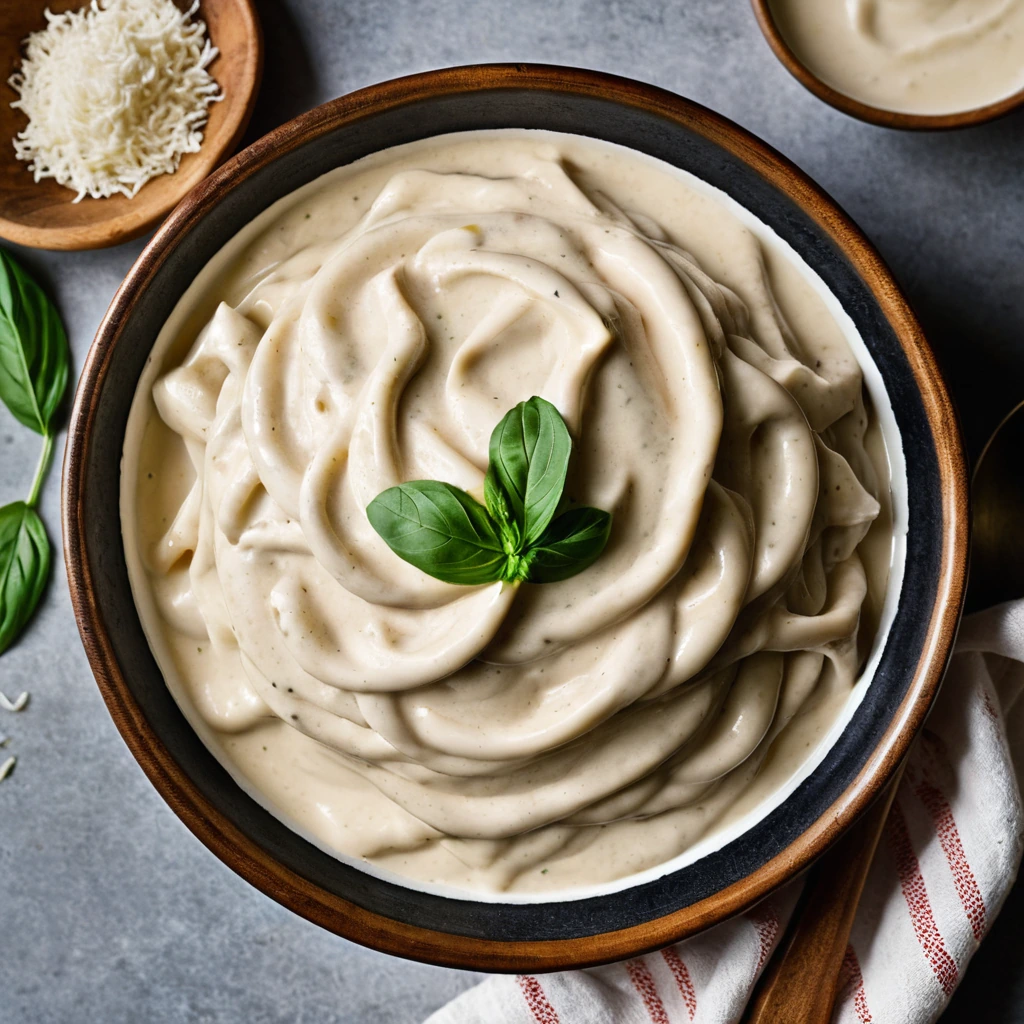
Alfredo Sauce
Creamy, rich, and utterly indulgent, Alfredo sauce is a dreamy blend of butter, heavy cream, and Parmesan cheese. Its velvety texture and savory depth make it a beloved staple in Italian-American cuisine.
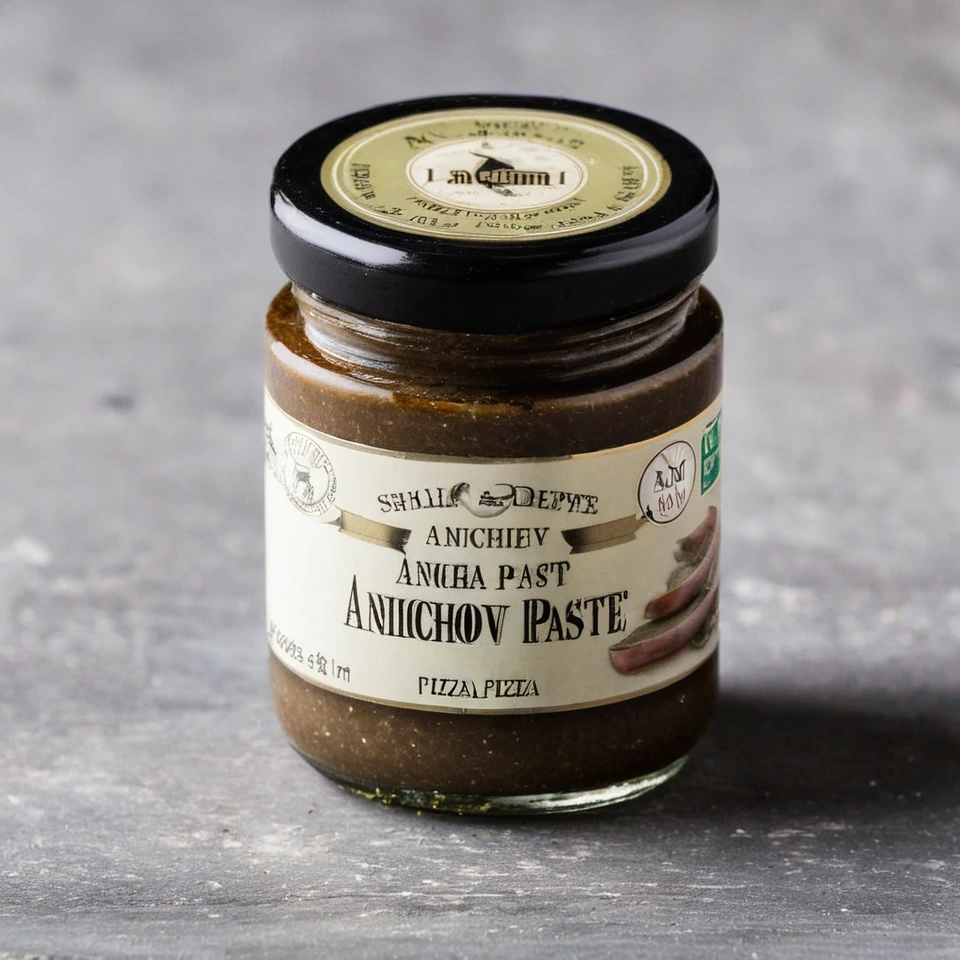
Anchovy Paste
Anchovy paste is a rich, salty spread made from finely ground anchovies, salt, and sometimes olive oil. It offers a deep umami flavor that enhances a variety of dishes.
Recipes to try
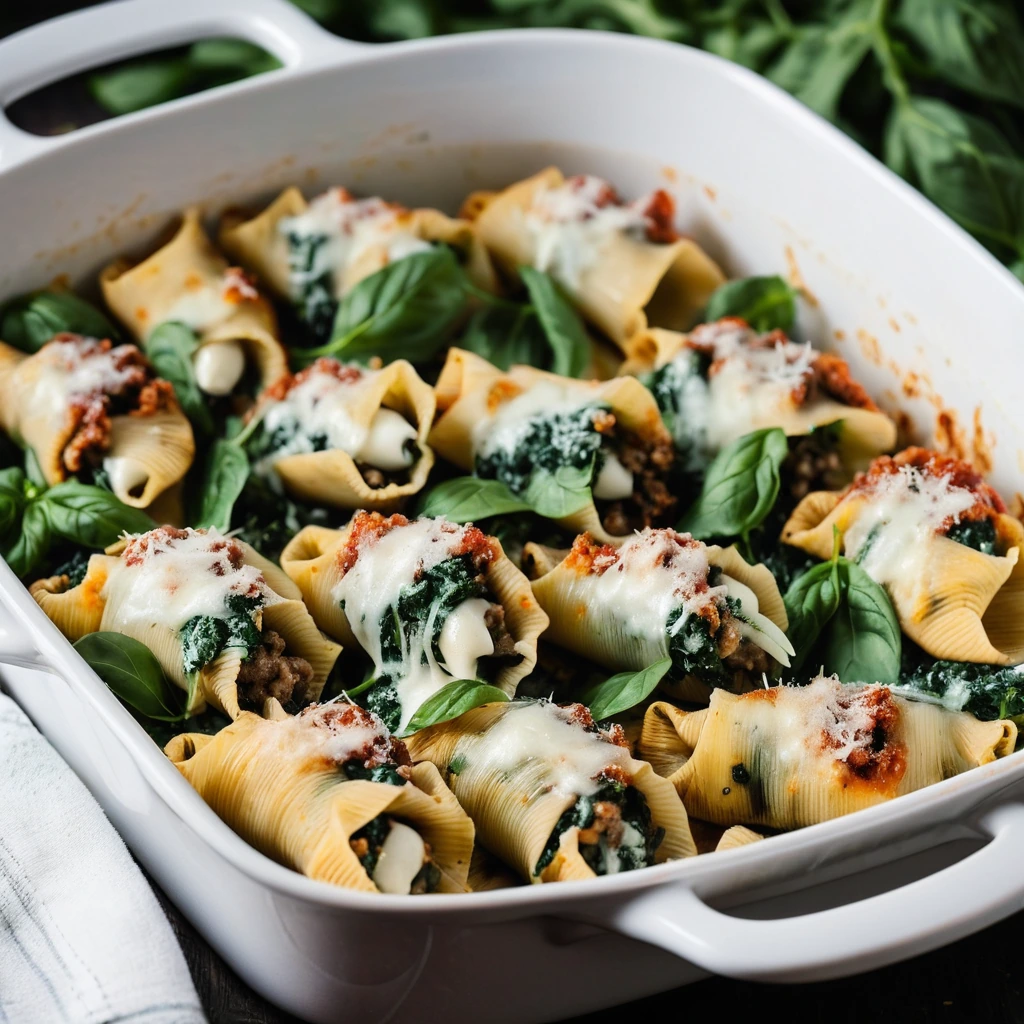
Sausage and Spinach Stuffed Shells Bake
Creamy ricotta and hearty sausage nestled in pasta shells, crowned with a blanket of melted mozzarella and fresh spinach.

Sweet Potato, Sausage, and Egg Breakfast Hash
Rustic and hearty, this breakfast hash is a symphony of smoky sausage, tender sweet potatoes, and perfectly cooked eggs.