Breakfast: Toasting Nuts and Seeds for Breakfast Bowls
Toasting nuts and seeds is a simple yet transformative technique that can elevate your breakfast bowls from mundane to magnificent. When nuts and seeds are toasted, their natural oils are released, intensifying their flavors and aromas. This technique is perfect for home cooks looking to add a gourmet touch to their morning routine. Whether you're sprinkling them over oatmeal, yogurt, or a smoothie bowl, toasted nuts and seeds provide a satisfying crunch and depth of flavor. The process is straightforward, requiring minimal equipment and time. Understanding the nuances of toasting can prevent common mistakes like burning and ensure your breakfast is bursting with flavor. Let's dive into the art of toasting nuts and seeds and discover how this small step can make a big impact on your morning meal.
Notes
Toasting nuts and seeds works by driving off moisture and activating their natural oils, resulting in a nutty, rich flavor. Keep an eye on them, as nuts and seeds can go from perfectly toasted to burnt very quickly. Common mistakes include overcrowding the pan or forgetting to stir, which can lead to uneven toasting. Always use a timer to avoid over-toasting. For safety, ensure your oven mitts are heat-resistant and handle hot pans with care. Toasted nuts and seeds can be made ahead and stored for up to two weeks, keeping your breakfast prep quick and easy.
Steps
- 1 Preheat your oven to 350°F.
- 2 Spread the nuts and seeds in a single layer on a baking sheet.
- 3 Use a rimmed baking sheet to catch any stray bits.
- 4 Toast for 8 to 10 minutes, stirring halfway through.
- 5 Keep a close eye on the nuts and seeds to prevent burning.
- 6 Remove from the oven when they are golden brown and fragrant.
- 7 Transfer the toasted nuts and seeds to a bowl to cool.
- 8 Allow them to cool completely before using or storing.
- 9 Break up any clusters that form during toasting.
- 10 Store in an airtight container at room temperature.
Ingredients to explore
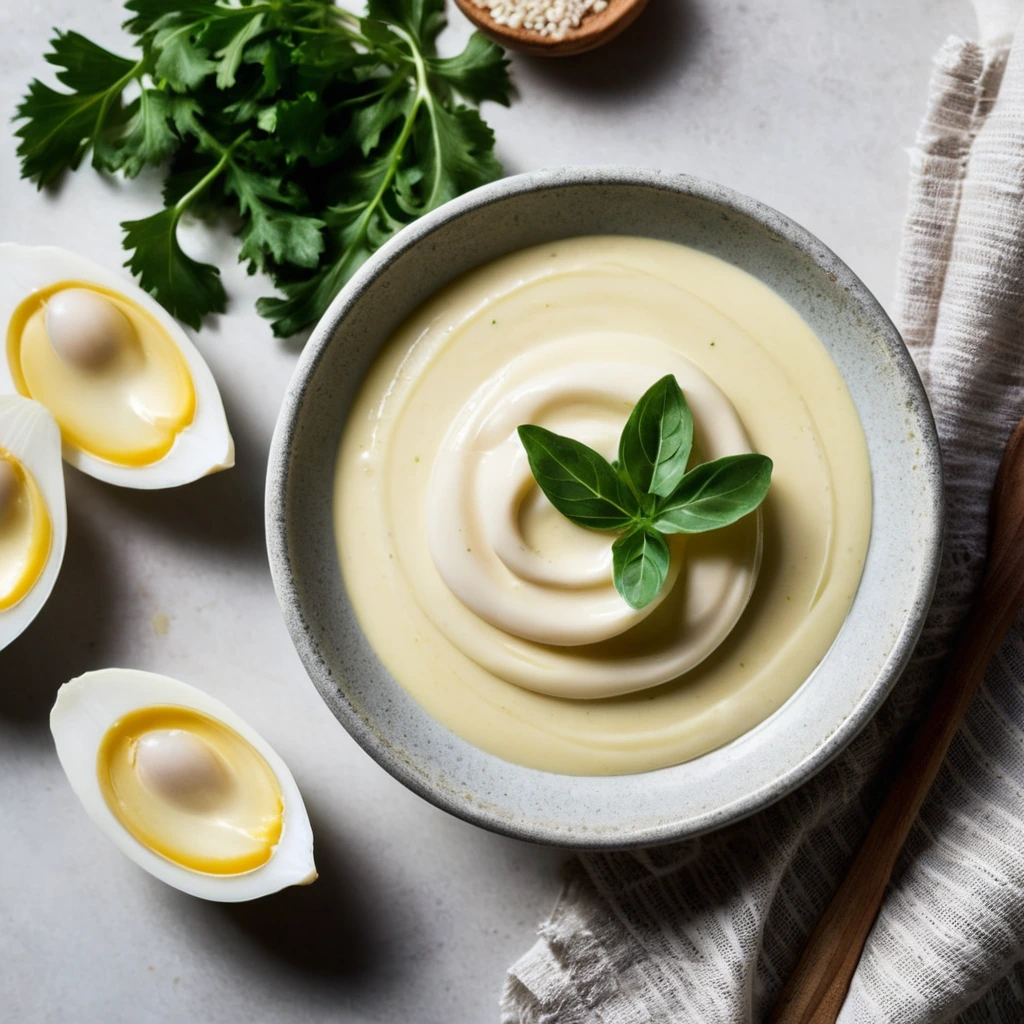
Aioli
A luscious, velvety emulsion of garlic and olive oil, aioli is a rich and aromatic sauce that dances on the palate with its creamy texture and bold, pungent flavor.

American Cheese Slices
Those iconic, perfectly pliable slices of creamy, mild American cheese. Each slice boasts a smooth, melt-in-your-mouth texture that brings comfort to any dish.