Bread Technique: Autolyse for Better Dough Structure
Autolyse is a simple yet transformative bread-making technique that allows for a superior dough structure. By giving flour and water time to hydrate fully before introducing yeast and salt, you unlock a dough that's easier to handle and bakes into a loaf with improved texture and flavor. This technique was popularized by French-American baking expert Raymond Calvel and has since become a staple in both home and professional kitchens. The process begins by mixing just flour and water, allowing them to rest for 20 to 60 minutes. During this period, enzymes in the flour break down starches into sugars, feeding the yeast more effectively later on. Meanwhile, gluten strands begin to form, creating a network that can stretch and hold gas produced during fermentation. This results in a dough that is more extensible and less sticky, making it easier to shape and knead. Autolyse also enhances flavor development by giving the yeast a head start in creating fermentation byproducts. Furthermore, it can reduce kneading time and improve the overall quality of the bread's crumb. Whether you're a seasoned baker or just starting out, mastering the autolyse technique can elevate your bread game to new heights.
Notes
The autolyse technique works because it allows flour proteins to hydrate fully and begin forming gluten without the interference of salt, which can slow gluten development. This initial hydration phase is crucial for creating a dough with a well-structured gluten network. Common mistakes include adding yeast or salt too early, which disrupts the process. Ensure your resting area is free from drafts to maintain a consistent temperature. Safety isn't a major concern here, but always check for allergens like gluten if serving others. Prepared dough can be refrigerated for up to 24 hours after autolyse, allowing for a delayed bake with enhanced flavor.
Steps
- 1 Measure out your flour and water according to your recipe.
- 2 Combine the flour and water in a large mixing bowl.
- 3 Mix until no dry flour remains, forming a shaggy mass.
- 4 Cover the bowl with a damp kitchen towel or plastic wrap.
- 5 Let the mixture rest at room temperature (ideally 70-75°F) for 20 to 60 minutes.
- 6 After resting, check the dough for a cohesive texture; it should feel smoother.
- 7 Add yeast and salt to the dough and mix thoroughly.
- 8 Proceed with your usual kneading or folding process.
- 9 Allow the dough to undergo its first fermentation.
- 10 Shape the dough and let it proof.
- 11 Preheat your oven to the desired temperature.
- 12 Bake the dough until golden brown and cooked through.
- 13 Cool the bread on a wire rack before slicing.
Ingredients to explore
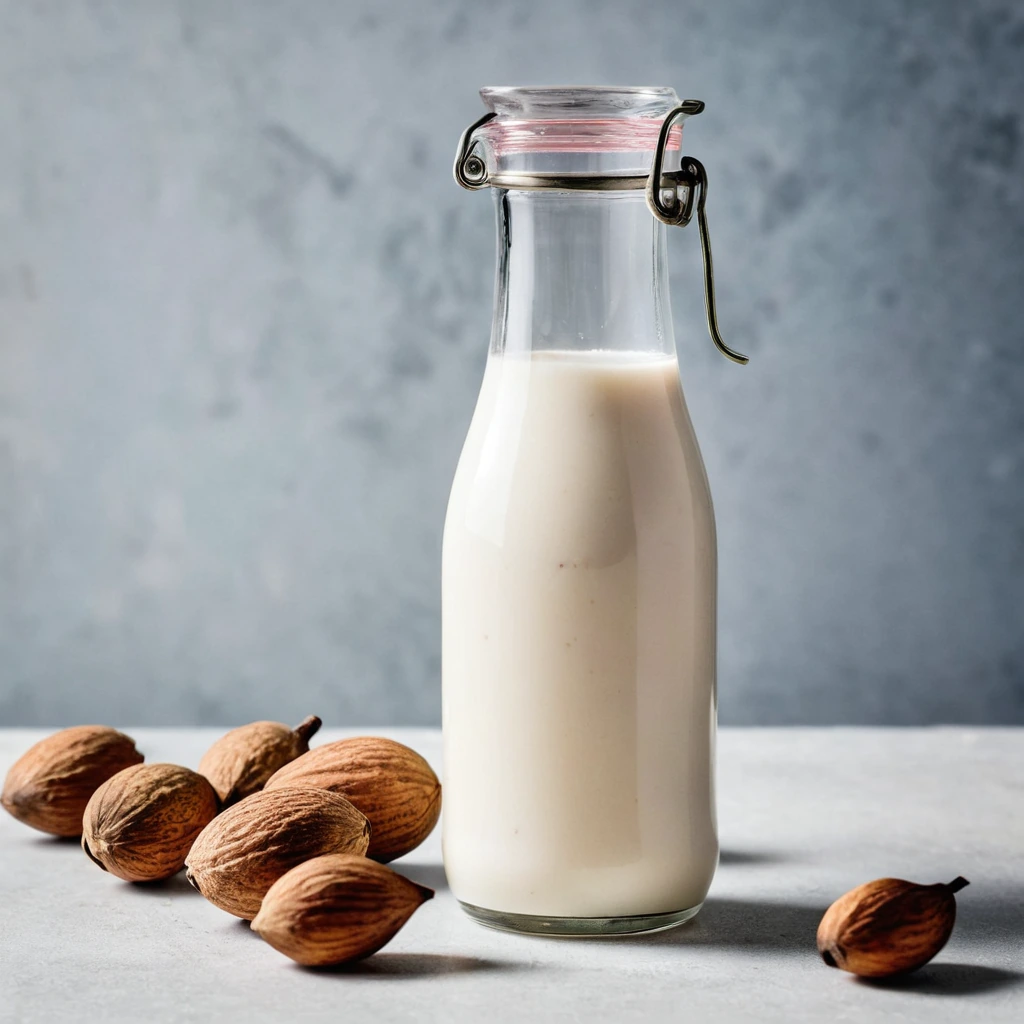
Almond Milk
Almond milk is a plant-based milk alternative made from ground almonds and water. Originating from traditional recipes in medieval Europe and the Middle East, it has gained widespread popularity in modern times as a dairy-free option. Almond milk has a subtly nutty flavor with a mild sweetness, and its aroma is reminiscent of fresh almonds. Its texture is smooth and creamy, though typically lighter than dairy milk. In cooking, almond milk behaves well in both savory and sweet applications, though it does not brown or caramelize like dairy milk. It is often used in cereals, smoothies, and baking, where its delicate flavor complements rather than overpowers other ingredients.
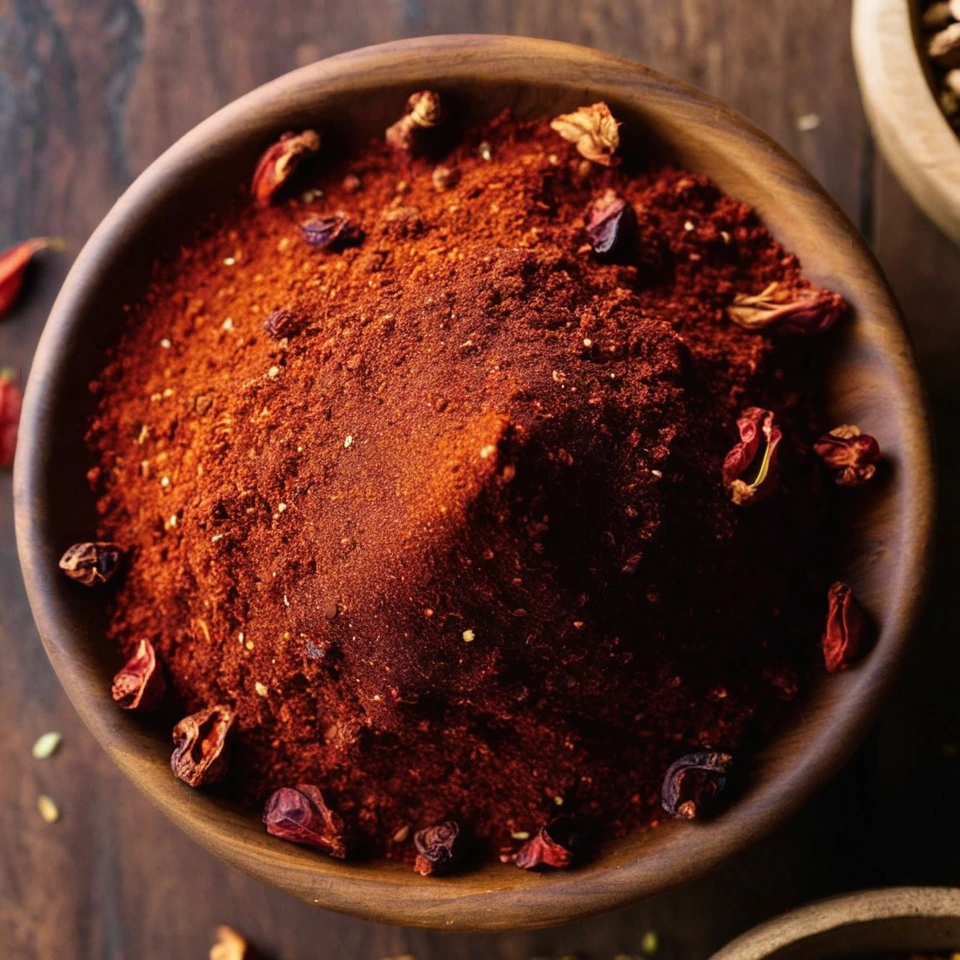
Aleppo Pepper
Aleppo pepper offers a harmonious balance of heat and sweetness, with a subtle fruity aroma reminiscent of sun-dried tomatoes and currants. Originating from the region around Aleppo, Syria, it has a fine, slightly coarse texture that shatters easily between fingers. Its mild yet complex flavor profile makes it a prized seasoning for enhancing dishes without overwhelming them. Valued for its versatility, it bridges the gap between spice and seasoning, bringing a touch of warmth and depth to a variety of cuisines.