Baking: Windowpane Test for Gluten Development
The windowpane test is a tried-and-true method to gauge gluten development in your bread dough. Achieving the right gluten strength is crucial for creating airy, well-structured loaves. This test involves stretching a small piece of dough to see if it forms a thin, translucent membrane without tearing. It's simple yet revealing, offering insights into your dough's readiness for shaping and baking. Gluten, formed when flour proteins combine with water, provides elasticity and structure. Without adequate gluten development, your bread may collapse or lack volume. Conversely, overdeveloped gluten can lead to a tough, chewy texture. Timing is key, as is understanding how factors like flour type, kneading technique, and resting periods influence gluten formation. This test is particularly useful for artisanal breads like baguettes and ciabatta, where structure is paramount. It's a skill that empowers home bakers to troubleshoot and refine their bread-making process. Whether you're a novice or a seasoned baker, mastering the windowpane test can elevate your loaves to new heights.
Notes
The windowpane test works because gluten strands align and strengthen with kneading, allowing the dough to stretch without breaking. Flour protein content varies, so adjust your expectations accordingly—bread flour will develop gluten faster than all-purpose flour. Common mistakes include stretching too quickly or not wetting hands enough, leading to inaccurate results. Be patient and gentle; gluten development is a gradual process. For safety, ensure your hands are clean to avoid contaminating the dough. As for make-ahead, dough can be refrigerated after passing the test, allowing for flavor development overnight. Store covered to prevent drying out.
Steps
- 1 Knead your dough according to your recipe until it feels smooth and elastic.
- 2 Wet your hands to prevent sticking, then pinch off a small piece of dough, about the size of a grape.
- 3 Gently flatten the piece between your palms.
- 4 Stretch the dough slowly and evenly in all directions, using both hands.
- 5 Aim to create a thin sheet of dough, watching for translucency.
- 6 Stop stretching if you see holes forming or if the dough starts to tear.
- 7 Assess the dough's elasticity and strength based on its ability to form a windowpane.
- 8 If it forms a translucent membrane without tearing, your gluten is well developed.
- 9 If it tears easily, continue kneading and resting the dough, then retest.
- 10 Repeat the test after additional kneading or proofing as needed.
- 11 Once passed, proceed with shaping and baking your bread.
Ingredients to explore
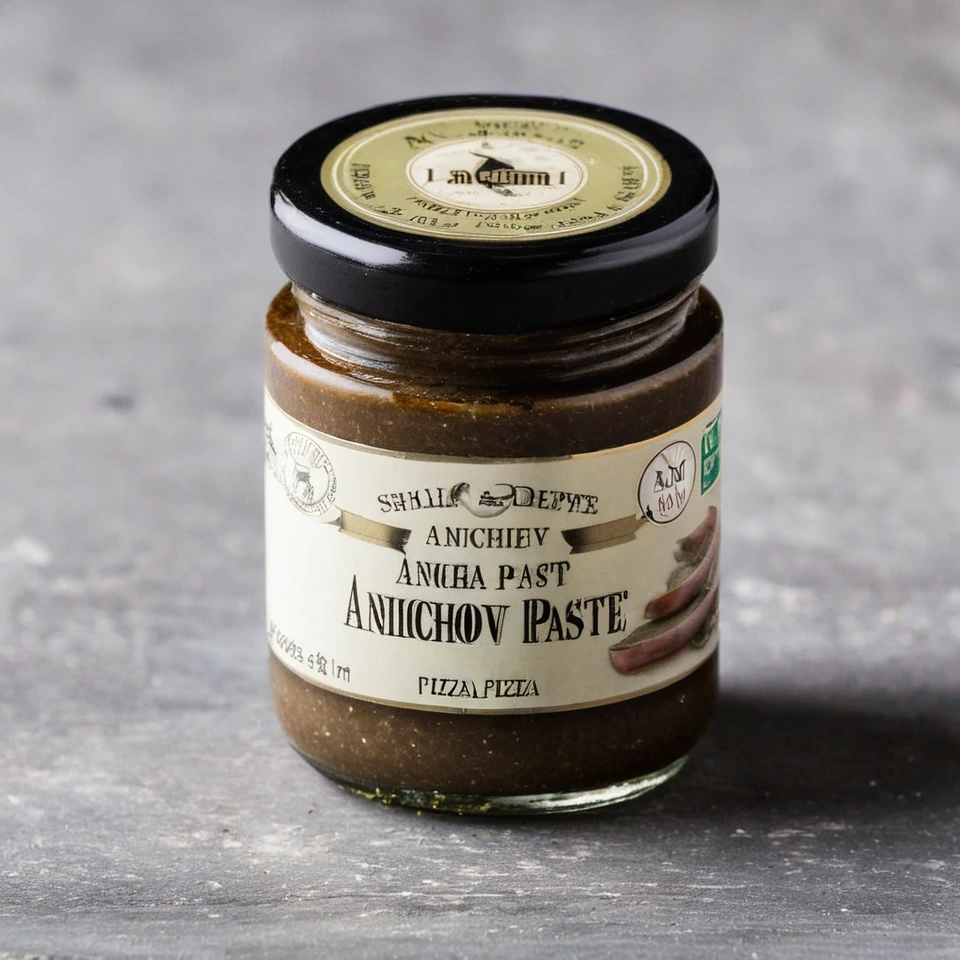
Anchovy Paste
Anchovy paste is a rich, salty spread made from finely ground anchovies, salt, and sometimes olive oil. It offers a deep umami flavor that enhances a variety of dishes.
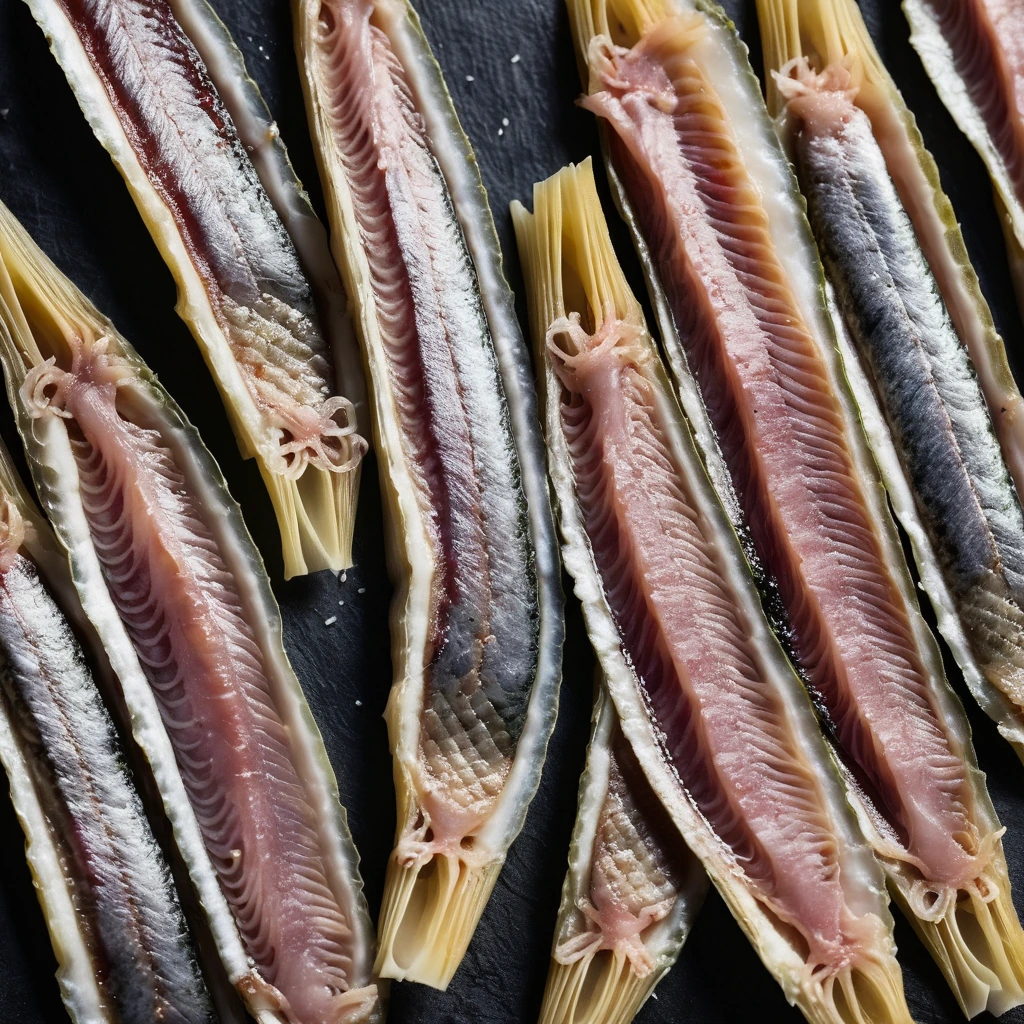
Anchovy Fillets
Silvery and succulent, anchovy fillets are a briny treasure from the sea. Their rich, umami flavor adds depth to dishes, making them a beloved ingredient in kitchens worldwide.
Recipes to try

Sausage, Kale, and White Bean Orzo Soup
This hearty soup is a cozy hug in a bowl, brimming with smoky sausage, tender kale, and creamy white beans in a savory broth.

Pumpkin and Sweet Potato Bisque
Creamy and comforting, this bisque marries the earthy sweetness of pumpkin with the subtle nuttiness of sweet potato.