Baking: Retarding Dough in the Fridge
Retarding dough in the fridge is a game-changing technique for home bakers seeking to enhance flavor and texture in their breads and pastries. This method involves slowing down the fermentation process by chilling the dough, which allows for a more controlled rise and development of complex flavors. When yeast ferments at cooler temperatures, it produces a more nuanced array of acids and alcohols, contributing to a richer taste profile. Additionally, the extended fermentation time helps to break down proteins and starches, leading to a softer, more digestible crumb. This technique is especially useful for recipes like sourdough, bagels, and croissants, where time and patience pay off in spades. By planning ahead and giving your dough a cold rest, you'll unlock a new level of quality in your homemade baked goods. Furthermore, retarding dough offers practical benefits: it allows for flexibility in your baking schedule, enabling you to prepare dough well in advance and bake fresh bread at your convenience. Whether you're a weekend baker or preparing for a special occasion, this method ensures that your final product will be well worth the wait. Understanding the science behind retarding dough can demystify the process and empower you to experiment with confidence, knowing that the fridge is your ally in creating artisanal-quality bread at home.
Notes
The science behind retarding dough lies in the slower activity of yeast at lower temperatures, which allows for a gradual production of carbon dioxide and flavor compounds. This gentle fermentation process enhances flavor while maintaining the dough's structure. A common mistake is over-retarding the dough, which can lead to a loss of gas and a dense loaf; always adhere to recommended times. For safety, ensure your fridge maintains a consistent temperature below 40°F to inhibit harmful bacterial growth. As for make-ahead and storage, dough can typically be retarded for up to 24 hours, though some recipes allow for longer periods. After baking, let bread cool completely before storing it in an airtight container or bag.
Steps
- 1 Prepare your dough according to your recipe's instructions.
- 2 Shape the dough into its final form and place it in a lightly greased container.
- 3 Cover the container with plastic wrap or a damp towel to prevent drying.
- 4 Label the container with the date and type of dough to avoid confusion.
- 5 Place the dough in the refrigerator and let it rest for 8 to 24 hours, depending on the recipe.
- 6 Check the dough periodically to ensure it hasn't over-risen; it should look puffy but not burst.
- 7 Remove the dough from the fridge and let it sit at room temperature for 30 to 60 minutes before shaping or baking.
- 8 Preheat your oven to the temperature specified in your recipe.
- 9 Shape the dough if necessary, then bake according to your recipe's instructions.
- 10 Keep an eye on the dough during baking, as chilled dough may take slightly longer to bake.
Ingredients to explore
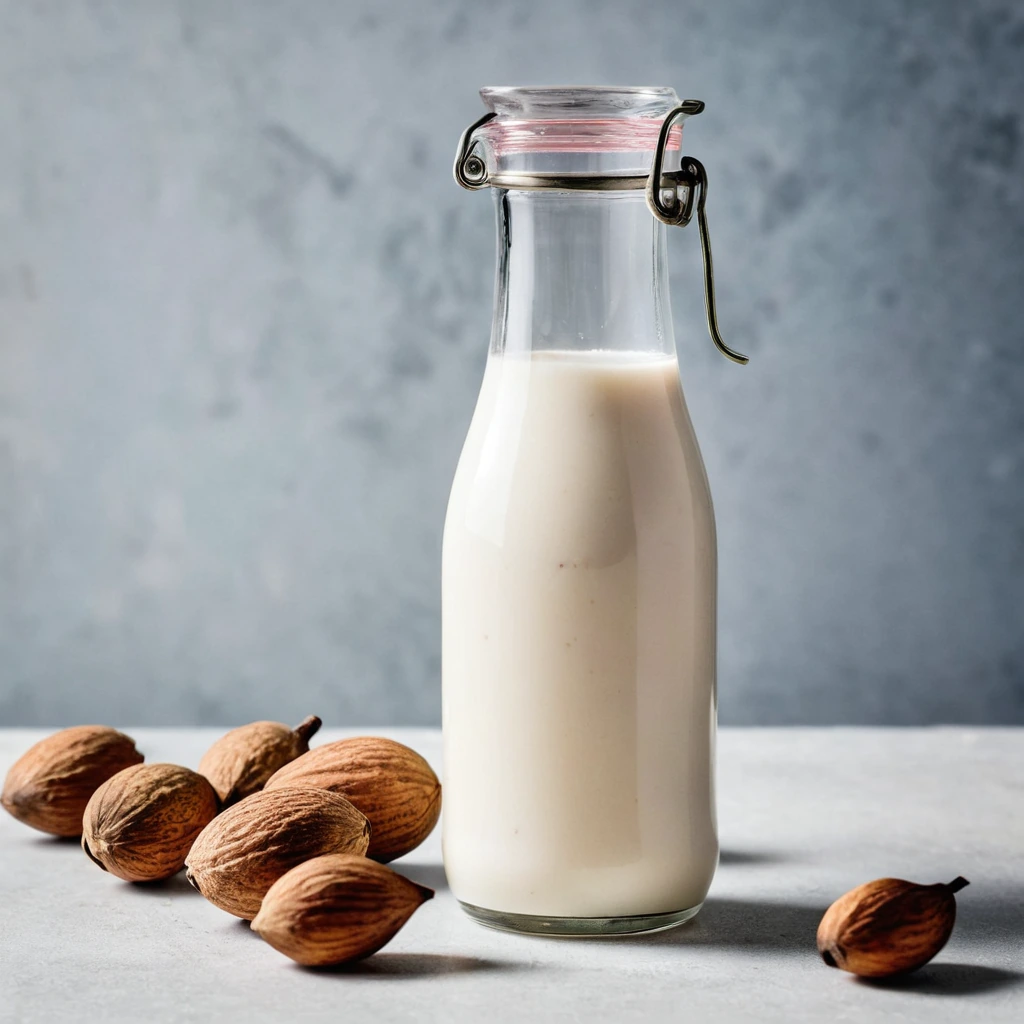
Almond Milk
Almond milk is a plant-based milk alternative made from ground almonds and water. Originating from traditional recipes in medieval Europe and the Middle East, it has gained widespread popularity in modern times as a dairy-free option. Almond milk has a subtly nutty flavor with a mild sweetness, and its aroma is reminiscent of fresh almonds. Its texture is smooth and creamy, though typically lighter than dairy milk. In cooking, almond milk behaves well in both savory and sweet applications, though it does not brown or caramelize like dairy milk. It is often used in cereals, smoothies, and baking, where its delicate flavor complements rather than overpowers other ingredients.
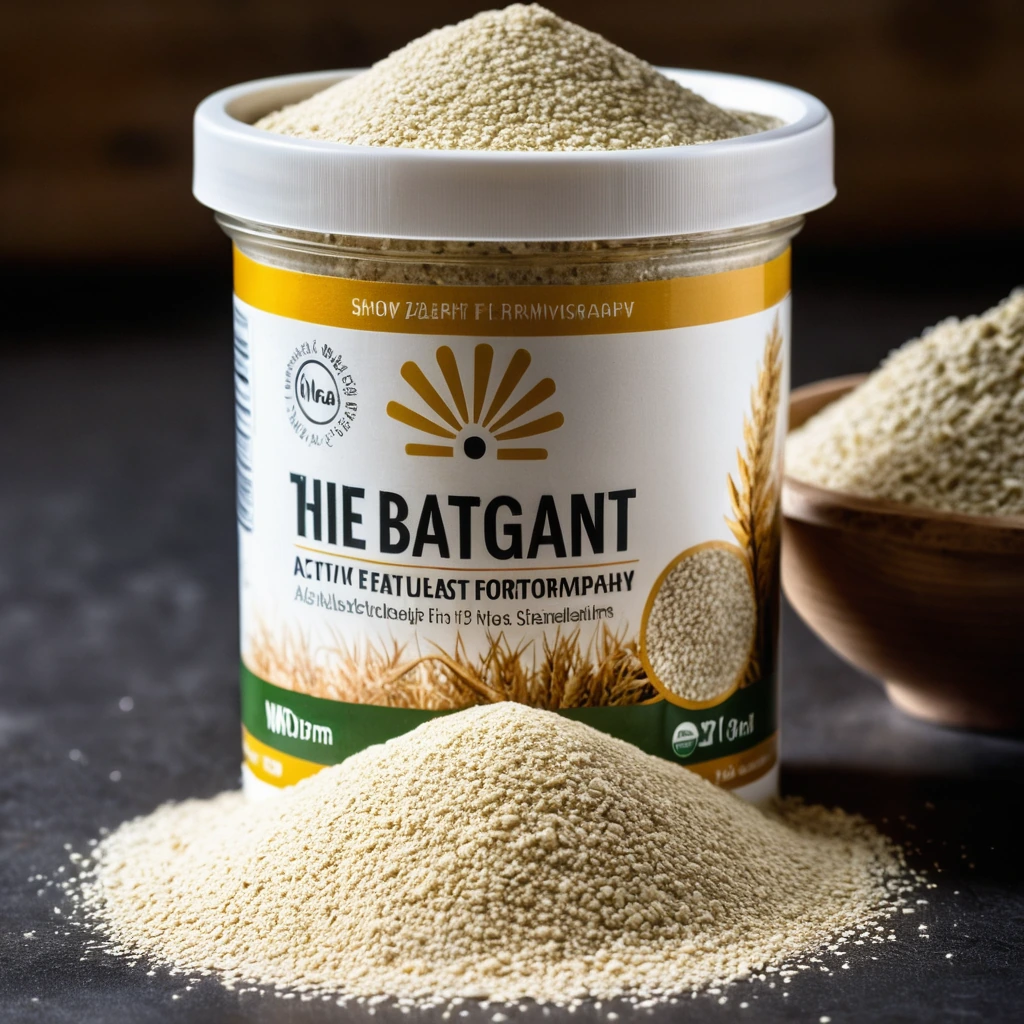
Active Dry Yeast
A fine, granulated leavening agent that brings baked goods to life with its gentle fermentation magic.
Recipes to try

One-Pot Creamy Garlic Parmesan Chicken Pasta
Tender chicken and al dente pasta swim in a luscious, garlicky Parmesan sauce—all in one pot for a fuss-free family feast.

Shrimp and Corn Fritters with Chili Aioli
Crispy on the outside, tender on the inside, these golden fritters pack a punch with juicy shrimp and sweet corn, all topped with a zesty chili aioli.