Stock and Stew Technique: Controlling Liquid Reduction for Body
Creating a rich, flavorful stock or stew hinges on mastering the art of liquid reduction. This technique is all about concentrating flavors while achieving the perfect body or consistency. Too much reduction can lead to a stew that's overly thick and heavy, while too little leaves you with a broth that lacks depth. The key is understanding how heat interacts with liquid and how to manipulate it to your advantage. By carefully managing the simmering process, skimming impurities, and adjusting the cooking time, you can ensure your stock or stew reaches its full potential. This guide will walk you through the principles of evaporation, the role of surface area, and how temperature control is crucial in achieving the desired texture and flavor profile. It will also address common pitfalls, such as over-reduction or burning, and provide tips for maintaining clarity and richness in your final product. Whether you're preparing a hearty beef stew or a delicate chicken stock, understanding liquid reduction will elevate your cooking to chef-level standards.
Notes
The science behind liquid reduction is simple: heat causes water molecules to evaporate, leaving behind a more concentrated liquid. However, too high a heat can lead to scorching or unwanted texture changes in proteins and vegetables. The surface area of your liquid plays a crucial role; a wider pot will reduce faster than a narrow one. To troubleshoot common issues, ensure your heat is gentle and consistent to avoid over-reduction. If your stock or stew is reducing too quickly, lower the heat or partially cover the pot. For safety, always use oven mitts when handling hot pots. As for make-ahead, stock and stew can be stored in the refrigerator for up to 5 days or frozen for up to 3 months. Allow it to cool before storing in airtight containers.
Steps
- 1 Start with a large pot or stockpot, ensuring it's not more than two-thirds full to allow for evaporation.
- 2 Bring your stock or stew to a gentle simmer over medium heat; avoid a rolling boil to prevent toughening proteins.
- 3 Skim off any impurities or foam that rise to the surface during the initial simmer to clarify the liquid.
- 4 Reduce the heat to low, maintaining a temperature just below 200°F to encourage gradual reduction.
- 5 Allow the liquid to simmer uncovered to promote evaporation; the surface area exposed will dictate the reduction rate.
- 6 Stir occasionally to prevent sticking and ensure even reduction.
- 7 Monitor the consistency by spooning a small amount onto a chilled plate; it should coat the back of a spoon evenly.
- 8 Adjust the heat as necessary to maintain a consistent, gentle simmer throughout the cooking process.
- 9 Check the volume periodically and gauge the reduction progress; aim for a 30-50% reduction depending on desired body.
- 10 Add more liquid if needed to balance the reduction, or continue simmering if a thicker consistency is desired.
- 11 Season with salt and pepper towards the end of cooking to avoid inhibiting the natural flavor release.
- 12 Finish with fresh herbs or spices for a burst of brightness and complexity.
- 13 Remove from heat and let rest for 10 minutes before serving to allow flavors to meld.
- 14 Strain the stock or stew through a fine-mesh sieve if a clear broth is desired.
Ingredients to explore
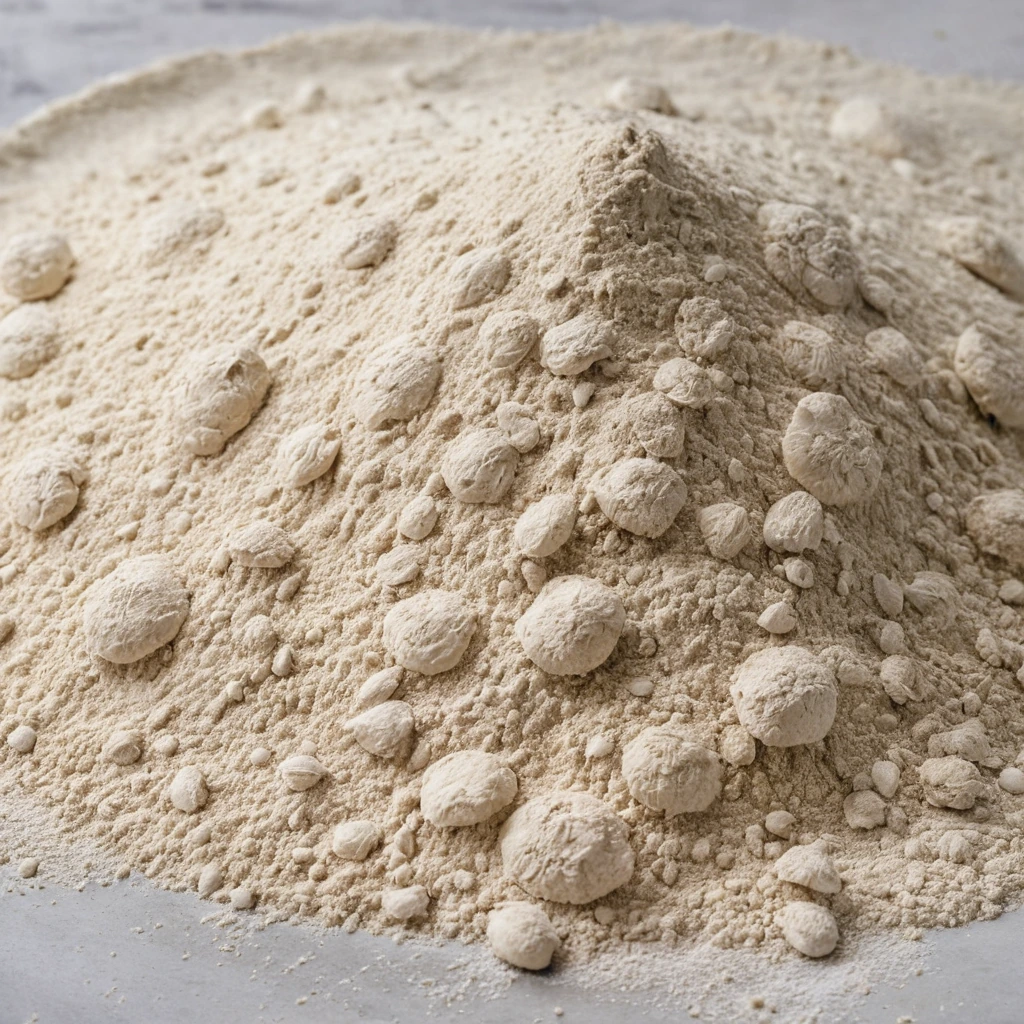
00 Pizza Flour
00 pizza flour is a finely milled Italian flour prized for its versatility in creating authentic Neapolitan-style pizza crusts. Originating from Italy, it is milled to a very fine consistency, which is reflected in its name, 'doppio zero,' indicating its fine grind. This flour has a balanced flavor profile, offering a mild, slightly sweet taste with a subtle nuttiness. Its texture is silky and smooth, contributing to a tender yet chewy crust when used in pizza making. In cooking, 00 pizza flour is known for its ability to hydrate quickly and develop a desirable gluten structure, resulting in a light and airy crust that can withstand high-heat cooking without becoming overly crispy or hard.
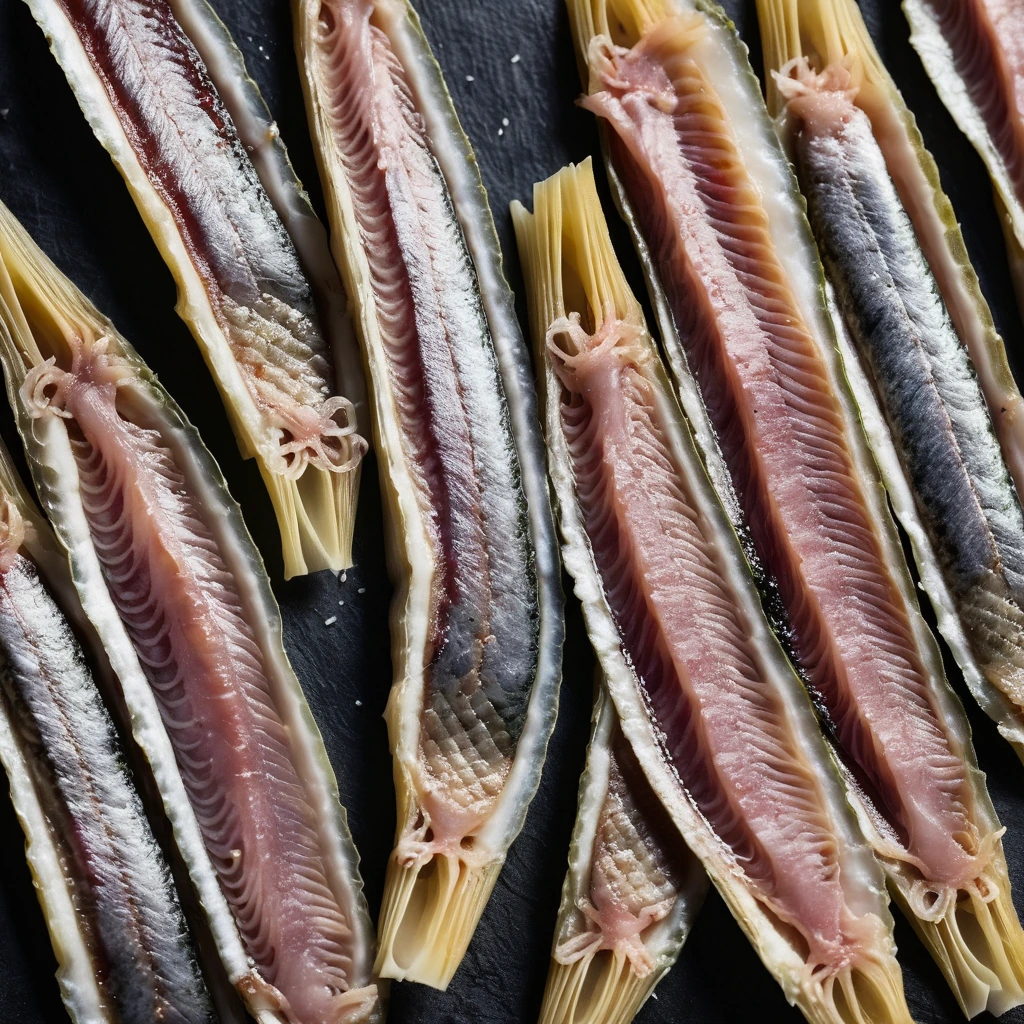
Anchovy Fillets
Silvery and succulent, anchovy fillets are a briny treasure from the sea. Their rich, umami flavor adds depth to dishes, making them a beloved ingredient in kitchens worldwide.
Recipes to try
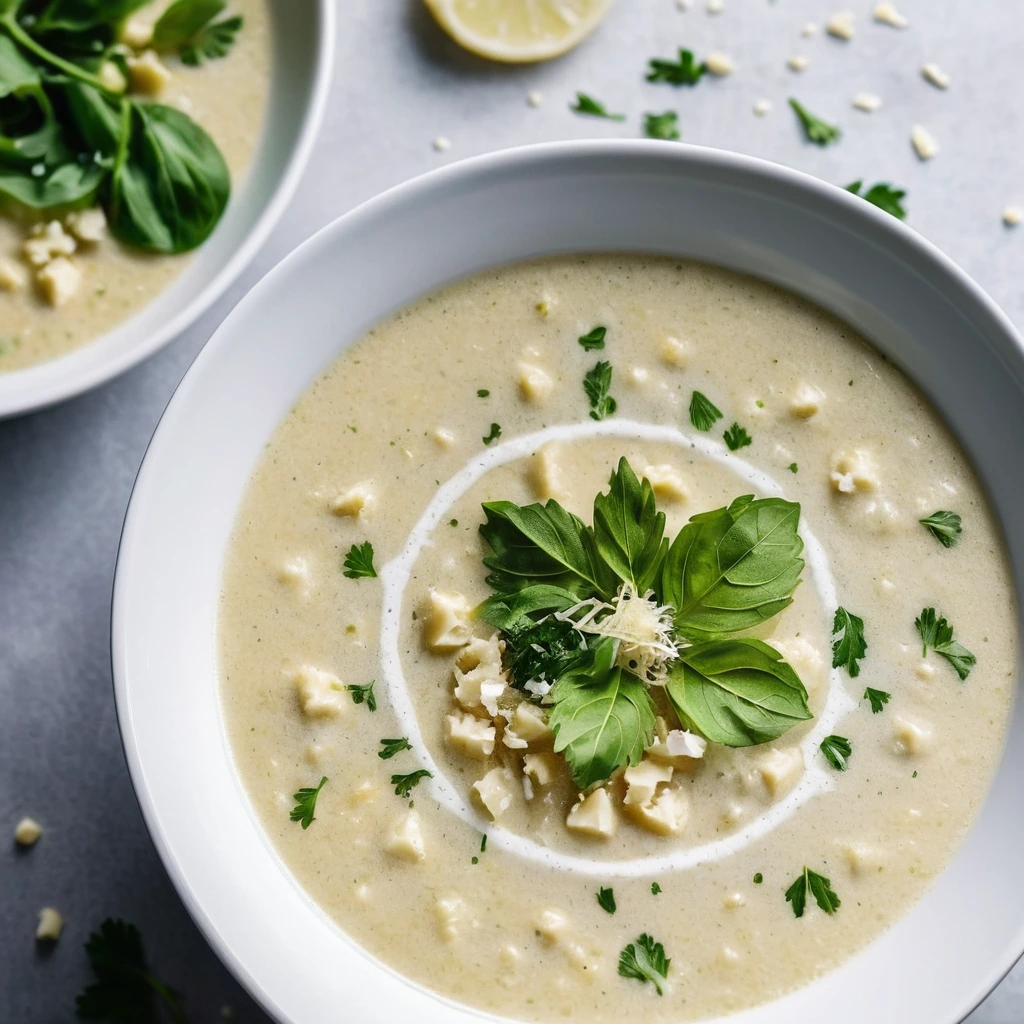
Roasted Cauliflower and Garlic Soup with Parmesan
This velvety soup is a symphony of roasted cauliflower and garlic, kissed with nutty Parmesan for a cozy, crave-worthy bowl.
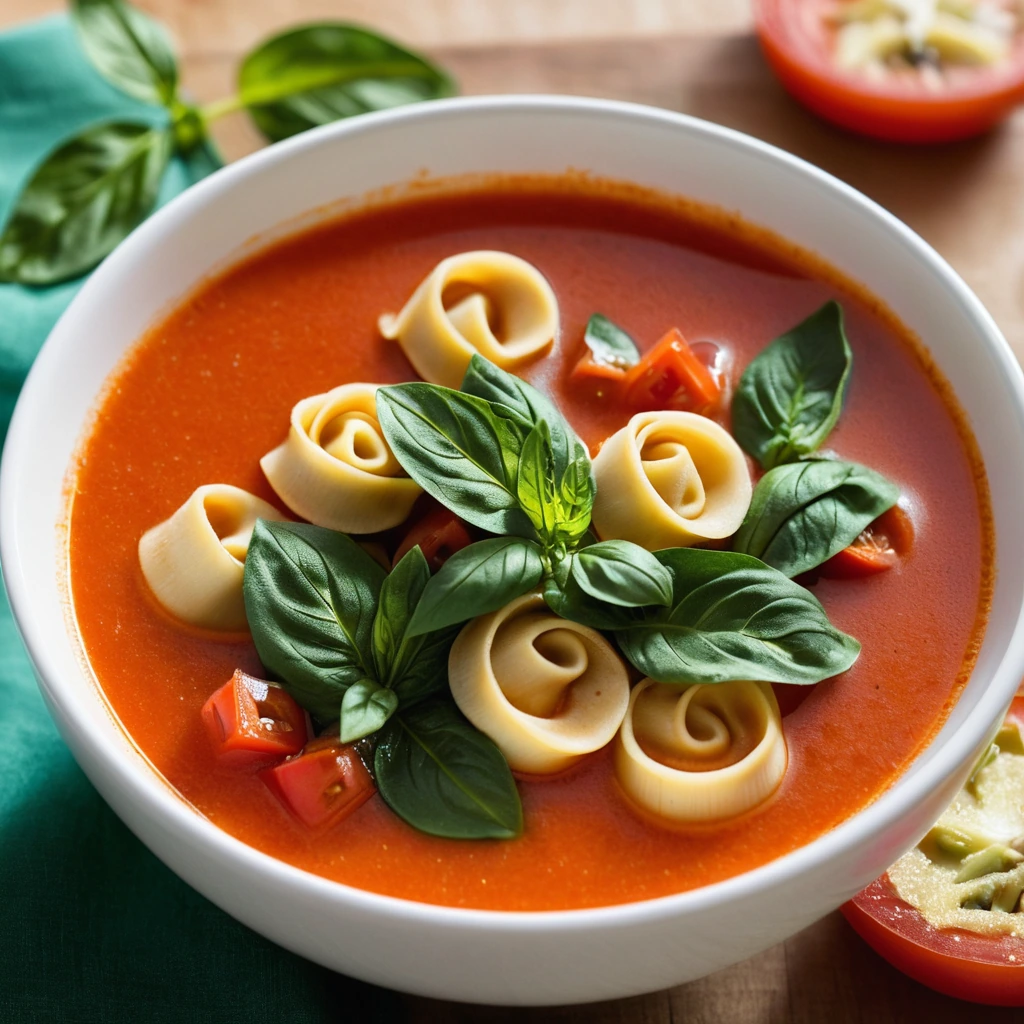
Tomato Tortellini Soup with Spinach
Warm up with this hearty, vibrant soup that's brimming with juicy tomatoes, tender tortellini, and a lush swirl of spinach.