Starch Technique: Stirring Oatmeal Creamy Without Scorching
Creating creamy oatmeal without the fear of scorching is an art that balances patience, technique, and understanding of starches. The key to this method lies in controlling heat and harnessing the natural thickening power of oats. When cooked correctly, oatmeal releases its starches, creating a luscious texture without the need for additional thickeners. This technique not only prevents the dreaded burnt bottom but also ensures each spoonful is perfectly smooth and velvety. The secret is constant stirring, which distributes heat evenly and prevents hot spots. By employing the right tools and methods, even novice cooks can achieve restaurant-quality oatmeal at home. This guide delves into the science behind starch gelatinization, the importance of consistent stirring, and tips to elevate your oatmeal game.
Notes
The science behind creamy oatmeal lies in starch gelatinization. As oats cook, their starches absorb water and swell, thickening the mixture. Constant stirring prevents the formation of a scorched layer at the bottom by distributing heat evenly. A common mistake is using too high of heat, which can lead to scorching; always start with medium-low heat. For make-ahead oatmeal, store in an airtight container in the fridge for up to 3 days. Reheat gently on the stovetop with a splash of milk to restore creaminess. Safety tip: use oven mitts when handling the saucepan to avoid burns.
Steps
- 1 Gather all ingredients and tools before starting.
- 2 Combine 1 cup of rolled oats and 2 cups of water or milk in a medium saucepan.
- 3 Heat the mixture over medium-low heat.
- 4 Using a heatproof spatula, stir constantly to prevent scorching.
- 5 Watch for small bubbles forming around the edges, indicating the oats are cooking.
- 6 Continue stirring, adjusting heat as necessary to maintain gentle simmering.
- 7 Cook for about 10-15 minutes, until the oats are tender and the mixture thickens.
- 8 Remove from heat and let stand for 1 minute before serving.
- 9 Taste and adjust consistency with more liquid if needed.
- 10 Serve immediately with desired toppings.
Ingredients to explore
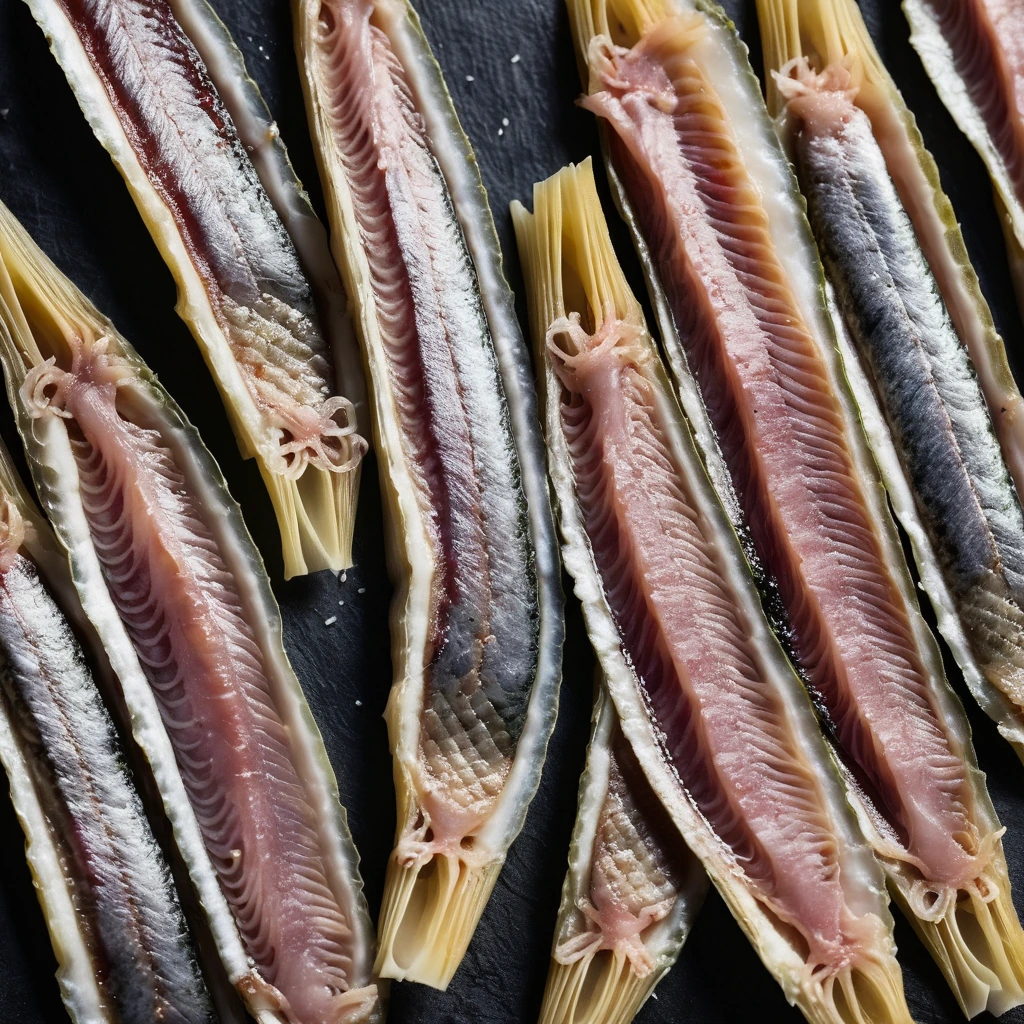
Anchovy Fillets
Silvery and succulent, anchovy fillets are a briny treasure from the sea. Their rich, umami flavor adds depth to dishes, making them a beloved ingredient in kitchens worldwide.

Anaheim Peppers
Anaheim peppers are a mild chili pepper variety named after Anaheim, California, where they were first cultivated commercially. Originating from the New Mexico region, these peppers are celebrated for their versatility and gentle heat. They possess a flavor that is mildly sweet with a subtle tang, and a pleasant vegetal note reminiscent of green bell peppers, but with a hint of spice. Their texture is firm and crisp when fresh, becoming tender and slightly smoky when roasted or cooked. In cooking, Anaheim peppers behave well across a range of techniques, from grilling and roasting to stuffing and sautéing, contributing a nuanced depth without overwhelming other ingredients with heat.
Recipes to try
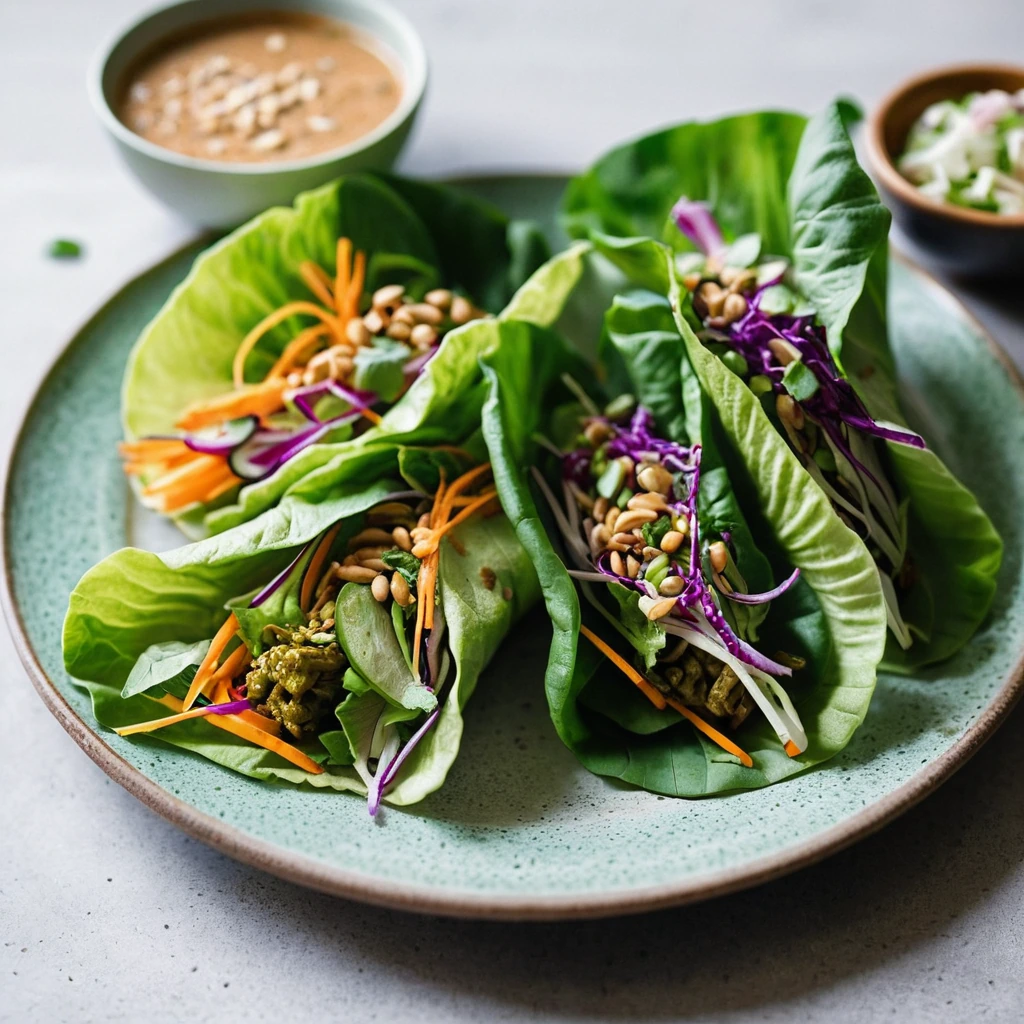
Thai Peanut Veggie Lettuce Wraps
Crispy, fresh veggies hugged by buttery lettuce leaves, drizzled with a creamy, tangy peanut sauce that'll make your taste buds do the tango.
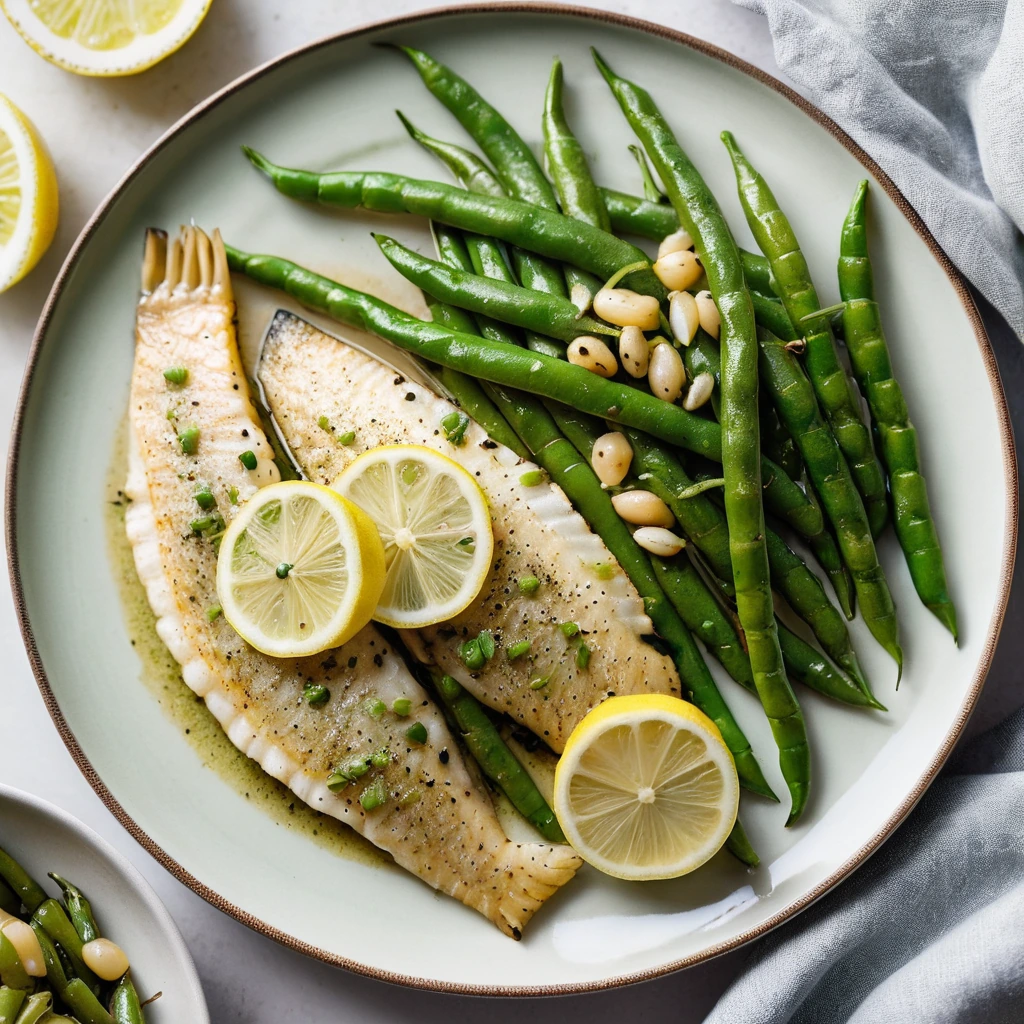
Lemon Pepper Tilapia with Garlic Green Beans
Zesty lemon pepper tilapia fillets served with garlicky, tender-crisp green beans make for a bright and satisfying weeknight meal.