Sous Vide: Bagging, Temps, and Finishing Sear
Sous vide cooking is a culinary technique that ensures your proteins are cooked to perfection every time. The process begins with sealing your food in an airtight bag, followed by submerging it in a water bath held at a precise temperature. This method guarantees even cooking, preserves the natural juices, and allows for incredible flavor infusion. Selecting the right bag is crucial; vacuum sealing is ideal, but if you don’t have a vacuum sealer, the water displacement method works well too. Once your food is safely nestled in its bag, setting the correct water temperature is key. Each type of protein has its ideal temperature to ensure it reaches the desired level of doneness without overcooking. After cooking, many dishes benefit from a quick sear to achieve a crispy exterior. Mastering sous vide requires understanding these steps: bagging, temperature control, and finishing with a sear. Let's dive into the details of each stage to elevate your home cooking to restaurant quality.
Notes
The sous vide technique works by denaturing proteins at a controlled rate, ensuring even cooking without the risk of overcooking. A common mistake is not properly sealing the bag, which can lead to water leakage and potential contamination. Always double-check your seal before submerging. Safety is paramount; ensure your water bath maintains a consistent temperature and never leave it unattended for long periods. For make-ahead convenience, you can sous vide cook proteins a day in advance and store them in the refrigerator. When ready to serve, simply reheat gently and apply the finishing sear. This method not only saves time but also ensures consistent results.
Steps
- 1 Select fresh, high-quality protein for best results.
- 2 Season your protein generously with salt, pepper, and desired herbs or spices.
- 3 Place the seasoned protein into a food-grade plastic bag.
- 4 Remove air from the bag using a vacuum sealer or the water displacement method.
- 5 Preheat your water bath to the desired temperature based on the protein's ideal doneness.
- 6 Submerge the sealed bag in the water bath, ensuring it is fully covered.
- 7 Cook for the recommended time, typically 1 to 4 hours depending on the protein.
- 8 Prepare a hot skillet with oil or butter for the finishing sear.
- 9 Carefully remove the protein from the bag and pat dry with paper towels.
- 10 Sear the protein quickly on all sides in the hot skillet to develop a crust.
- 11 Rest the protein for a few minutes before slicing or serving.
- 12 Optional: Enhance presentation with fresh herbs or a drizzle of sauce.
- 13 Check internal temperature with a meat thermometer to ensure it's safely cooked.
Ingredients to explore
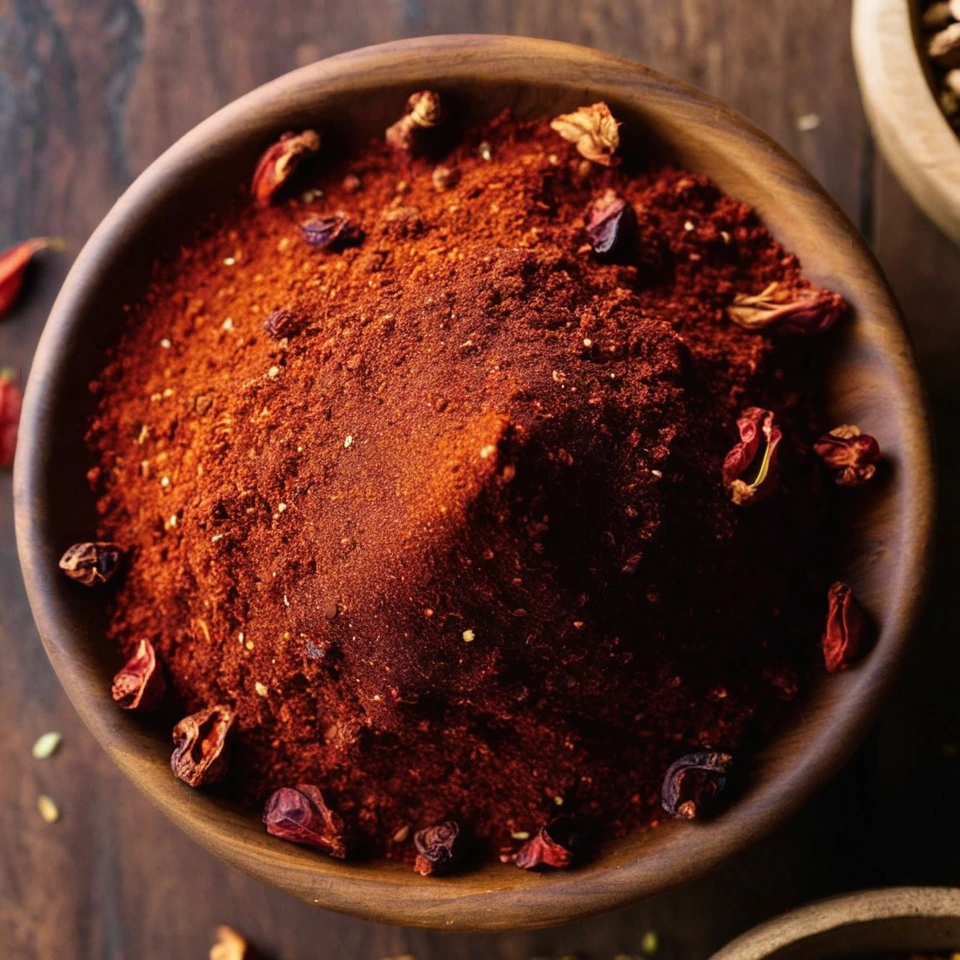
Aleppo Pepper
Aleppo pepper offers a harmonious balance of heat and sweetness, with a subtle fruity aroma reminiscent of sun-dried tomatoes and currants. Originating from the region around Aleppo, Syria, it has a fine, slightly coarse texture that shatters easily between fingers. Its mild yet complex flavor profile makes it a prized seasoning for enhancing dishes without overwhelming them. Valued for its versatility, it bridges the gap between spice and seasoning, bringing a touch of warmth and depth to a variety of cuisines.

2% Milk
Creamy and just a touch lighter than whole milk, 2% milk offers a perfect balance of richness and reduced fat. Its smooth texture and subtle sweetness make it a delightful choice for sipping or cooking.
Recipes to try

Strawberry Cream Cheese Stuffed French Toast
Imagine warm, golden French toast stuffed with a tangy cream cheese and sweet strawberry surprise – breakfast just got a gourmet upgrade.
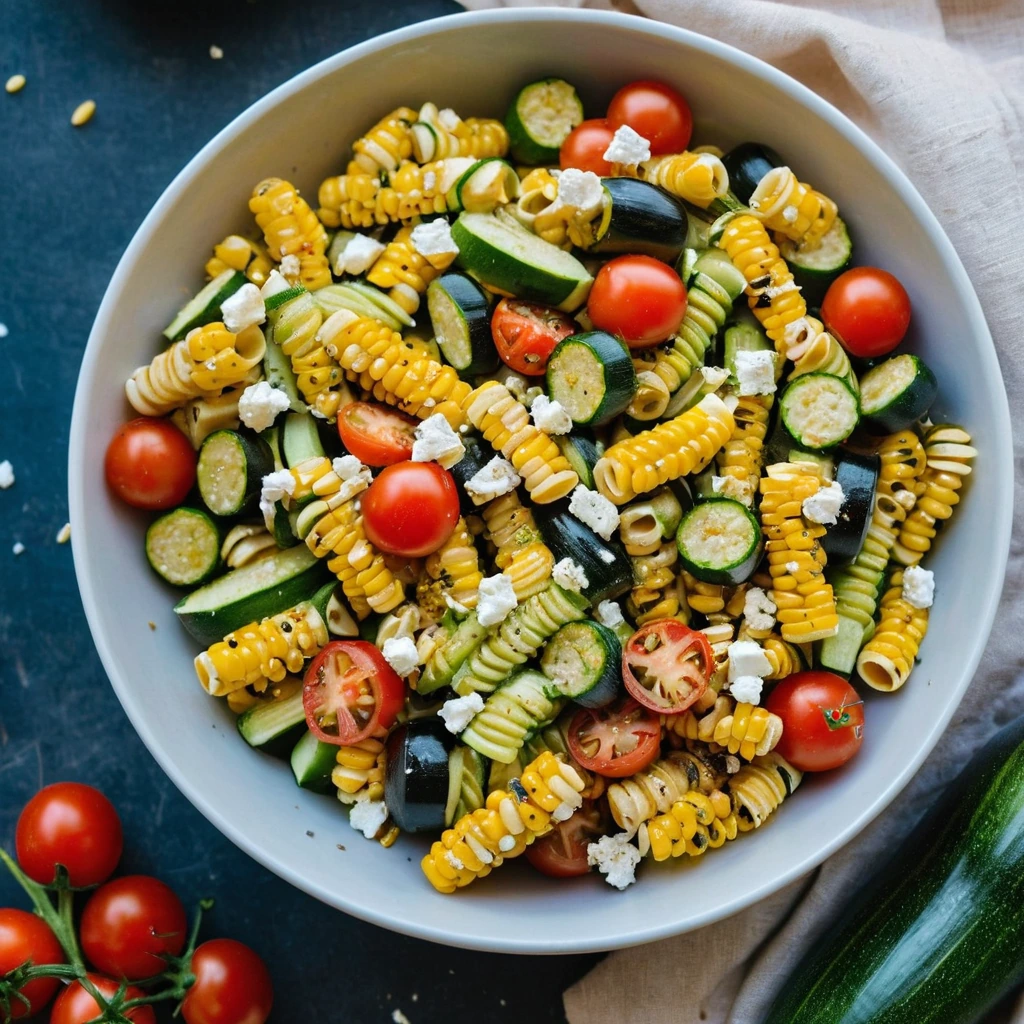
Roasted Zucchini, Corn, and Tomato Pasta Salad
This vibrant pasta salad is bursting with smoky roasted veggies and tangy feta, making every bite a taste of summer.