Seafood: Pin Boning Salmon Fillets
Pin boning salmon fillets is a culinary technique that removes the small, delicate bones left in a fillet after the main lateral line has been taken out. These tiny bones, though often missed during commercial processing, can disrupt the dining experience if left unchecked. Fear not, home cooks! With a little patience and the right guidance, you can master the art of pin boning. This technique not only enhances the texture and enjoyment of your salmon dishes but also boosts your culinary confidence. First, gather your tools: a clean, sharp fillet knife or a pair of tweezers is essential. Understanding the anatomy of the salmon fillet helps immensely; visualize where these pin bones lie, typically running parallel to the skin and tapering towards the tail. The key is to apply gentle pressure to avoid tearing the fillet. Begin by scanning the fillet against light to spot the translucent bones. Once identified, you'll use precise movements to extract them. This skill is invaluable for creating restaurant-quality dishes at home, whether you're searing, grilling, or baking your salmon. With practice, you'll be able to work swiftly and confidently, ensuring your guests enjoy nothing but tender, succulent bites of perfectly boneless salmon.
Notes
Pin boning works by exploiting the natural structure of the bones, making them easy to extract with minimal disruption to the fillet. The key is patience; rushing can lead to tearing the delicate flesh. A common mistake is using a dull knife, which can damage the fillet. Always ensure your tools are sharp and clean. Safety is paramount, so take care when handling sharp objects. For storage, pin-boned salmon can be kept in the refrigerator for up to two days or frozen for longer-term storage. Place it in an airtight container or wrap it tightly in plastic wrap to maintain freshness.
Steps
- 1 Place the salmon fillet skin-side down on a clean cutting board.
- 2 Hold the fillet firmly with one hand and a pair of tweezers or a fillet knife with the other.
- 3 Hold the fillet up to a light source to clearly see the pin bones.
- 4 Starting at the tail end, locate the first pin bone.
- 5 Gently grasp the bone with the tweezers or carefully slide the knife tip under it.
- 6 Pull the bone straight out with steady, even pressure.
- 7 Repeat the process for each pin bone, working towards the head.
- 8 Check the fillet again against the light to ensure no bones remain.
- 9 Run your fingers lightly over the fillet to feel for any missed bones.
- 10 If using a knife, be cautious not to cut into the flesh while removing bones.
- 11 Dispose of the bones properly.
- 12 Rinse the fillet gently under cold water to clean any residual bone fragments.
- 13 Pat the fillet dry with paper towels before cooking.
- 14 Your salmon is now ready for your chosen recipe.
Ingredients to explore

Recipes to try
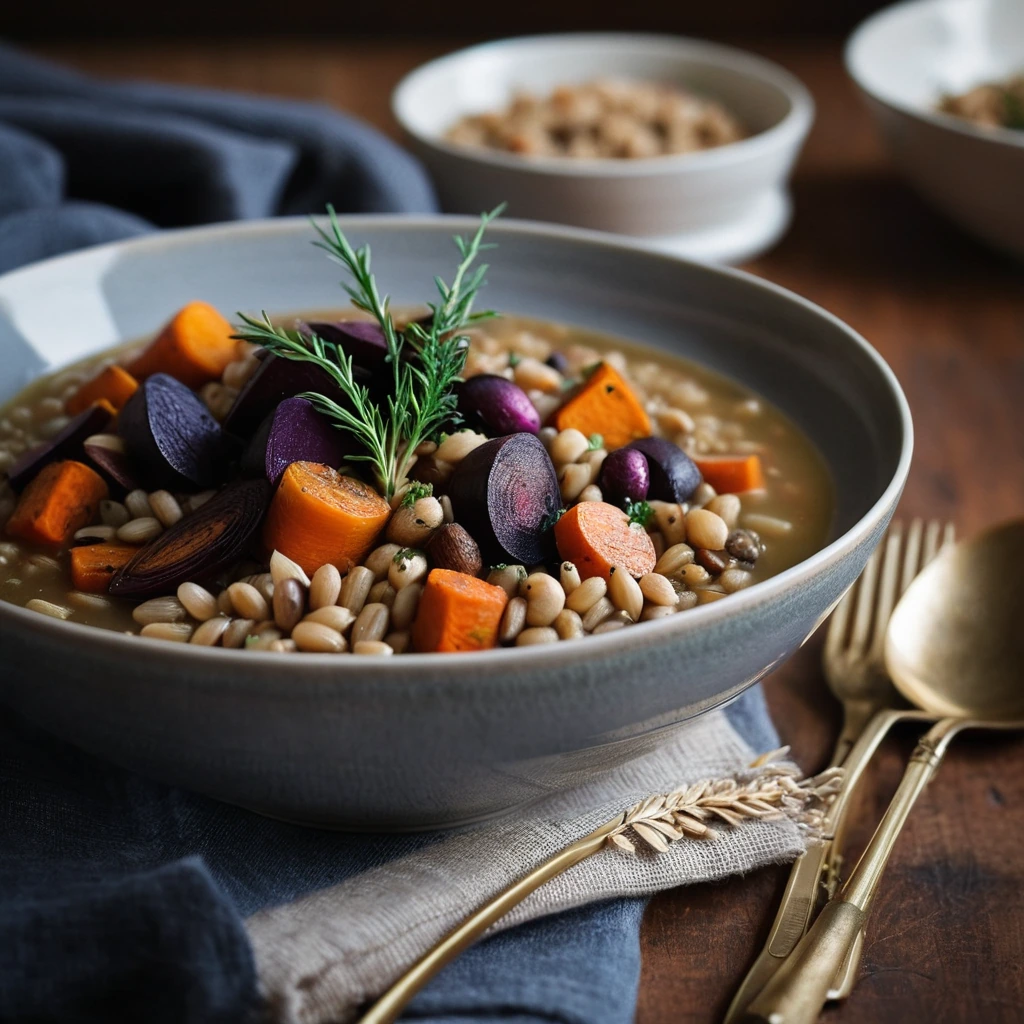
Roasted Root Vegetable and Barley Stew
Hearty and deeply flavorful, this stew marries caramelized root veggies with chewy barley for a comforting bowlful of warmth.
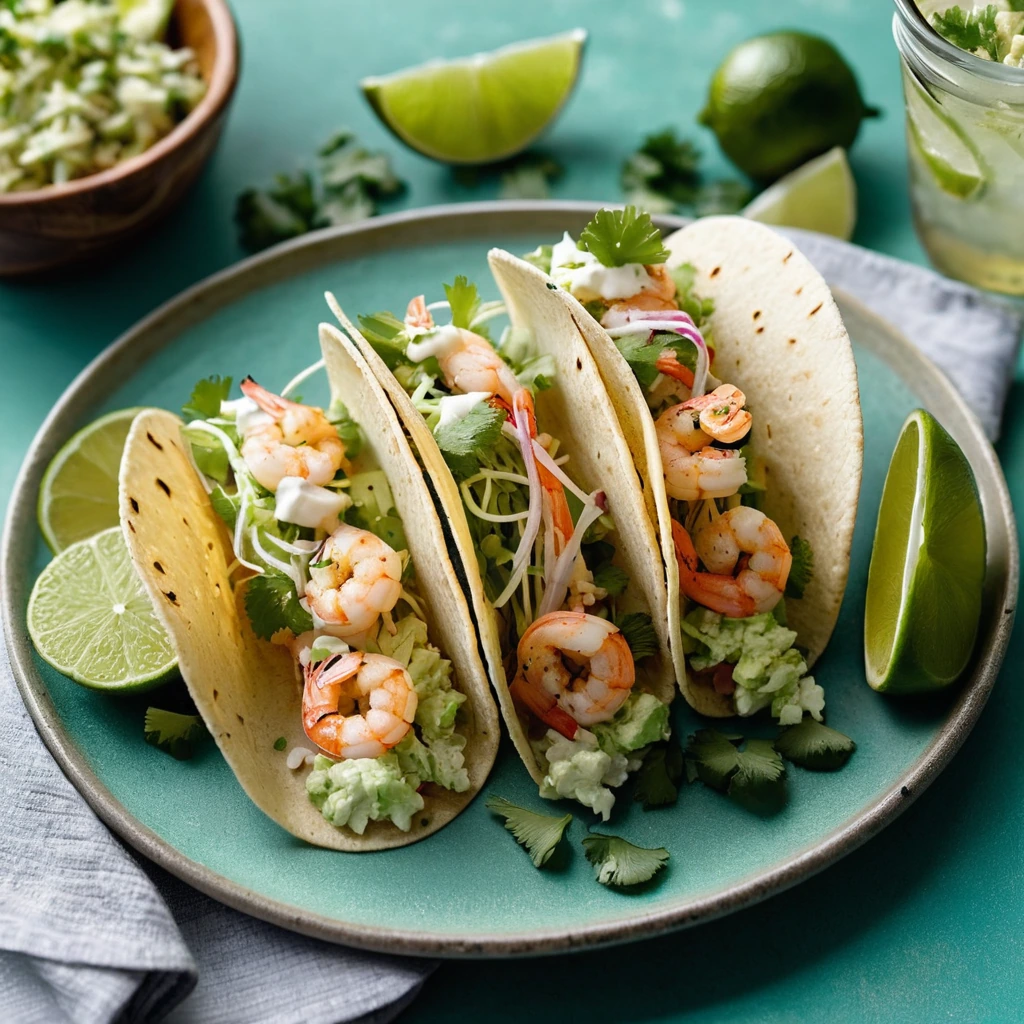
Shrimp Tacos with Cilantro Lime Slaw
Juicy grilled shrimp nestled in warm tortillas, topped with a vibrant cilantro lime slaw that's as refreshing as a sea breeze.