Sauce Technique: Building Pan Gravies from Roast Drippings
Creating a rich, flavorful pan gravy from roast drippings is an art that transforms a simple meal into a culinary masterpiece. The technique leverages the natural juices and browned bits left in the roasting pan to create a sauce that is deeply savory and satisfying. At its core, pan gravy is an emulsion of fat, flour, and liquid, seasoned to perfection. The process begins with deglazing the pan to capture the caramelized bits, known as fond, which are packed with flavor. From there, you'll thicken the mixture with a roux or cornstarch, ensuring a smooth, velvety texture. Achieving the right consistency requires patience and attention, as does balancing the seasoning to complement your roast. This technique is versatile, adaptable to various meats and dietary needs, and is a skill worth mastering for any home cook looking to elevate their dishes. Understanding the science behind the process helps demystify the technique, making it accessible and repeatable. By following precise steps and paying attention to visual and textural cues, you can create a gravy that is both delicious and impressive.
Notes
The science behind pan gravy is rooted in creating an emulsion where fat and liquid are stabilized by flour or cornstarch. Cooking the flour first removes its raw taste and activates its thickening power. Common mistakes include adding liquid too quickly, which can lead to lumps, or not scraping up enough fond, which is where much of the flavor lies. To avoid lumps, ensure the flour is fully incorporated before adding liquid. Safety-wise, be cautious of splatters when deglazing with hot liquids. For make-ahead, store cooled gravy in an airtight container in the fridge for up to 3 days. Reheat gently over low heat, adding a splash of liquid if needed to restore consistency.
Steps
- 1 Remove the roast from the pan and set aside to rest.
- 2 Place the roasting pan on two burners over medium heat.
- 3 Pour off all but 2 tablespoons of fat from the pan; if needed, add butter or oil to reach this amount.
- 4 Sprinkle ¼ cup of all-purpose flour evenly over the fat and whisk constantly for 1-2 minutes to cook the raw flour taste.
- 5 Slowly pour in 2 cups of liquid (such as broth or wine), whisking continuously to prevent lumps.
- 6 Bring the mixture to a simmer, scraping up any browned bits from the bottom of the pan.
- 7 Simmer, whisking occasionally, until the gravy thickens to your desired consistency, about 5-7 minutes.
- 8 Strain the gravy through a fine-mesh sieve into a saucepan to remove any solids.
- 9 Season with salt and pepper to taste, adjusting as necessary.
- 10 Simmer gently over low heat to keep warm until ready to serve.
- 11 For a smoother texture, you can use an immersion blender before straining.
- 12 If the gravy is too thick, thin it with additional broth or water, a tablespoon at a time.
- 13 Taste and adjust seasoning again before serving.
Ingredients to explore
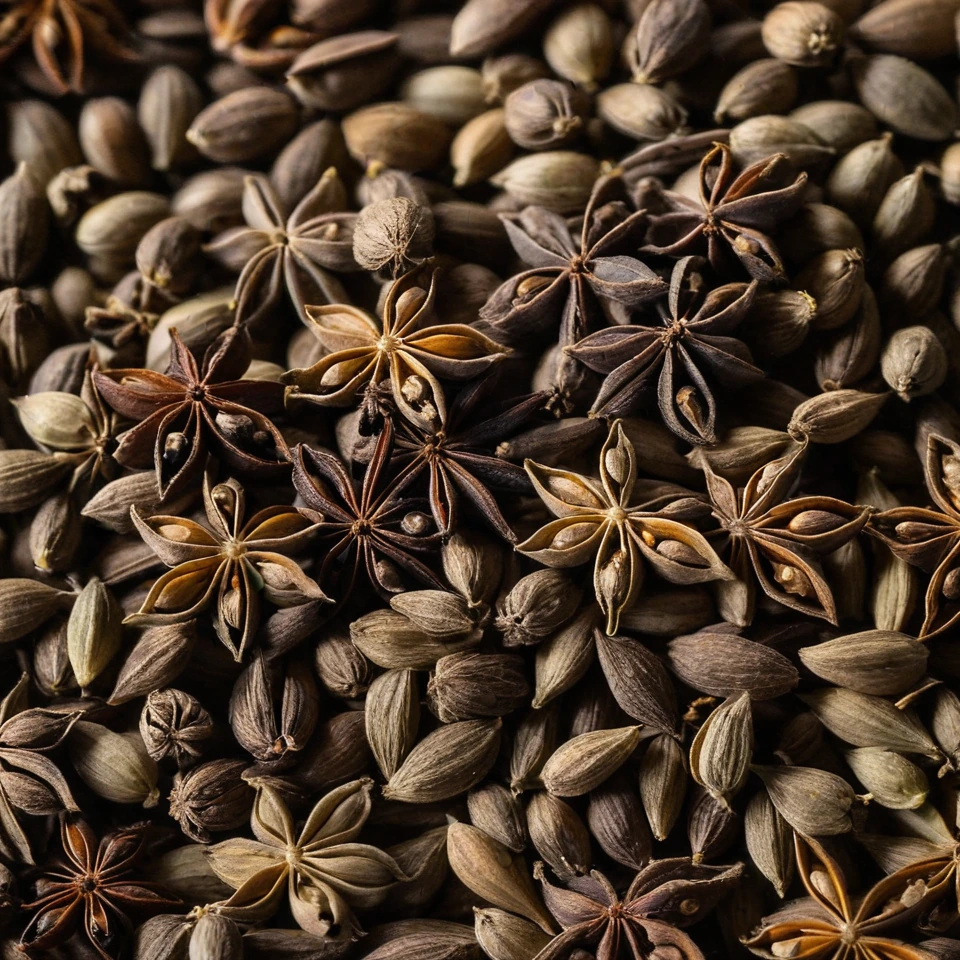
Anise Seeds
Anise seeds are small, oval seeds with a sweet, licorice-like flavor. They are commonly used in both sweet and savory dishes, offering a warm, aromatic taste.
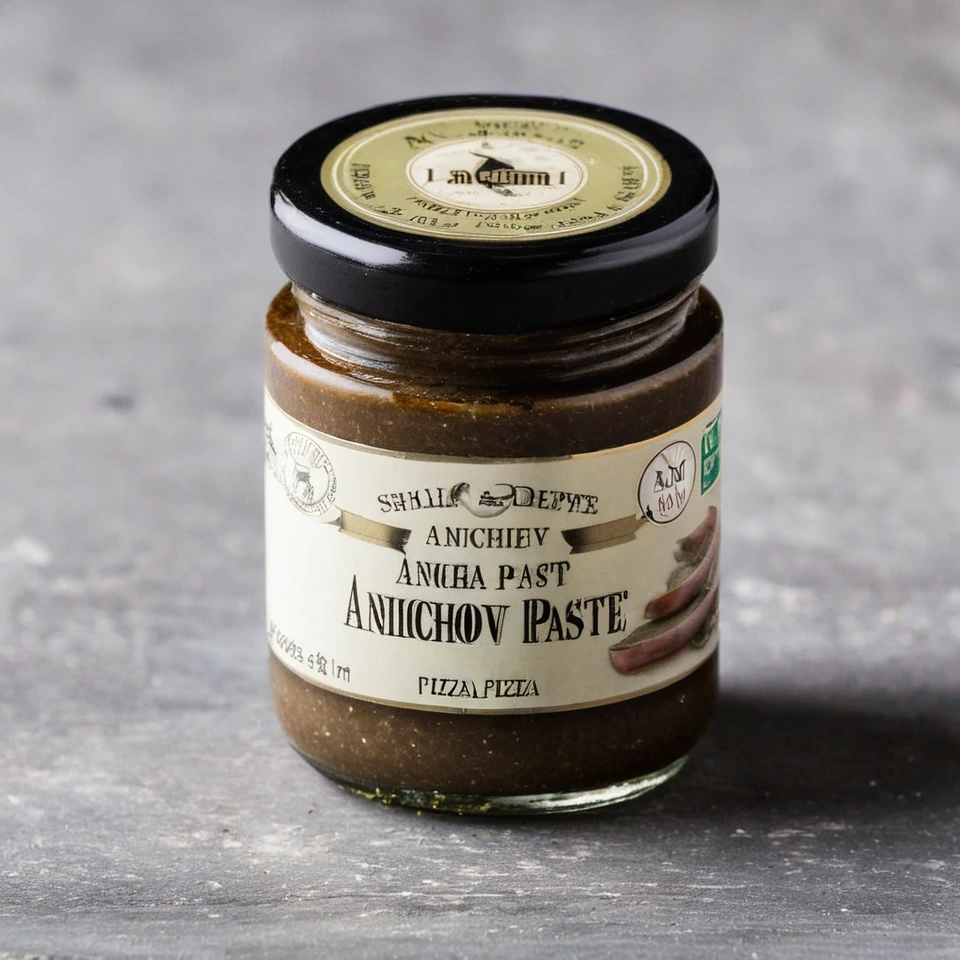
Anchovy Paste
Anchovy paste is a rich, salty spread made from finely ground anchovies, salt, and sometimes olive oil. It offers a deep umami flavor that enhances a variety of dishes.
Recipes to try
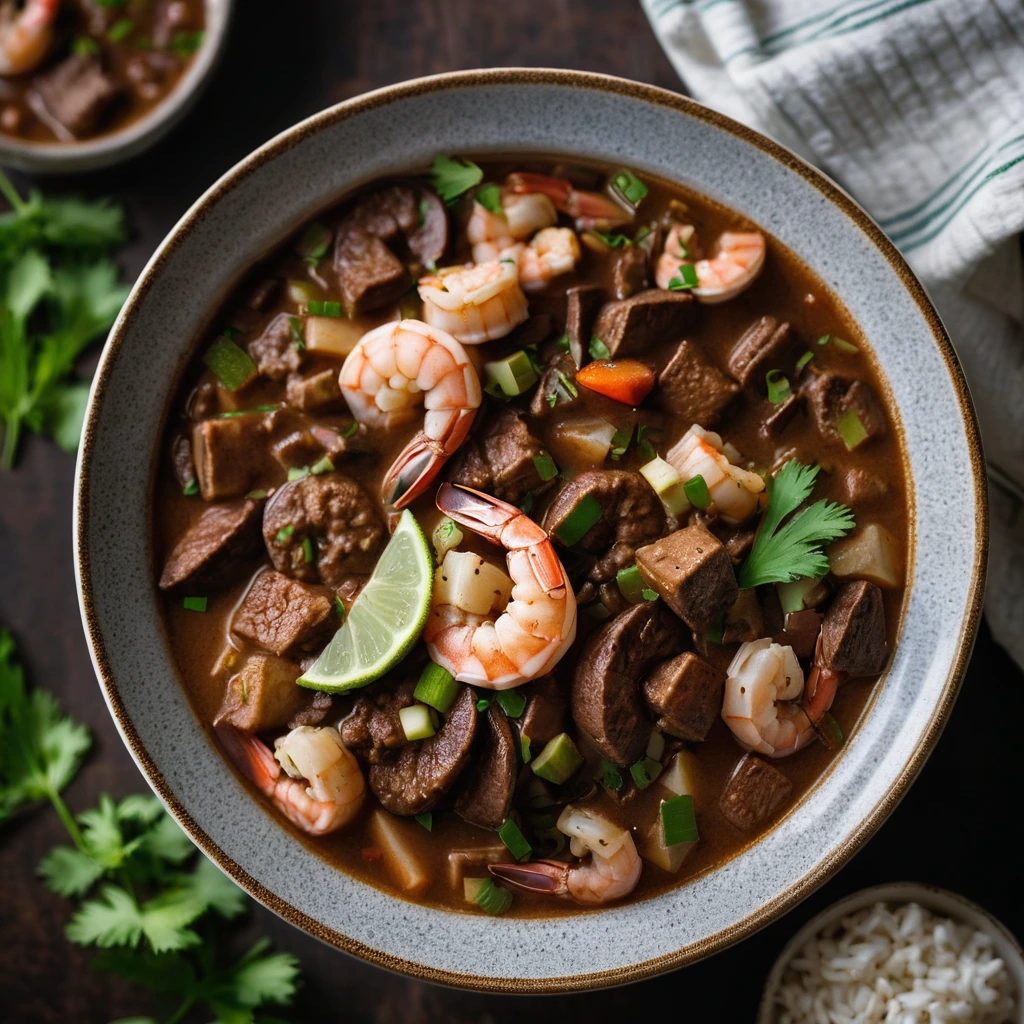
Shrimp and Sausage Gumbo Style Stew
A hearty, soul-warming stew packed with plump shrimp, spicy sausage, and a rich, dark roux-based broth.
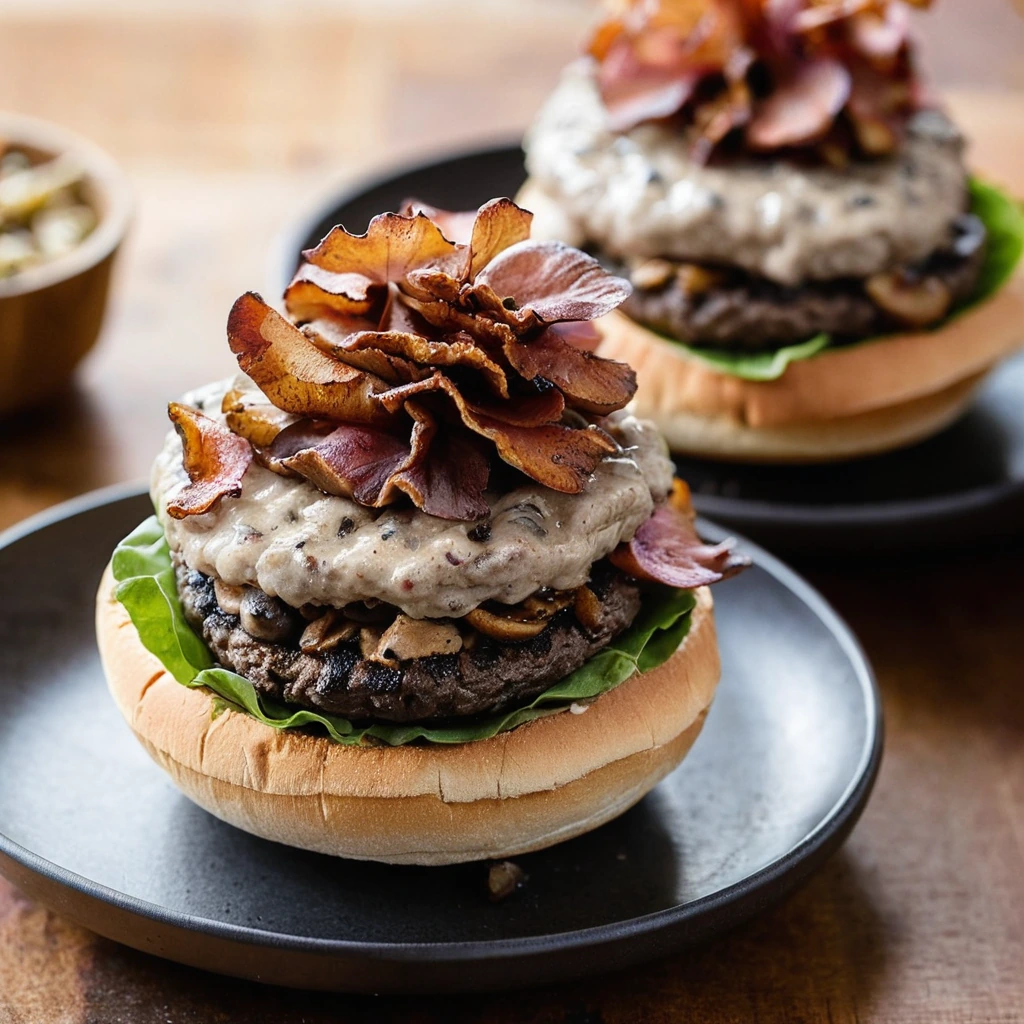
Maple Bacon Mushroom Burger Bowls
Sweet, smoky, and savory come together in these hearty bowls, where juicy burger patties meet crispy bacon and earthy mushrooms.