Preserving: Vacuum Sealing for Freezer Storage
Vacuum sealing is a game-changer for freezer storage, keeping your food fresher for longer by removing air and creating an airtight seal. This technique is especially beneficial for preserving meats, vegetables, and even cooked dishes. By extending the shelf life of your groceries, vacuum sealing helps reduce food waste and saves you money. It's also a fantastic way to organize your freezer, making meal prep a breeze. Whether you're a seasoned home cook or just starting out, mastering vacuum sealing will elevate your food storage game. The process is straightforward and requires minimal equipment, making it accessible to everyone. Understanding how vacuum sealing works and following the correct steps ensures your food maintains its quality and flavor for months. Let's dive into the art of vacuum sealing and transform your freezer into a well-stocked pantry.
Notes
Vacuum sealing works by removing oxygen from the bag, which inhibits the growth of aerobic bacteria and mold, thus extending the shelf life of your food. One common mistake is sealing warm or hot food, which can damage the bag and ruin the seal. Always ensure your vacuum sealer is clean and in good working condition to avoid malfunctions. For best results, freeze delicate items like herbs or soft cheeses in a single layer on a tray before sealing to prevent clumping. Vacuum-sealed items can be stored in the freezer for up to 2-3 years, depending on the food type. When ready to use, thaw items safely in the refrigerator. Proper storage and handling are key to maintaining food quality.
Steps
- 1 Select the food items you want to vacuum seal and ensure they are completely cool before sealing.
- 2 Portion the food into appropriate serving sizes for easy use later.
- 3 Place the food in the center of a vacuum seal bag, leaving enough space at the top for sealing.
- 4 Remove as much air as possible from the bag manually before sealing, if your machine requires it.
- 5 Insert the open end of the bag into the vacuum sealer, following the machine's instructions.
- 6 Activate the vacuum sealer to remove air and create a tight seal, ensuring the bag is properly positioned.
- 7 Check the seal to ensure it is airtight and free of holes or weak spots.
- 8 Label each bag with the contents and date for easy identification in the freezer.
- 9 Store the vacuum-sealed bags flat in the freezer, stacking them neatly to save space.
Ingredients to explore
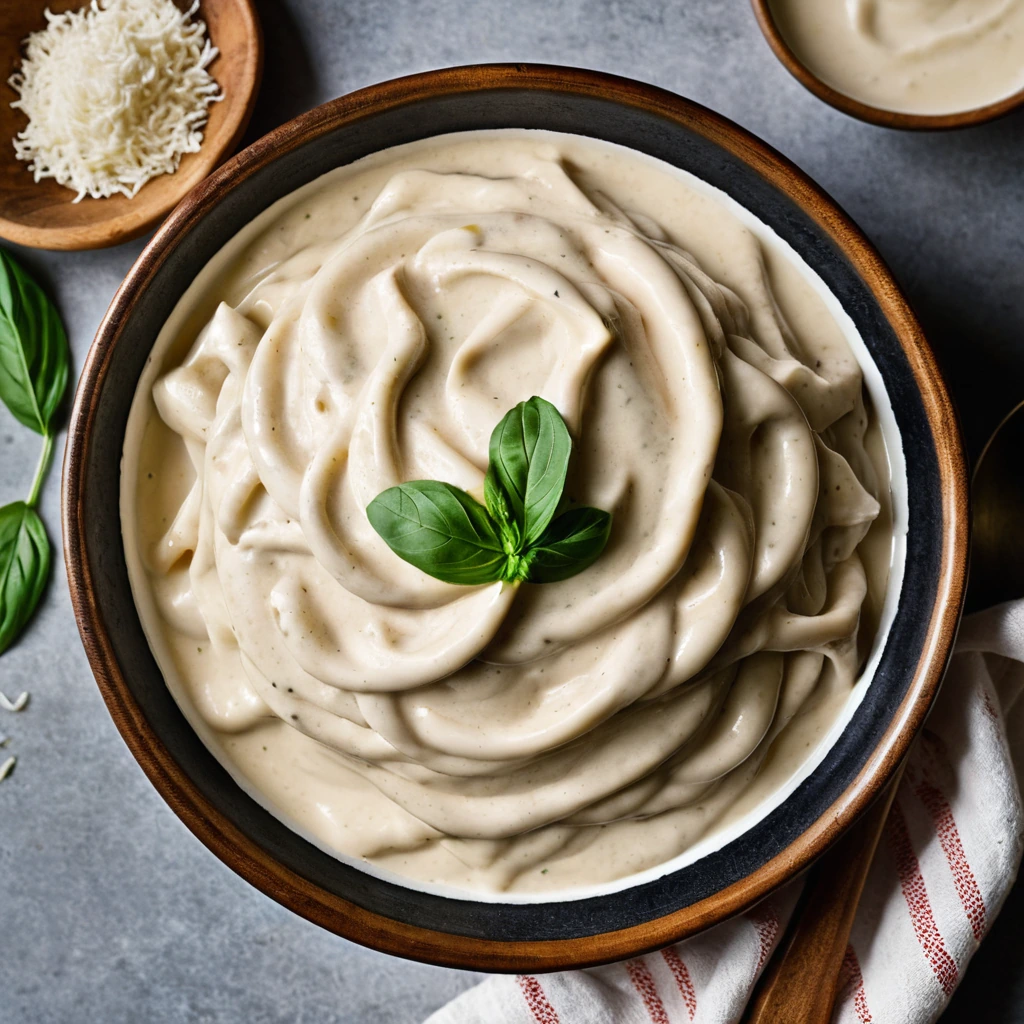
Alfredo Sauce
Creamy, rich, and utterly indulgent, Alfredo sauce is a dreamy blend of butter, heavy cream, and Parmesan cheese. Its velvety texture and savory depth make it a beloved staple in Italian-American cuisine.

Anaheim Peppers
Anaheim peppers are a mild chili pepper variety named after Anaheim, California, where they were first cultivated commercially. Originating from the New Mexico region, these peppers are celebrated for their versatility and gentle heat. They possess a flavor that is mildly sweet with a subtle tang, and a pleasant vegetal note reminiscent of green bell peppers, but with a hint of spice. Their texture is firm and crisp when fresh, becoming tender and slightly smoky when roasted or cooked. In cooking, Anaheim peppers behave well across a range of techniques, from grilling and roasting to stuffing and sautéing, contributing a nuanced depth without overwhelming other ingredients with heat.
Recipes to try
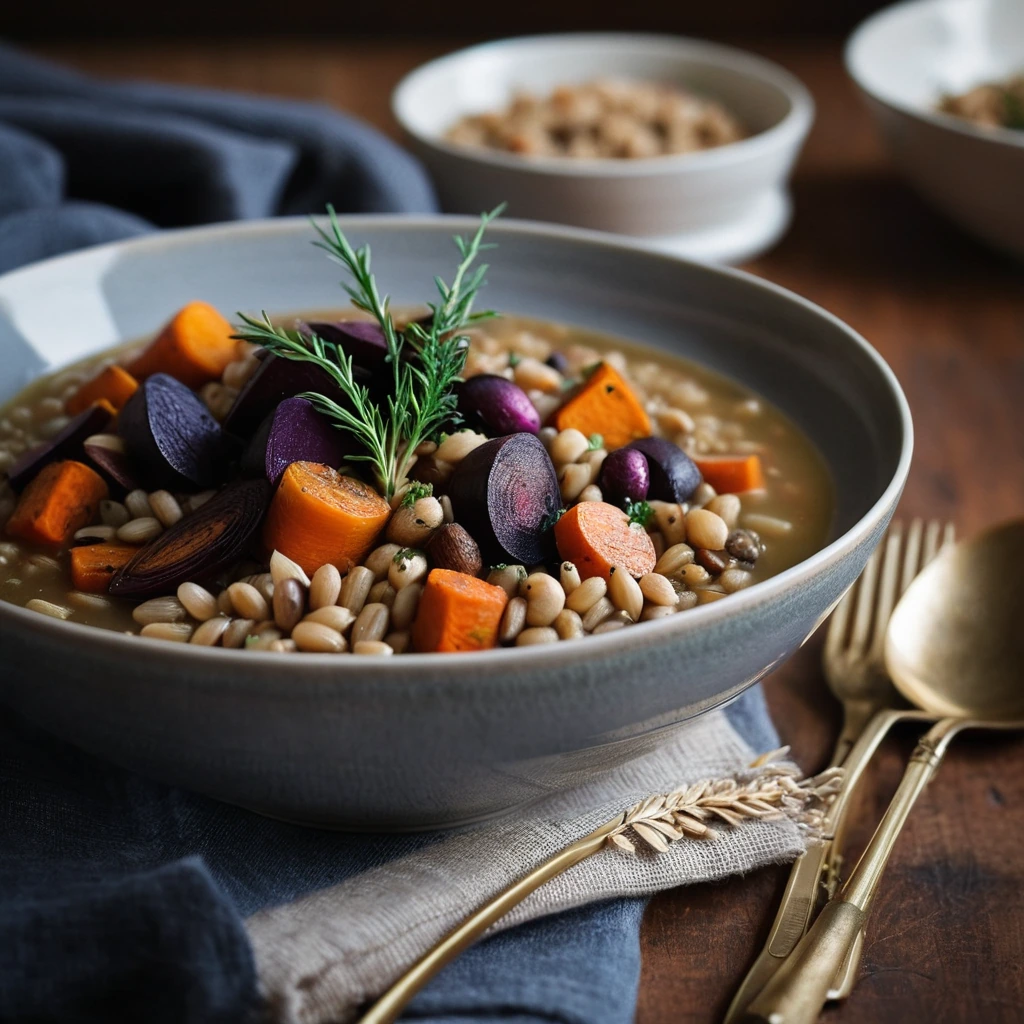
Roasted Root Vegetable and Barley Stew
Hearty and deeply flavorful, this stew marries caramelized root veggies with chewy barley for a comforting bowlful of warmth.
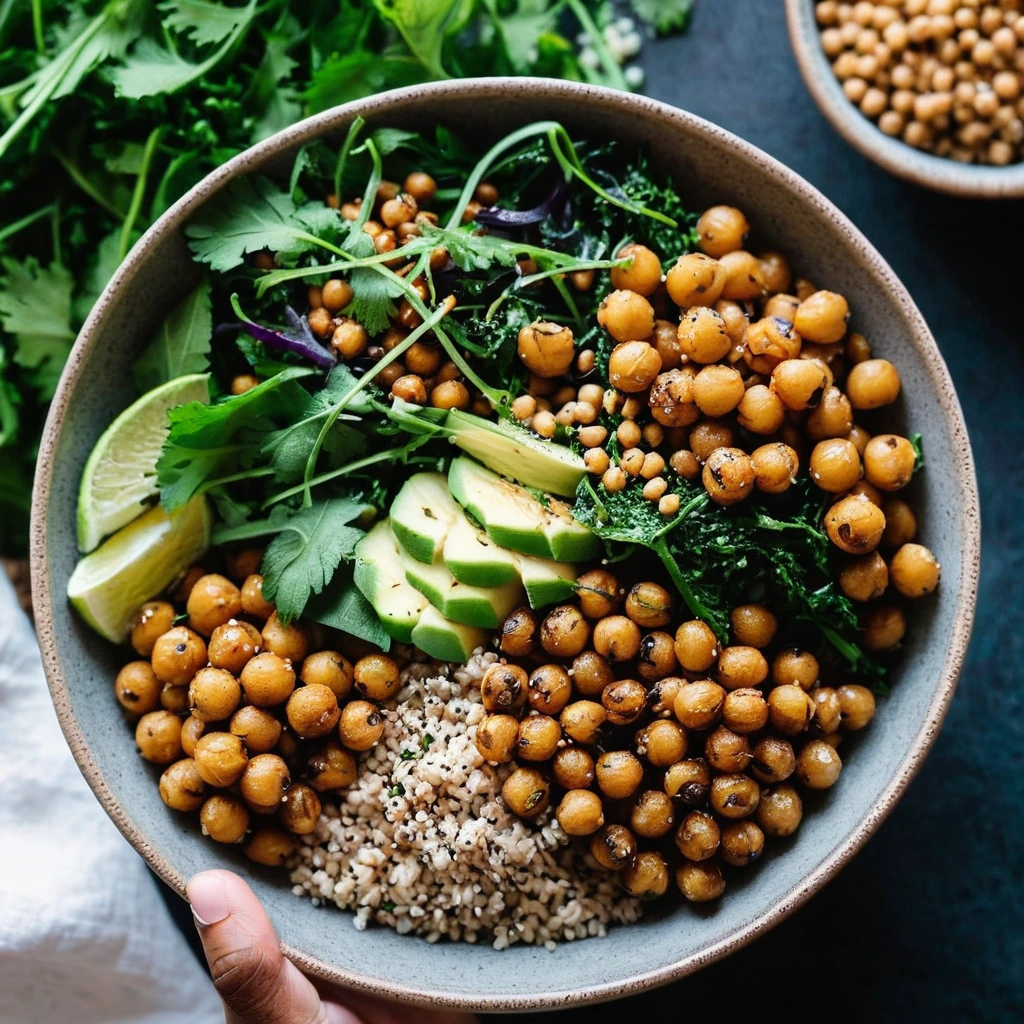
Spicy Sesame Roasted Chickpea Grain Bowls
Crispy, spicy chickpeas meet fluffy grains in a vibrant bowl that'll have your taste buds cheering for more.