Preservation Technique: Vacuum-Sealing Portions for Freezer Storage
Vacuum-sealing is a modern marvel in the kitchen, offering an efficient way to extend the life of your favorite foods. This technique removes air from a package before sealing it, which inhibits the growth of aerobic bacteria and mold, preserves flavor, and prevents freezer burn. By understanding the principles of vacuum-sealing, you can confidently store everything from delicate herbs to hearty stews. This method is especially handy for bulk purchases, leftovers, or meal prepping. It keeps food fresher for longer, allowing you to enjoy your culinary creations weeks or even months after preparation. Vacuum sealing is not just for raw meats; it's versatile enough for cooked dishes, fruits, vegetables, and even baked goods. The key is to portion your food correctly before sealing, ensuring you only thaw what you need. With the right equipment and approach, vacuum-sealing can transform your freezer into a pantry of potential, reducing waste and maximizing convenience.
Notes
The science behind vacuum-sealing lies in its ability to remove oxygen, which is vital for aerobic bacteria and mold growth. Without air, these spoilage agents are kept at bay, extending your food's shelf life. A common mistake is sealing hot food, which can lead to bag failure due to steam. Always ensure your vacuum sealer is clean and in good working order to avoid leaks or incomplete seals. For long-term storage, it's best to consume vacuum-sealed items within three to six months for optimal quality. When you're ready to use your frozen goods, thaw them safely in the refrigerator to maintain texture and taste. Lastly, while vacuum-sealed items can last longer, always trust your senses and discard anything that looks or smells off.
Steps
- 1 Prepare your food by portioning it into appropriate sizes for your meals.
- 2 Allow hot foods to cool to room temperature before sealing to prevent condensation.
- 3 Place the portioned food into a vacuum-seal bag, leaving adequate space at the top.
- 4 Ensure any liquids are sealed in a separate bag or container to avoid leaks.
- 5 Insert the open end of the bag into the vacuum sealer slot.
- 6 Start the vacuum sealer and let it remove air from the bag automatically.
- 7 Once the air is removed, allow the machine to seal the bag securely.
- 8 Check the seal to ensure it is airtight before storing.
- 9 Label each bag with the contents and date for easy identification.
- 10 Store your vacuum-sealed portions flat in the freezer to maximize space and promote even freezing.
- 11 Allow ample space between packages to ensure proper air circulation in the freezer.
- 12 Wait until portions are fully frozen before stacking to prevent crushing.
- 13 For fragile items like herbs, consider blanching them first to preserve color and texture.
Ingredients to explore
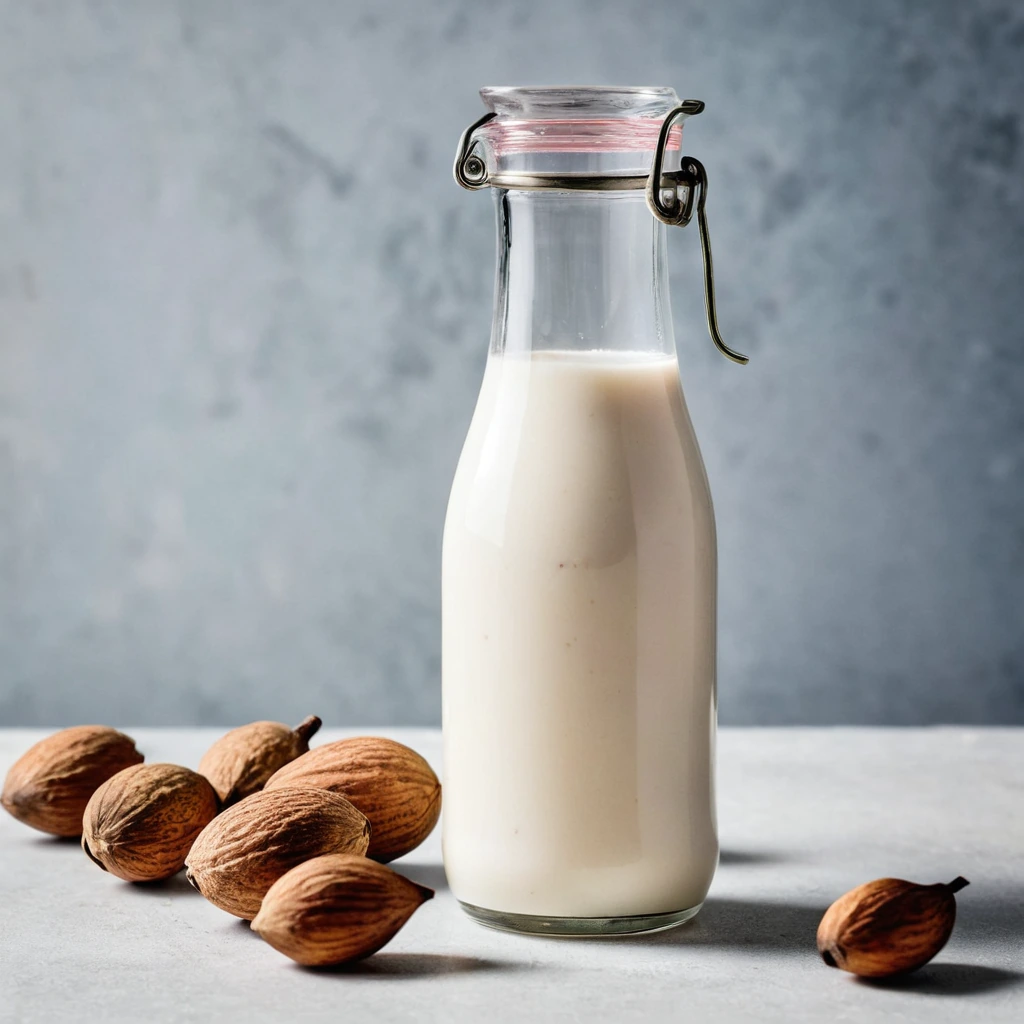
Almond Milk
Almond milk is a plant-based milk alternative made from ground almonds and water. Originating from traditional recipes in medieval Europe and the Middle East, it has gained widespread popularity in modern times as a dairy-free option. Almond milk has a subtly nutty flavor with a mild sweetness, and its aroma is reminiscent of fresh almonds. Its texture is smooth and creamy, though typically lighter than dairy milk. In cooking, almond milk behaves well in both savory and sweet applications, though it does not brown or caramelize like dairy milk. It is often used in cereals, smoothies, and baking, where its delicate flavor complements rather than overpowers other ingredients.
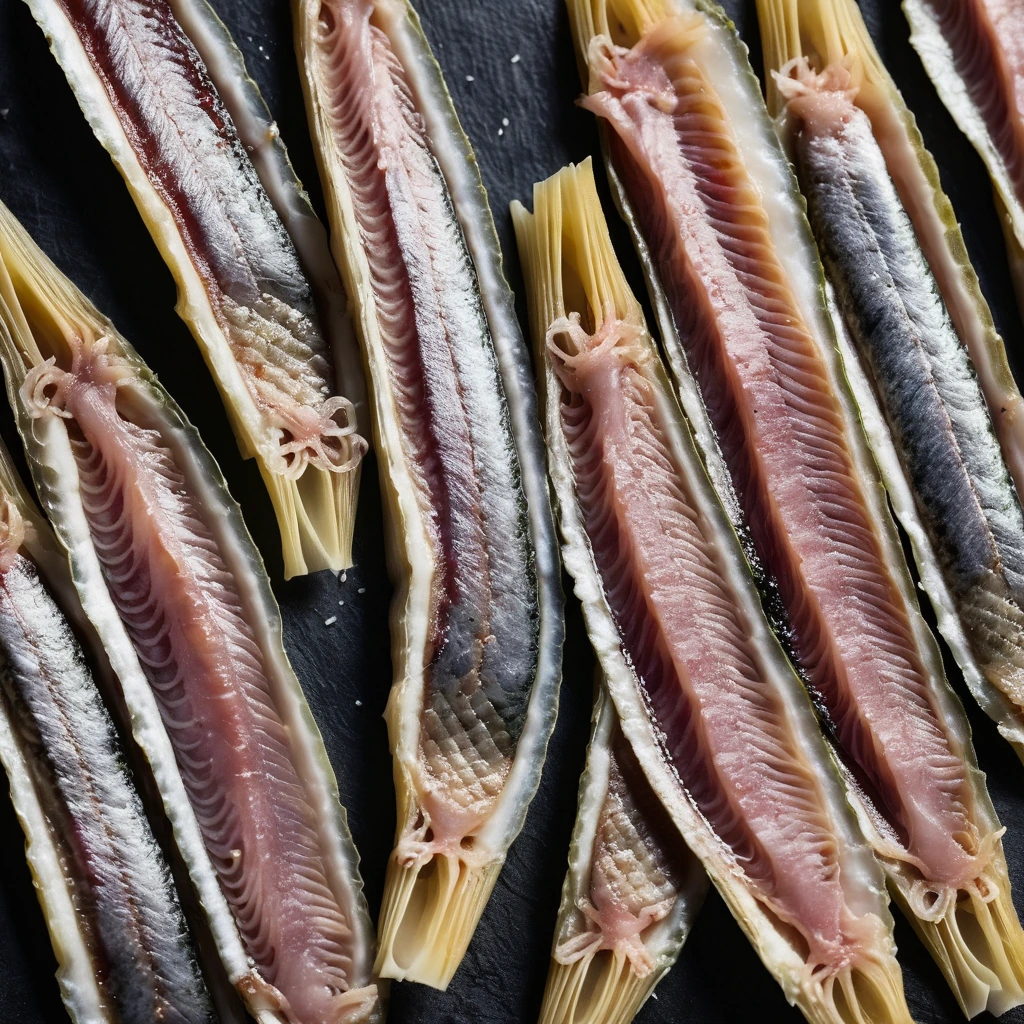
Anchovy Fillets
Silvery and succulent, anchovy fillets are a briny treasure from the sea. Their rich, umami flavor adds depth to dishes, making them a beloved ingredient in kitchens worldwide.