Meat: Scoring and Rendering Fat Caps
Scoring and rendering fat caps is a technique that transforms ordinary cuts of meat into juicy, flavorful masterpieces. By making precise cuts into the fat layer, you allow heat to penetrate more evenly, ensuring that the fat renders properly and the meat cooks uniformly. This technique is particularly useful for cuts like pork belly, duck breast, or beef brisket, where a thick layer of fat can often lead to uneven cooking. Scoring the fat helps to break it down, releasing rich, unctuous juices that baste the meat as it cooks. Rendering the fat also contributes to a crisp, golden exterior that contrasts beautifully with tender, succulent meat inside. Whether you're grilling, roasting, or pan-searing, mastering this technique will elevate your dishes to new heights. Understanding the fat's structure and behavior is key to achieving the perfect balance between crispy and tender. This guide will walk you through the essentials of scoring and rendering fat caps, ensuring you get the most out of your ingredients.
Notes
Scoring the fat cap works because it increases the surface area exposed to heat, allowing for more even rendering. This technique prevents the fat from curling and shields the lean meat from direct heat, which could cause it to dry out. A common mistake is cutting too deeply into the meat, which can lead to loss of juices. Always use a sharp knife to ensure clean cuts and avoid tearing the meat. Safety is crucial when handling hot pans or grills, so use oven mitts and be mindful of splattering fat. For storage, let the meat cool completely before refrigerating. It can be stored for up to 3 days in an airtight container.
Steps
- 1 Select a cut of meat with a substantial fat cap, like pork belly or duck breast.
- 2 Using a sharp knife, hold it at a 45-degree angle to the surface of the fat cap.
- 3 Make evenly spaced cuts about 1/4 to 1/2 inch apart, cutting through the fat but not into the meat.
- 4 Turn the meat 90 degrees and repeat the process to create a crosshatch pattern.
- 5 Preheat your oven, grill, or stovetop to 375°F for initial rendering.
- 6 Place the meat, fat side down, in a preheated pan or on a grill.
- 7 Cook until the fat begins to render and turn golden brown, about 8 to 10 minutes.
- 8 Flip the meat and continue cooking to your desired internal temperature.
- 9 Monitor the fat as it renders, spooning excess fat away if necessary to prevent flare-ups.
- 10 Adjust cooking time based on the thickness of the meat and your preferred level of doneness.
- 11 For oven roasting, finish cooking at 325°F to ensure even cooking and prevent burning.
- 12 Once cooked, allow the meat to rest for at least 10 minutes before serving.
- 13 Check the internal temperature with a meat thermometer to ensure food safety and desired doneness.
Ingredients to explore
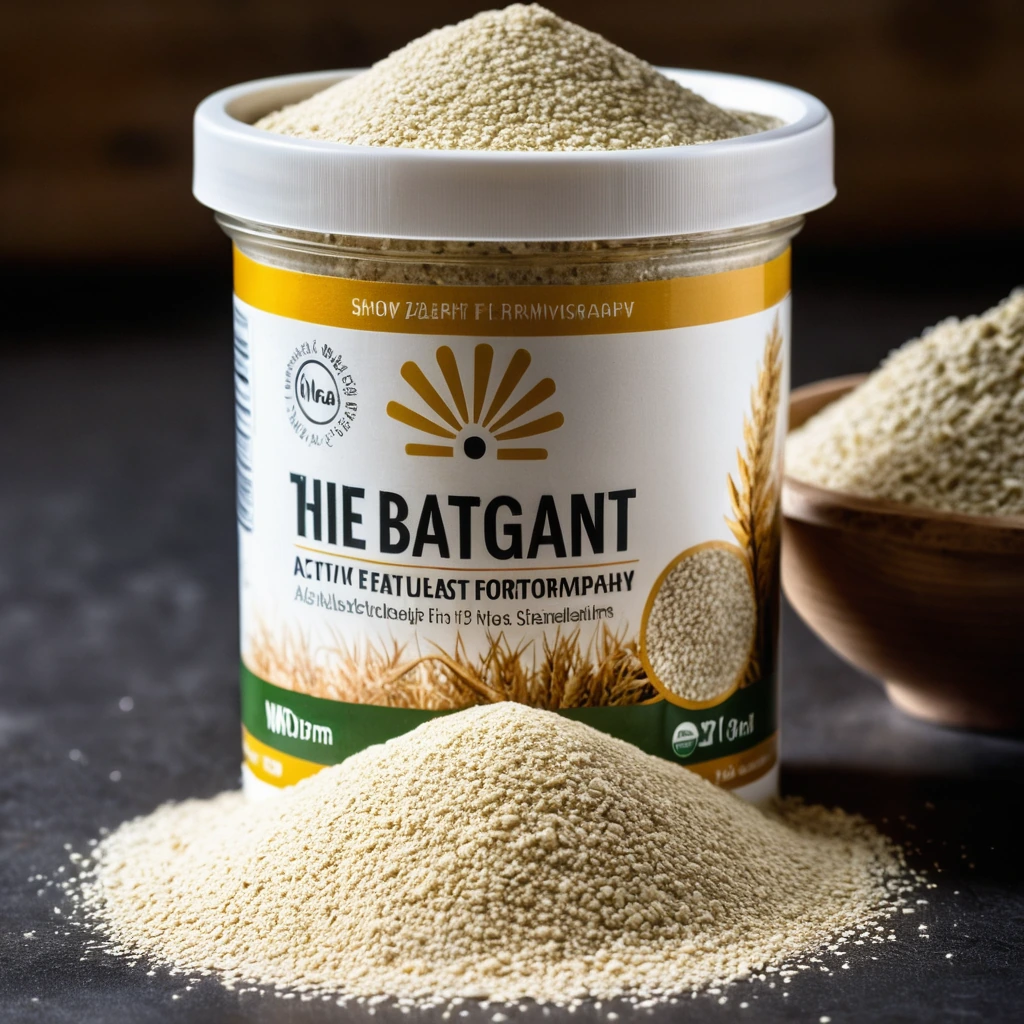
Active Dry Yeast
A fine, granulated leavening agent that brings baked goods to life with its gentle fermentation magic.

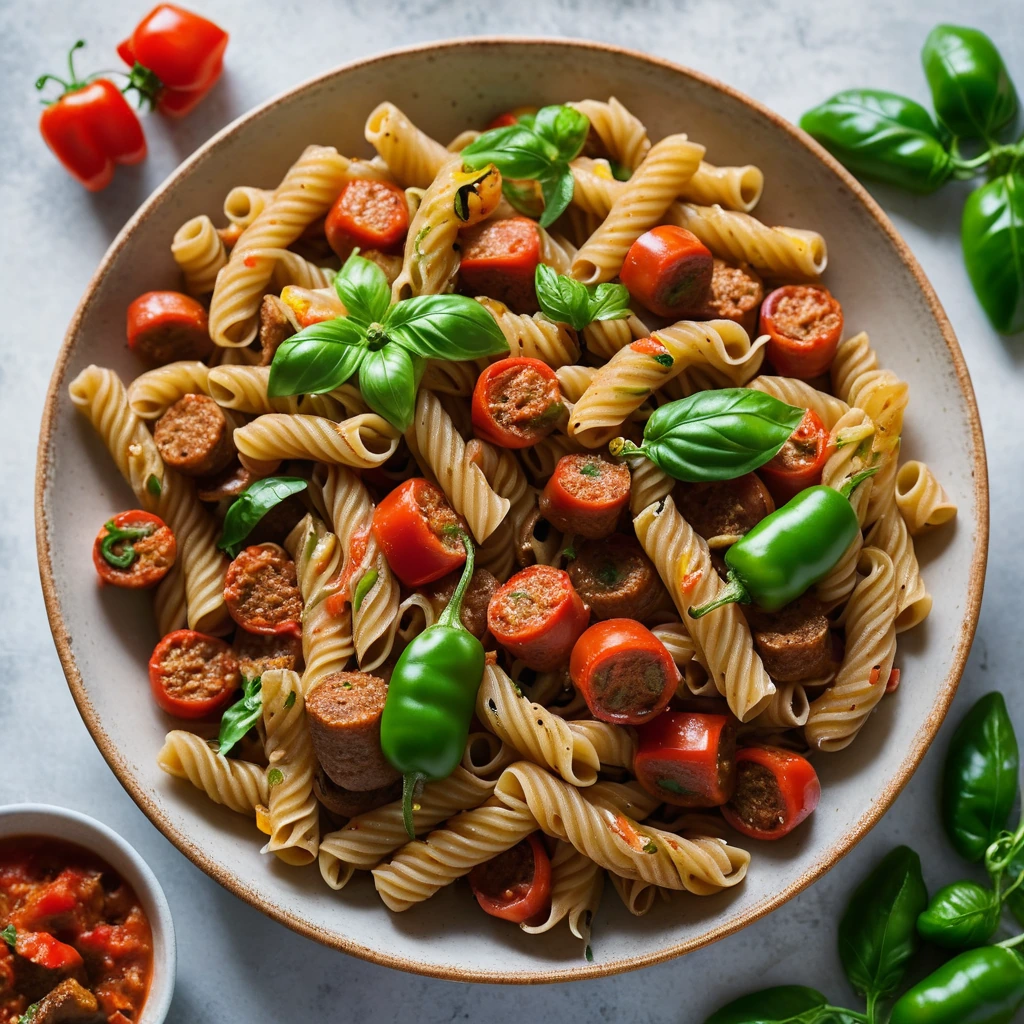
Andouille Sausage
Andouille sausage is a coarse-grained, smoked pork sausage with a rich history rooted in French cuisine, particularly from the Alsace region. It was adapted in Louisiana, where it became a staple in Cajun and Creole cooking. The sausage is known for its robust, smoky flavor with hints of garlic, pepper, and other spices, creating a spicy and savory profile. Its texture is firm yet slightly chewy, making it a hearty addition to dishes. When cooked, andouille sausage maintains its shape well and infuses dishes with its distinctive smoky essence, enhancing stews, soups, and rice dishes.