Meat: Salting Meat Ahead for Better Crust
Salting meat ahead of cooking is a game-changing technique that ensures a flavorful, deeply browned crust on your steaks, roasts, and chops. Known as dry brining, this method allows salt to work its magic over time, enhancing both texture and taste. When applied to the surface of the meat, salt draws out moisture through osmosis. This expelled liquid dissolves the salt, creating a brine that is reabsorbed by the meat. As the meat rests, the salt breaks down proteins, tenderizing the muscle fibers while also seasoning them throughout. The result is a well-seasoned exterior that caramelizes beautifully when exposed to high heat. This technique is particularly effective for thick cuts of meat like ribeye steaks or pork chops, where achieving an even crust can be challenging. By giving the salt time to work, you’re ensuring that every bite is seasoned to perfection and that the surface is primed for the Maillard reaction, creating that coveted golden-brown sear. The process is simple yet transformative, and once mastered, it will elevate your home-cooked meats to restaurant quality. We’ll walk you through the how and why of salting meat ahead, offering tips to avoid common pitfalls and ensure success every time.
Notes
The science behind dry brining lies in osmosis and protein denaturation. Salt draws moisture out of the meat, creating a brine that permeates the surface layers. This brine is reabsorbed, carrying flavor deep into the muscle fibers. The salt also denatures proteins, loosening their structure and making the meat more tender. Common mistakes include using too much or too little salt—aim for a light, even coating. Also, avoid overcrowding the meat on the rack to ensure proper air circulation. For safety, always store seasoned meat in the refrigerator. While you can prepare the meat up to 24 hours in advance, cooking it immediately after resting yields the best crust. Store leftovers in an airtight container in the fridge for up to 3 days.
Steps
- 1 Pat the meat dry with paper towels to remove any surface moisture.
- 2 Evenly sprinkle kosher salt over all surfaces of the meat.
- 3 Use your fingers to rub the salt into the meat, ensuring full coverage.
- 4 Place the meat on a wire rack set over a baking sheet to allow air circulation.
- 5 Let the meat rest uncovered in the refrigerator for 1 to 24 hours, depending on thickness.
- 6 After resting, blot the surface of the meat with paper towels to remove any moisture.
- 7 Optional: Season with freshly ground black pepper or other desired seasonings.
- 8 Preheat your cooking surface (grill, skillet, or oven) to the appropriate temperature.
- 9 Cook the meat using high heat to achieve a deep, flavorful crust.
- 10 Use a meat thermometer to check for doneness, ensuring your desired level of cook is reached.
- 11 Remove the meat from heat and let it rest for at least 5 minutes before slicing or serving.
Ingredients to explore
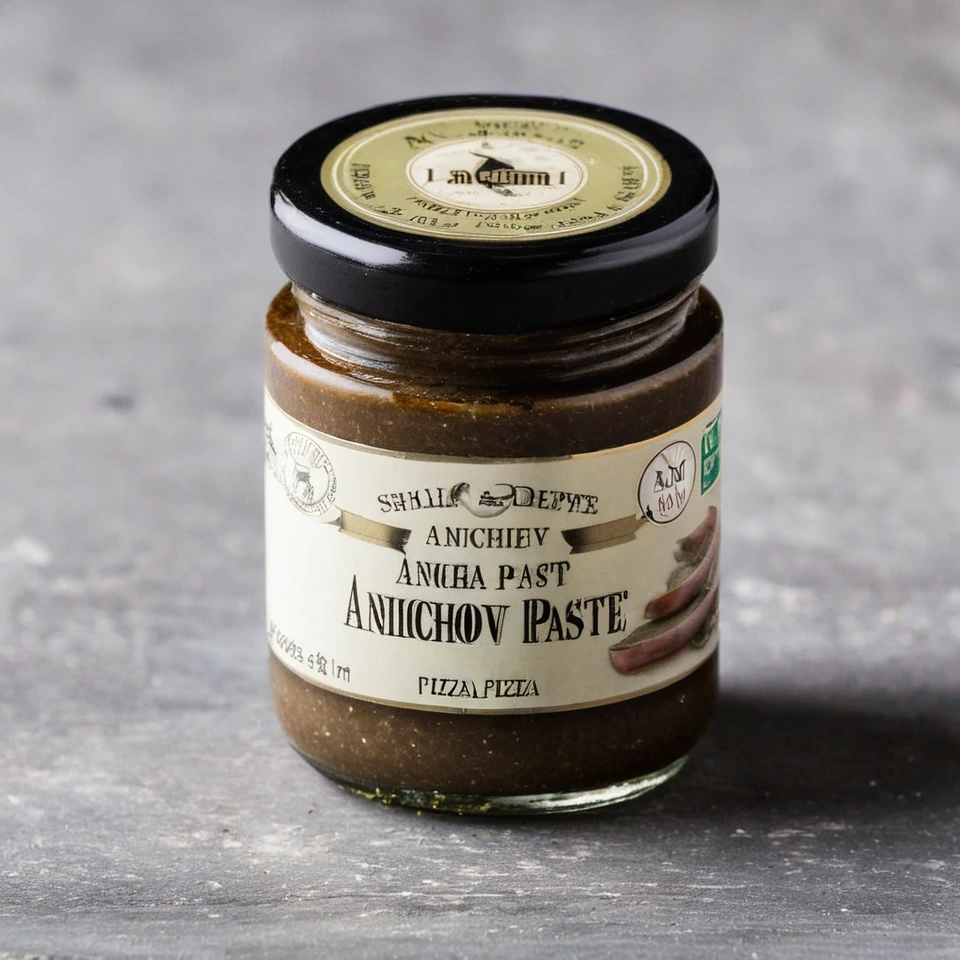
Anchovy Paste
Anchovy paste is a rich, salty spread made from finely ground anchovies, salt, and sometimes olive oil. It offers a deep umami flavor that enhances a variety of dishes.
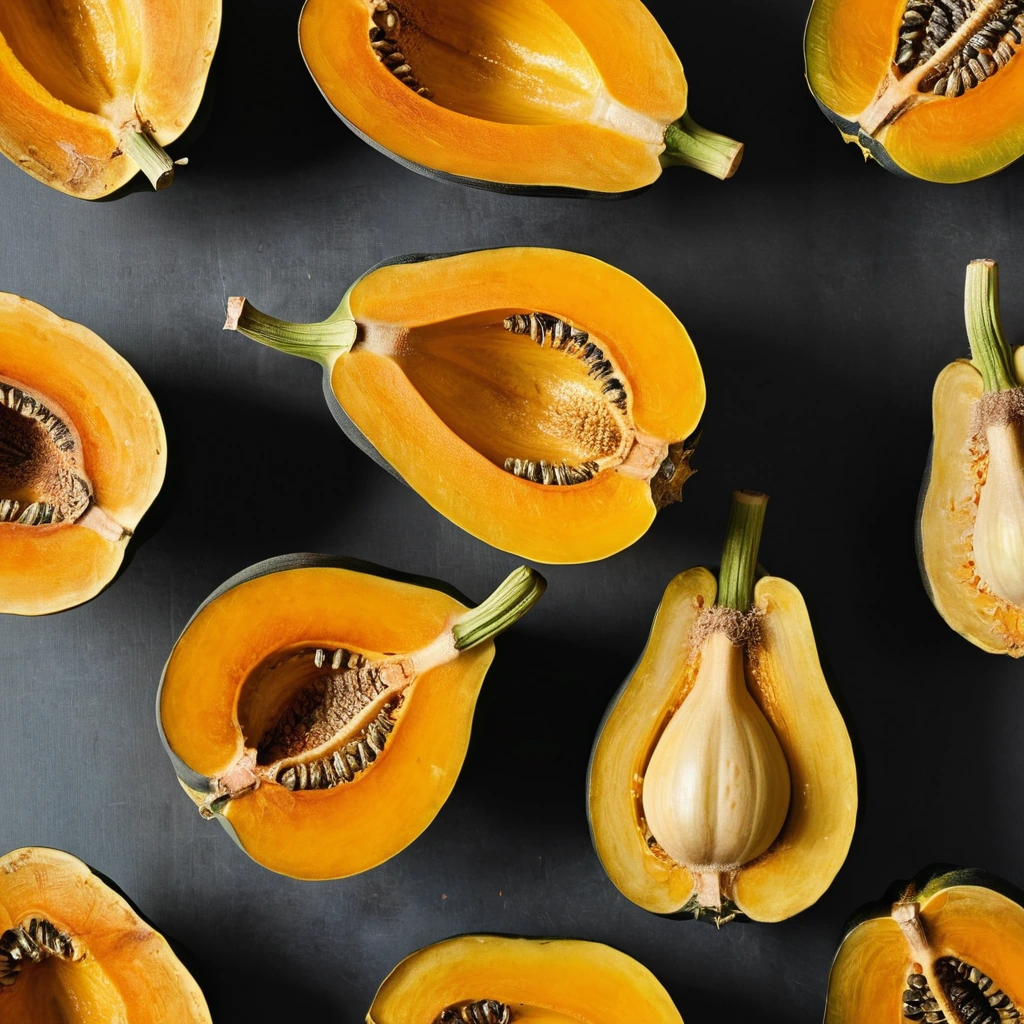
Acorn Squash
Acorn squash is a winter squash variety known for its distinctive teardrop shape and deep ridges resembling the texture of an acorn shell. Originating in the Americas, it has been cultivated for centuries and is a staple in autumn cuisine. The flesh is sweet and nutty with a hint of earthiness, offering a delightful contrast to savory dishes. Its texture is dense yet tender when cooked, making it ideal for roasting or pureeing. In cooking, acorn squash holds its shape well and absorbs flavors from herbs and spices, enhancing both its taste and versatility in recipes.
Recipes to try

Roasted Corn and Zucchini Chowder
Creamy, comforting chowder with a roasted sweetness from corn and zucchini, finished with a sprinkle of fresh herbs.
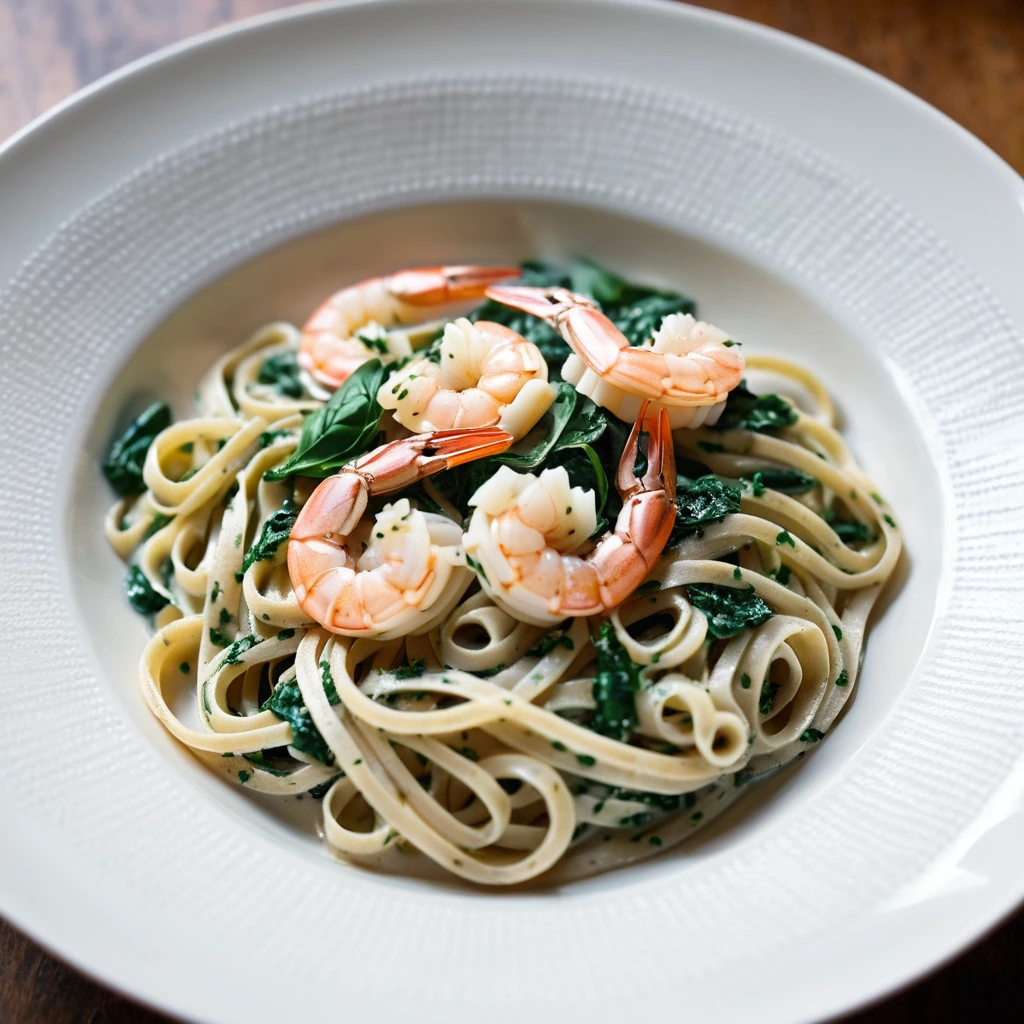
Shrimp and Spinach Linguine in White Wine Sauce
Succulent shrimp and fresh spinach mingle in a creamy white wine sauce, twirled into perfectly al dente linguine.