Meat & Poultry: Finishing Roasts Under the Broiler for Extra Color
Achieving a beautifully browned exterior on roasts can elevate your dish from good to gourmet. Finishing roasts under the broiler is a tried-and-true technique that adds a rich, caramelized crust to meats and poultry. This method leverages the intense heat of the broiler to create a sear that mimics the effects of a professional kitchen's broiler or grill. The key is timing and attention, as the broiler's fierce heat can quickly transform a perfectly cooked roast into an overcooked disaster if not managed properly. Let’s dive into the nuances of this technique to ensure you achieve that restaurant-quality finish at home. First, it's crucial to understand that the broiler is essentially a high-powered oven element designed to deliver intense heat from above. This concentrated heat source is perfect for creating that desirable Maillard reaction—a chemical reaction between amino acids and reducing sugars that gives browned food its distinctive flavor. However, this reaction requires precise control. The surface of the meat must be sufficiently dry to encourage browning, and the roast must be almost fully cooked before broiling to avoid overcooking the interior. Another important consideration is the distance between the roast and the broiler element. Too close, and you risk burning; too far, and you might not achieve the desired browning. Positioning the oven rack correctly is essential. Additionally, the type of roast and its thickness will influence the broiling time, necessitating vigilance and quick action. Now, let’s walk through the steps to ensure your roast emerges from the broiler with a glorious, golden-brown crust.
Notes
The broiler’s intense heat caramelizes the surface sugars and proteins on the meat, creating a flavorful crust without overcooking the interior. Ensure your oven is clean before broiling to avoid flare-ups. A common mistake is leaving the roast unattended; the broiler can quickly char the surface. Always use a meat thermometer to monitor doneness and avoid guesswork. For safety, keep a close eye on the roast to prevent kitchen fires. If making ahead, roast can be stored in the refrigerator for up to 3 days; reheat gently to maintain moisture.
Steps
- 1 Preheat oven to 450°F.
- 2 Remove roast from oven when internal temperature is 10-15°F below desired doneness.
- 3 Transfer roast to a broiler-safe pan.
- 4 Position oven rack 4-6 inches below the broiler element.
- 5 Pat roast dry with paper towels to ensure proper browning.
- 6 Place roast in the oven under the broiler.
- 7 Broil for 2-4 minutes, watching closely to avoid burning.
- 8 Rotate pan for even browning if necessary.
- 9 Check for desired color, removing when edges are golden brown.
- 10 Transfer roast to a cutting board and let rest for 10-15 minutes before carving.
Ingredients to explore
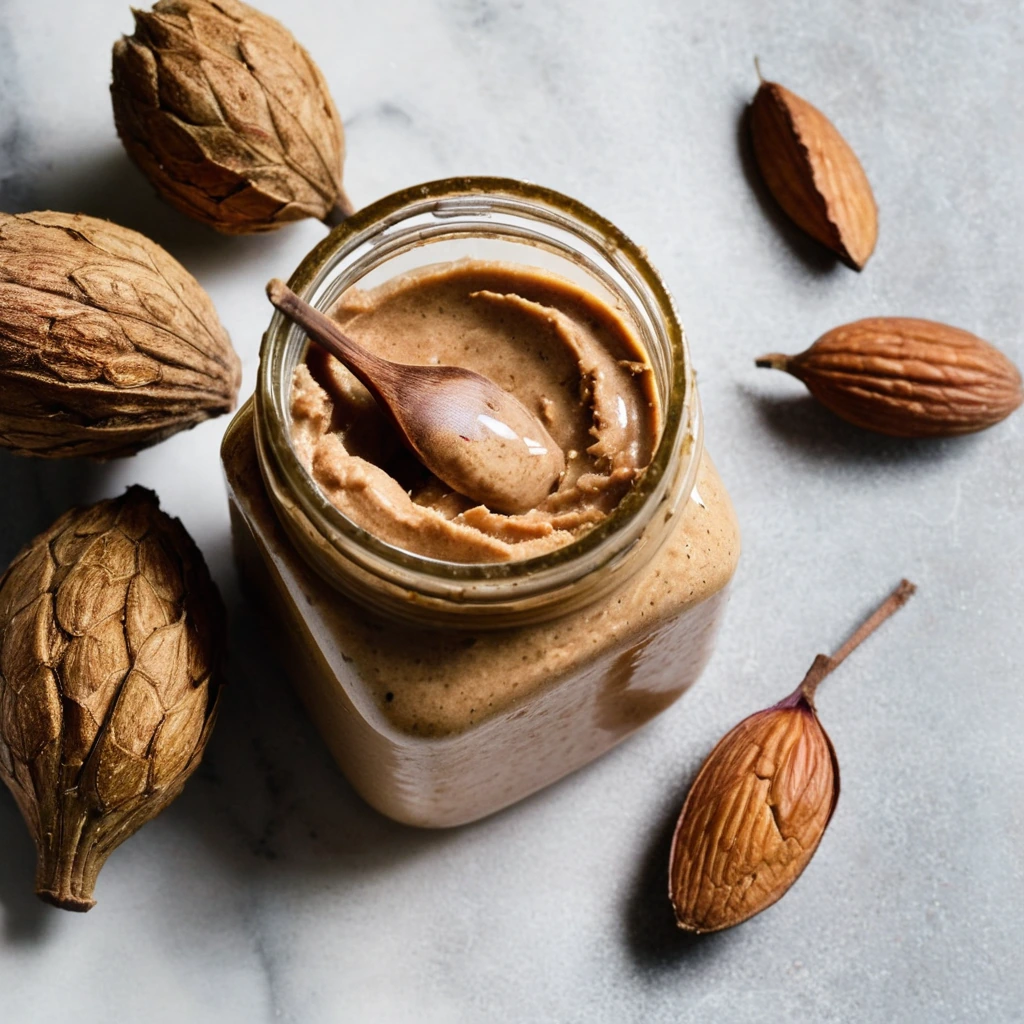
Almond Butter
A velvety, nutty spread crafted from finely ground almonds, offering a rich and satisfying flavor that's both comforting and indulgent.

Andouille Sausage
Andouille sausage is a coarse-grained, smoked pork sausage with a rich history rooted in French cuisine, particularly from the Alsace region. It was adapted in Louisiana, where it became a staple in Cajun and Creole cooking. The sausage is known for its robust, smoky flavor with hints of garlic, pepper, and other spices, creating a spicy and savory profile. Its texture is firm yet slightly chewy, making it a hearty addition to dishes. When cooked, andouille sausage maintains its shape well and infuses dishes with its distinctive smoky essence, enhancing stews, soups, and rice dishes.
Recipes to try
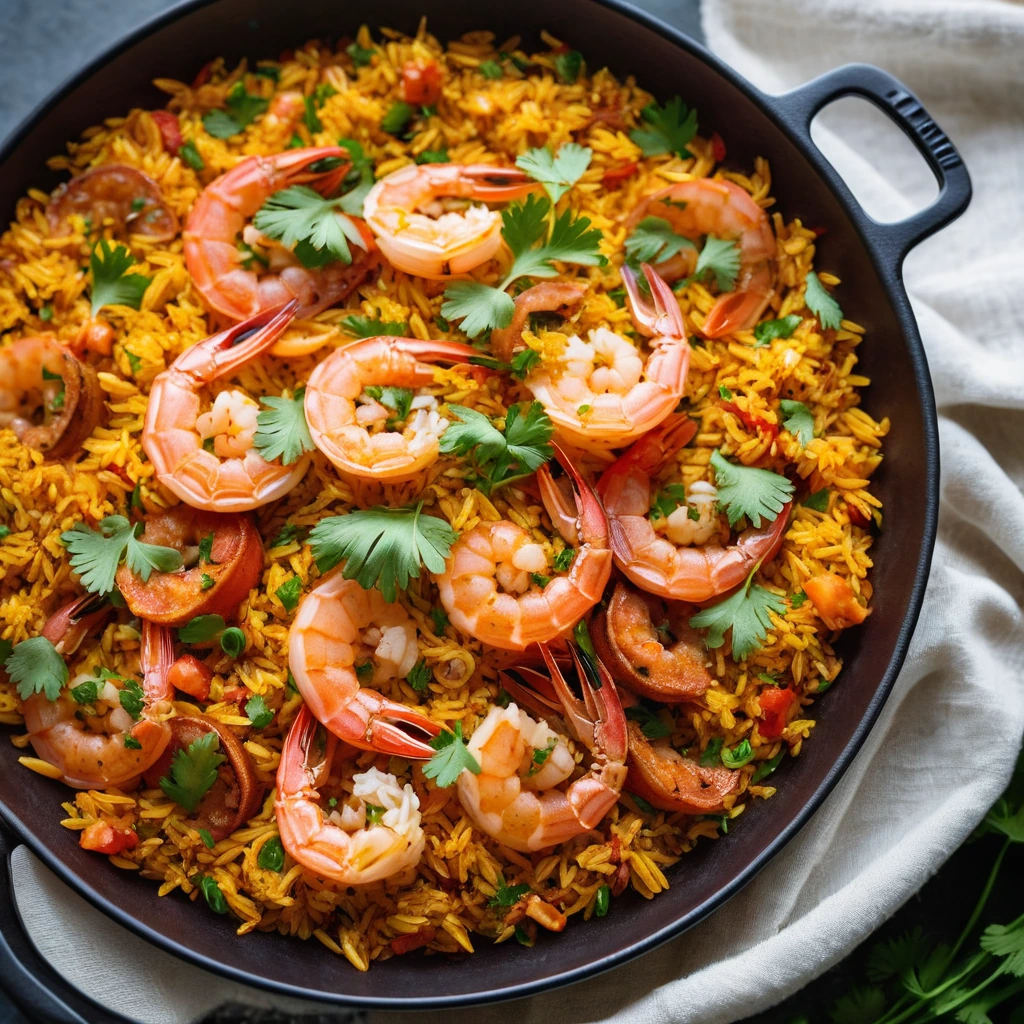
Shrimp and Chorizo Rice Skillet
A zesty, one-pan wonder where plump shrimp and smoky chorizo mingle with fragrant rice, creating a fiesta in every bite.
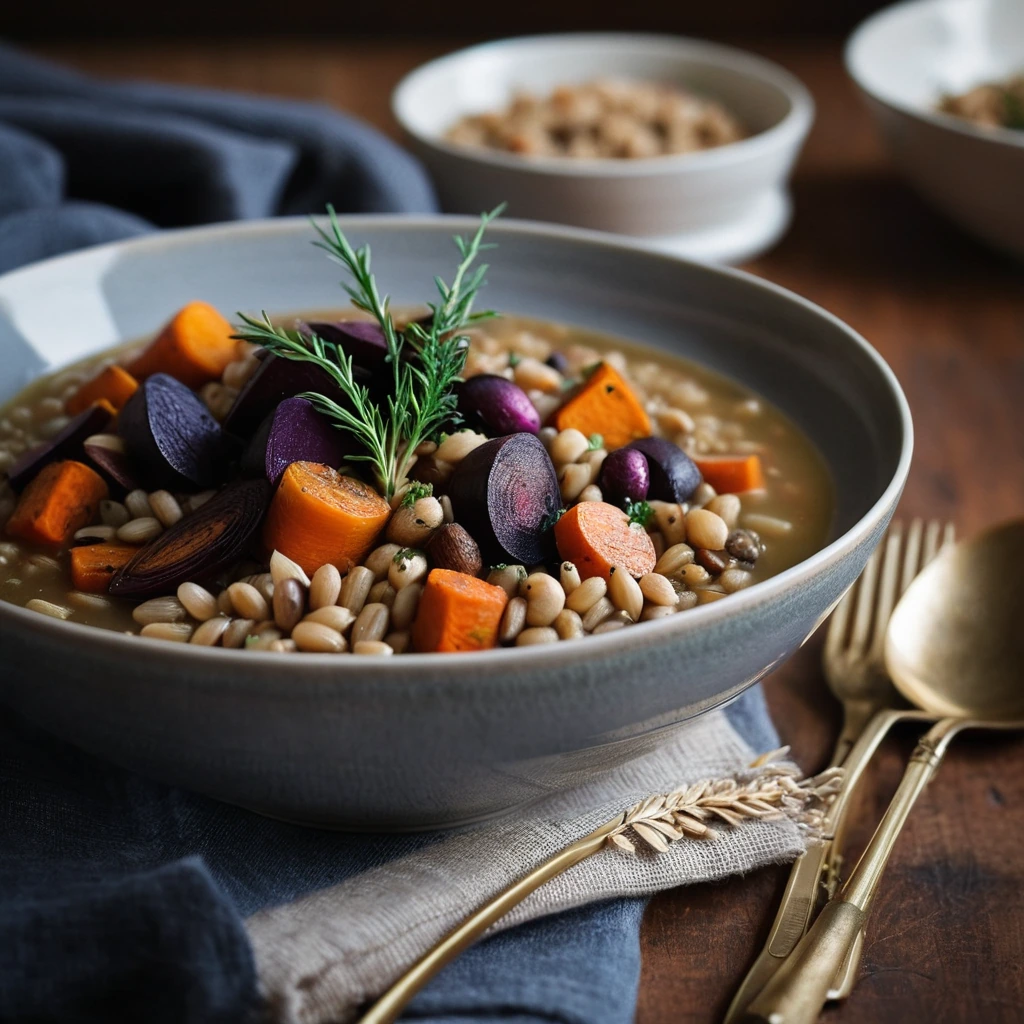
Roasted Root Vegetable and Barley Stew
Hearty and deeply flavorful, this stew marries caramelized root veggies with chewy barley for a comforting bowlful of warmth.