Meat: Dry Aging Basics for Home Cooks
Dry aging meat at home might sound like a daunting task reserved for professional butchers, but with the right guidance, it's entirely achievable for the curious home cook. Dry aging is a process that enhances the flavor, tenderness, and aroma of meat through controlled dehydration and enzymatic action. Over time, moisture evaporates from the meat's surface, concentrating its natural juices and intensifying its taste. Meanwhile, enzymes break down muscle fibers, resulting in a melt-in-your-mouth texture. This technique also fosters the development of a unique nutty, earthy flavor profile that is highly prized by culinary enthusiasts. However, successful dry aging requires careful attention to temperature, humidity, and air circulation. The process can take anywhere from two weeks to several months, depending on personal preference and the type of meat being aged. While beef is the most common choice for dry aging, other meats like lamb and pork can also benefit from this method. This technique demands patience and precision, but the rewards are well worth the effort for those seeking to elevate their home cooking.
Notes
The science behind dry aging lies in the controlled enzymatic breakdown of muscle fibers and fat, which tenderizes the meat and concentrates its flavors. Maintaining the correct environment is crucial; too much humidity can lead to spoilage, while too little can cause excessive drying. Mold is a natural part of the process, but it must be monitored and managed. If you notice any off-odors or sliminess, it's a sign to stop aging and use the meat immediately. Safety is paramount, so ensure your setup is clean and sanitized before beginning. Dry-aged meat is best consumed soon after trimming and cooking, but leftovers can be refrigerated for up to 3 days or frozen for longer storage.
Steps
- 1 Select a well-trimmed primal cut of beef, such as a rib roast or loin.
- 2 Pat the meat completely dry with paper towels to remove any surface moisture.
- 3 Place the meat on a wire rack set inside a rimmed baking sheet to allow air circulation.
- 4 Cover the meat with cheesecloth to protect it from dust and contaminants.
- 5 Position the setup in a controlled environment with a temperature of 34°F to 38°F and humidity of 65% to 80%.
- 6 Check the meat daily for mold, trimming off any that appears with a sharp knife.
- 7 Turn the meat every few days to ensure even aging and air exposure.
- 8 Monitor the weight loss, aiming for 1% to 2% reduction per week.
- 9 After 2 to 6 weeks, evaluate the meat's aroma and texture to determine if it has reached your desired aging level.
- 10 Remove the cheesecloth and trim off the outer layer, known as the 'bark,' before cooking.
- 11 Sear and cook the meat to your preferred doneness, savoring the enhanced flavor and texture.
- 12 Rest the cooked meat for at least 10 minutes before carving to preserve its juices.
Ingredients to explore
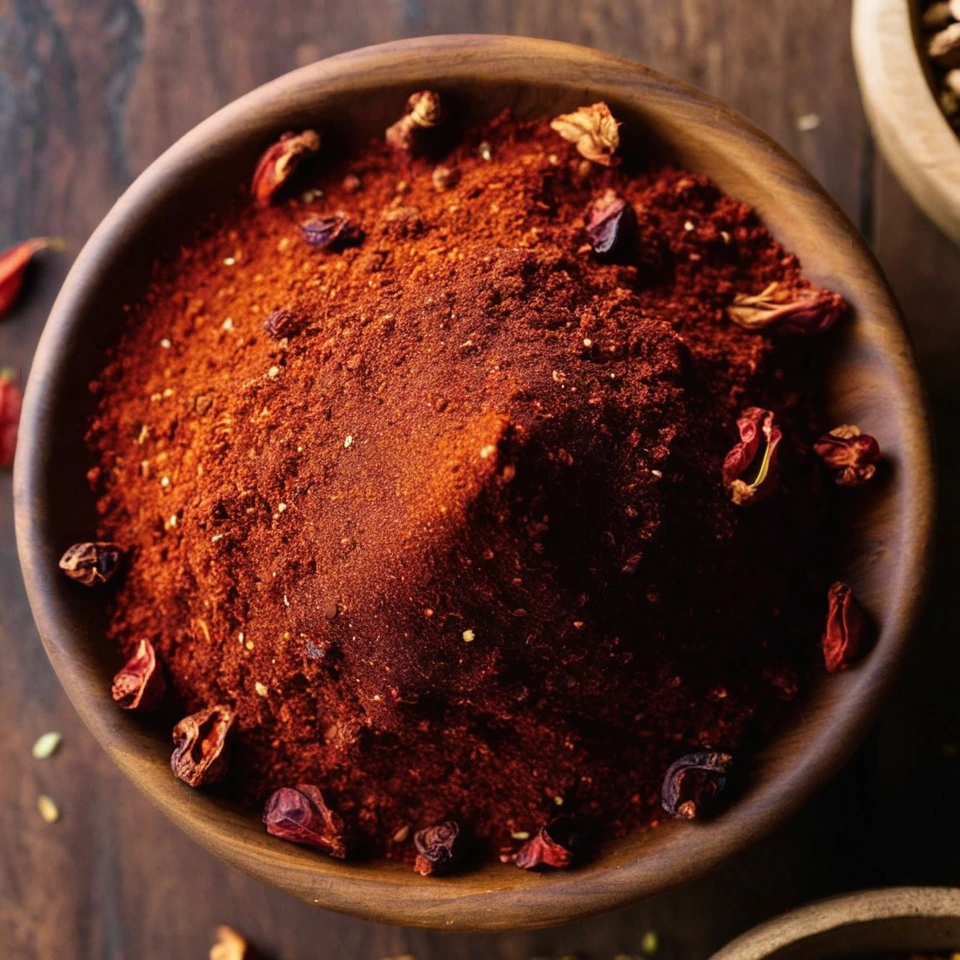
Aleppo Pepper
Aleppo pepper offers a harmonious balance of heat and sweetness, with a subtle fruity aroma reminiscent of sun-dried tomatoes and currants. Originating from the region around Aleppo, Syria, it has a fine, slightly coarse texture that shatters easily between fingers. Its mild yet complex flavor profile makes it a prized seasoning for enhancing dishes without overwhelming them. Valued for its versatility, it bridges the gap between spice and seasoning, bringing a touch of warmth and depth to a variety of cuisines.
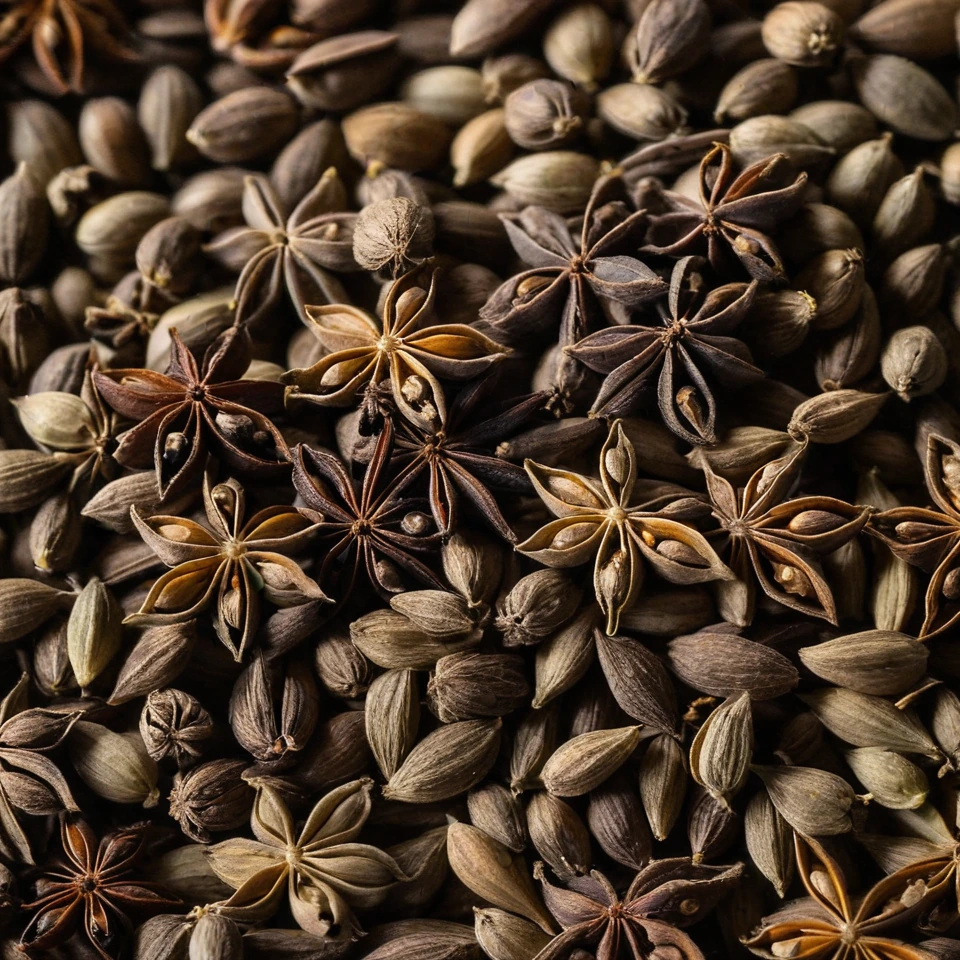
Anise Seeds
Anise seeds are small, oval seeds with a sweet, licorice-like flavor. They are commonly used in both sweet and savory dishes, offering a warm, aromatic taste.
Recipes to try
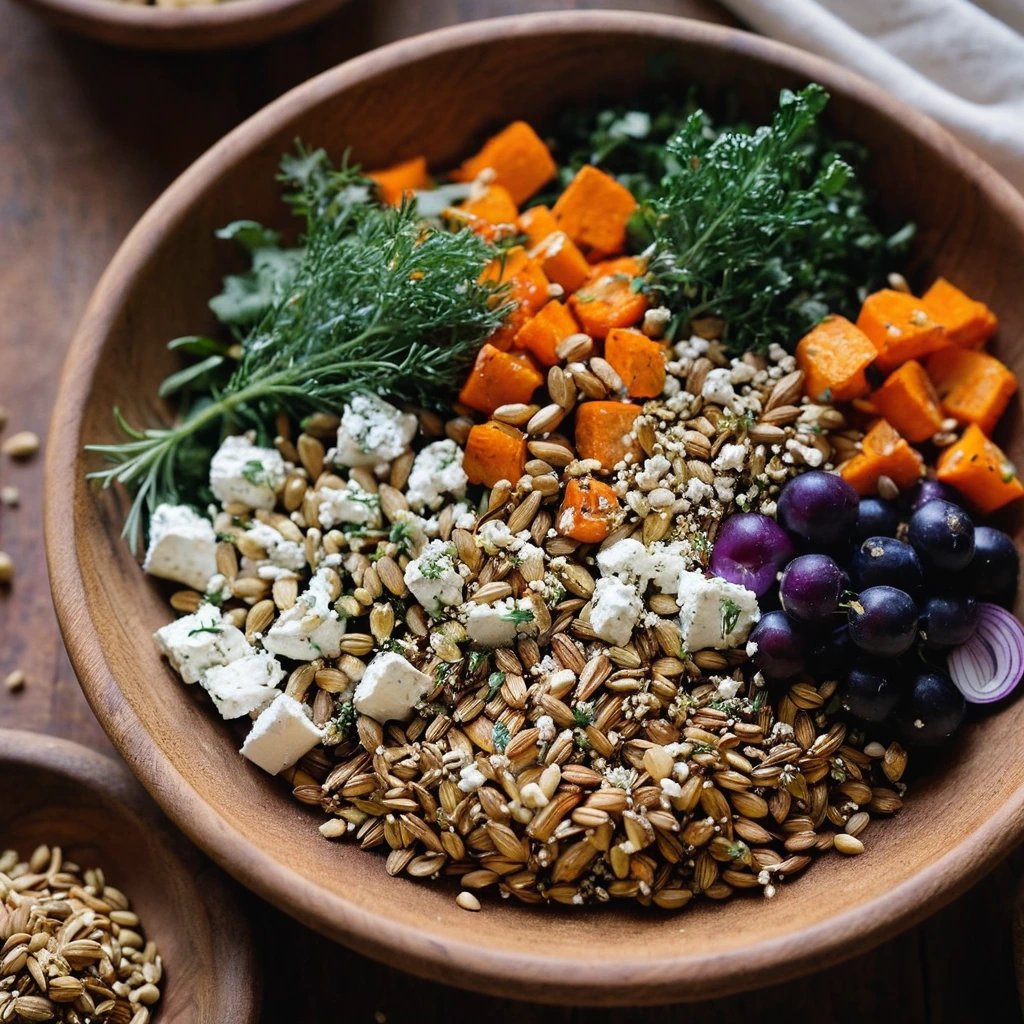
Roasted Vegetable and Goat Cheese Grain Bowls
Warm, roasted veggies mingle with creamy goat cheese over a bed of nutty grains for a comforting yet vibrant meal.
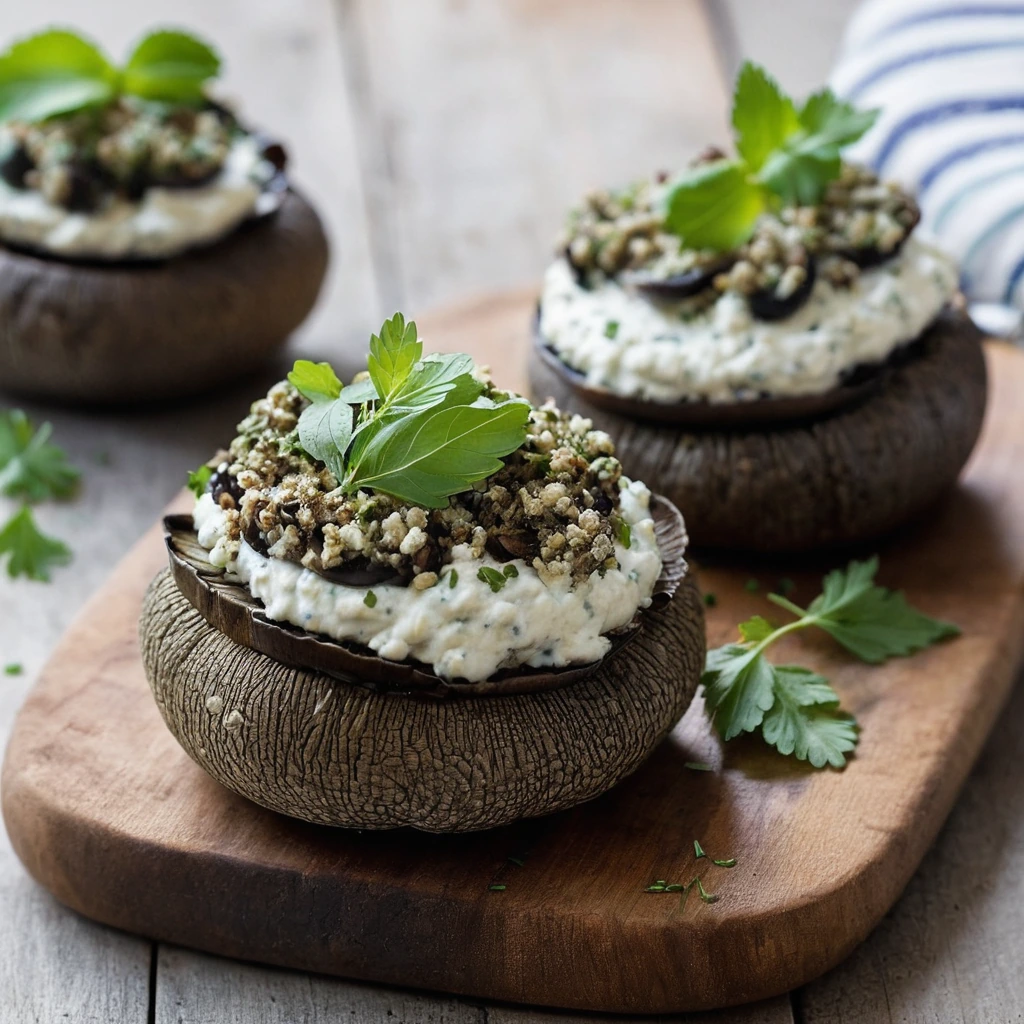
Stuffed Portobello Mushrooms with Herbed Ricotta
These earthy portobello mushrooms are stuffed with a creamy, herbed ricotta mixture, offering a satisfying vegetarian delight that's both elegant and easy.