Meal Prep: Labeling and Dating Leftovers
Meal prepping is a fantastic way to save time and reduce food waste, but it requires a solid system to keep track of what's what. Labeling and dating your leftovers is a simple yet crucial part of this process. Without proper labels, your fridge can quickly become a guessing game of 'What is this, and is it still good?' In this guide, we'll dive into the best practices for labeling and dating your leftovers to maintain an organized kitchen and ensure you're always eating fresh, safe meals. We'll explore why labeling is essential, how it helps preserve food quality, and the best methods to implement a labeling system that works for you. Whether you're a seasoned meal prepper or just starting out, mastering this technique will transform your kitchen workflow and minimize the risk of foodborne illness.
Notes
Labeling and dating leftovers is more than just an organizational hack—it's a critical step in food safety. The science is simple: knowing how long your food has been stored helps prevent bacterial growth and spoilage. A common mistake is using labels that aren't waterproof or freezer-safe, which can lead to illegible or lost labels. Always prioritize safety by discarding any leftovers that have been in the fridge for more than 3-4 days or in the freezer for longer than 3-4 months. For make-ahead convenience, prepare labels as you cook so you never forget to date your dishes. Store them in a cool, dry place until ready to use.
Steps
- 1 Gather all necessary supplies: labels, a permanent marker, and a fine-tip pen if needed.
- 2 Choose durable labels that can withstand fridge humidity and freezer temperatures.
- 3 Prepare your leftovers by transferring them into airtight containers.
- 4 Allow containers to cool to room temperature before labeling to prevent condensation.
- 5 Write the name of the dish clearly on each label using the permanent marker.
- 6 Include the date the dish was prepared using a format like'mm/dd/yyyy'.
- 7 Add any specific reheating instructions if necessary, such as'microwave for 2 minutes'.
- 8 Attach the label securely to the container to prevent it from peeling off.
- 9 Organize labeled containers in your fridge or freezer with the oldest items in front.
- 10 Check and update labels whenever you restock or reorganize your storage spaces.
Ingredients to explore
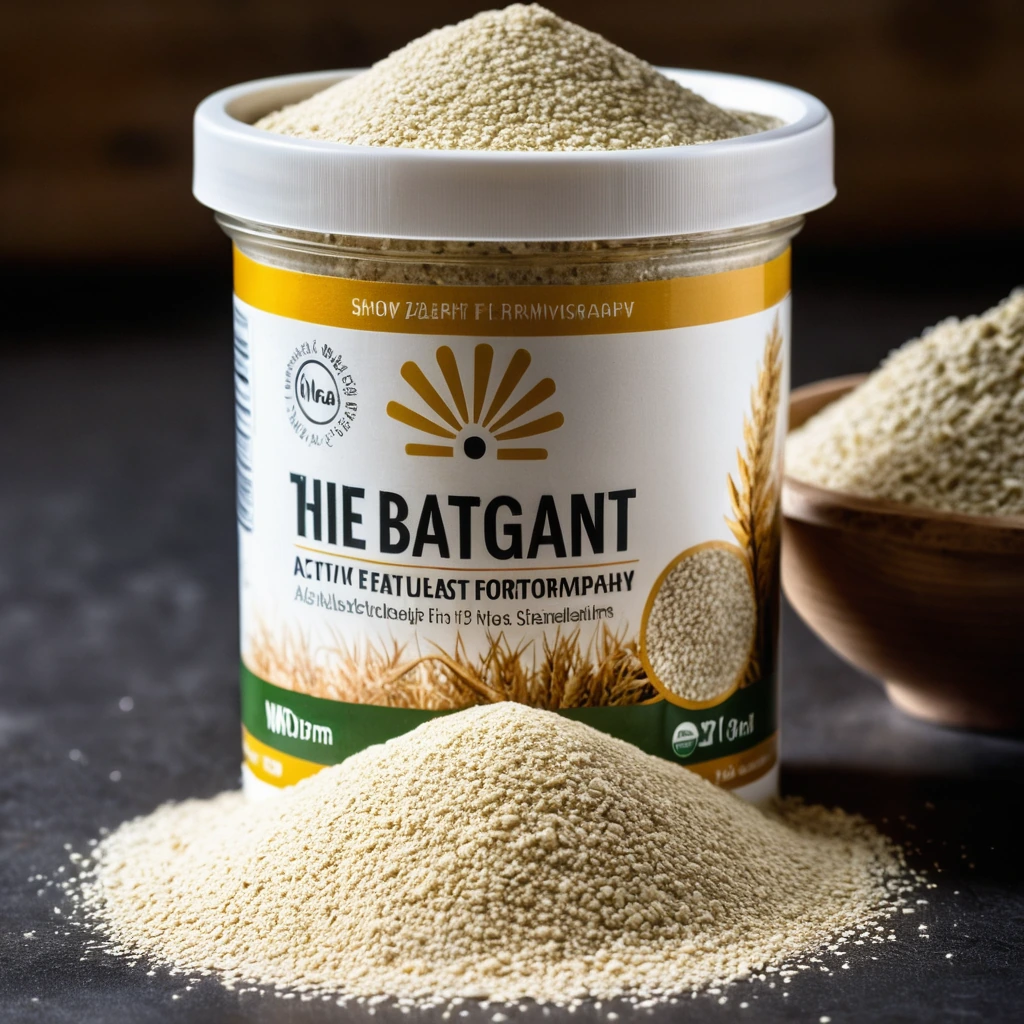
Active Dry Yeast
A fine, granulated leavening agent that brings baked goods to life with its gentle fermentation magic.

Almond Extract
A fragrant, golden elixir that captures the essence of freshly ground almonds, almond extract is a pantry staple that brings a rich, nutty aroma to your culinary creations.
Recipes to try

Sausage, Egg, and Cheese Croissant Pockets
Buttery croissants envelop a warm, savory trio of sausage, fluffy scrambled eggs, and melty cheese for a breakfast pocket that's pure bliss.
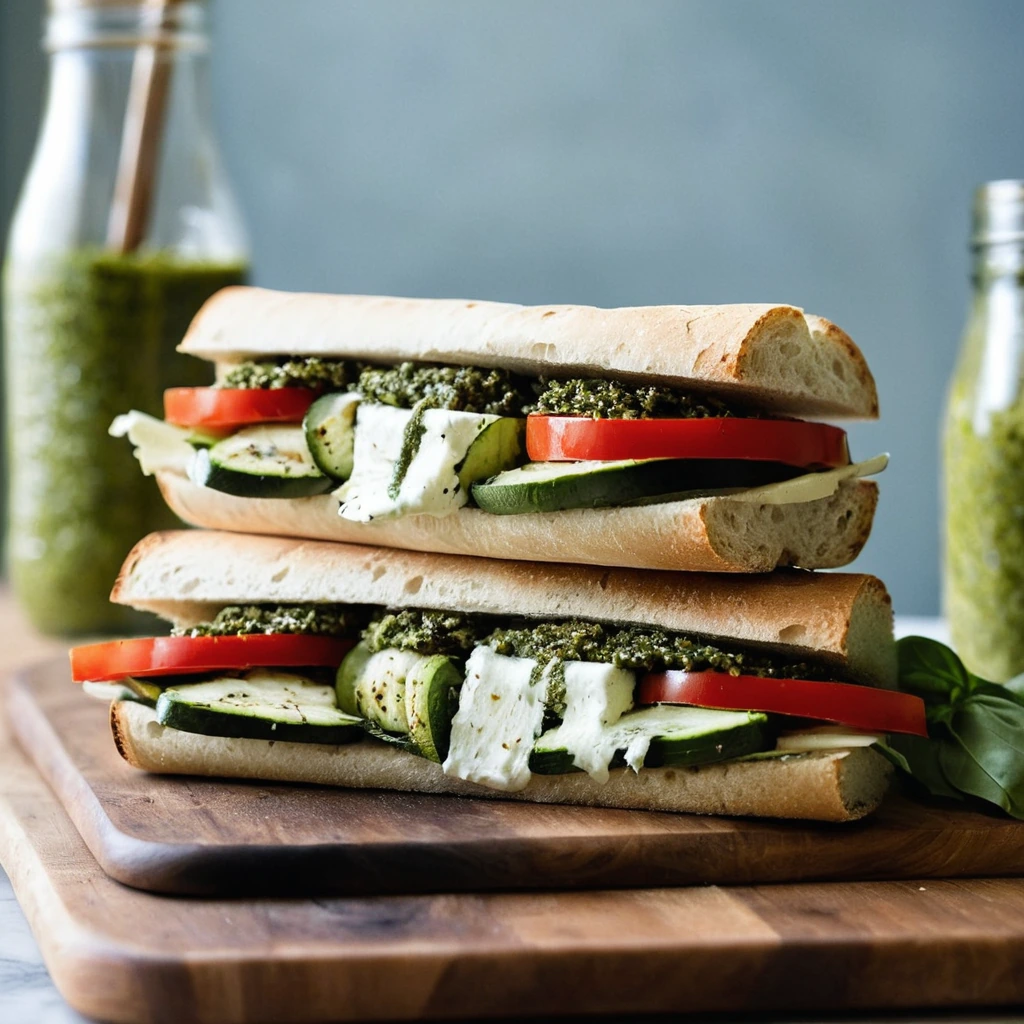
Pesto Roasted Veggie Sandwiches with Mozzarella
Warm, toasty ciabatta cradles a medley of roasted veggies, vibrant pesto, and melty mozzarella for a sandwich that's as hearty as it is fresh.