Knife Technique: Trimming Green Beans to a Consistent Length
Achieving uniformity in your green beans isn't just about aesthetics; it ensures even cooking and enhances texture. Trimming green beans to a consistent length is a fundamental skill that can elevate your dishes. Start by selecting fresh, firm beans with vibrant color. The technique involves removing both ends and cutting the beans into uniform pieces. This guide walks you through the process with precision, helping you master this essential prep work. First, gather your tools: a sharp chef's knife and a sturdy cutting board. A sharp knife is crucial for clean cuts and prevents the beans from getting crushed. Next, inspect your beans for any blemishes or overly fibrous ends. Hold a bean at one end and use the knife to make a swift, angled cut to remove the stem. Repeat this process on the other end. Once the ends are trimmed, align several beans parallel to each other on the board. Grouping them helps maintain consistency. With your knife at a slight angle, slice through the beans in one smooth motion. This technique not only saves time but also ensures each piece is nearly identical in size. Practice is key to developing a rhythm that balances speed with precision. Consistency in size means your beans will cook evenly, whether you're blanching, sautéing, or roasting them. Properly trimmed green beans will have a uniform appearance, enhancing the visual appeal of your dish. Remember, the goal is to create harmony in your cooking, where each element complements the others. Trimming green beans is a simple yet rewarding skill that can transform your culinary creations, making them both beautiful and delicious.
Notes
Using a sharp knife is crucial for clean cuts and prevents the beans from bruising. If your knife isn't sharp, it's a good idea to hone or sharpen it before starting. A common mistake is rushing through the trimming process, which can lead to inconsistent lengths. Take your time to align the beans properly before slicing. For storage, keep the trimmed beans in an airtight container in the refrigerator for up to 2 days. If blanching the beans before storage, they can last up to 4 days. Safety is key; always use a stable cutting board and keep fingers tucked away from the blade path.
Steps
- 1 Gather a sharp chef's knife and a sturdy cutting board.
- 2 Rinse the green beans under cold water and pat them dry with a clean towel.
- 3 Hold a green bean firmly at one end and trim off the stem with an angled cut.
- 4 Turn the bean and trim the opposite end using the same angled cut.
- 5 Inspect each bean and discard any that are discolored or overly fibrous.
- 6 Align 5-6 trimmed beans parallel to each other on the cutting board.
- 7 Hold the beans firmly and slice them into uniform lengths, about 2 inches long.
- 8 Repeat the slicing process until all beans are trimmed and cut.
- 9 Transfer the trimmed beans to a bowl or directly into your cooking vessel.
Ingredients to explore
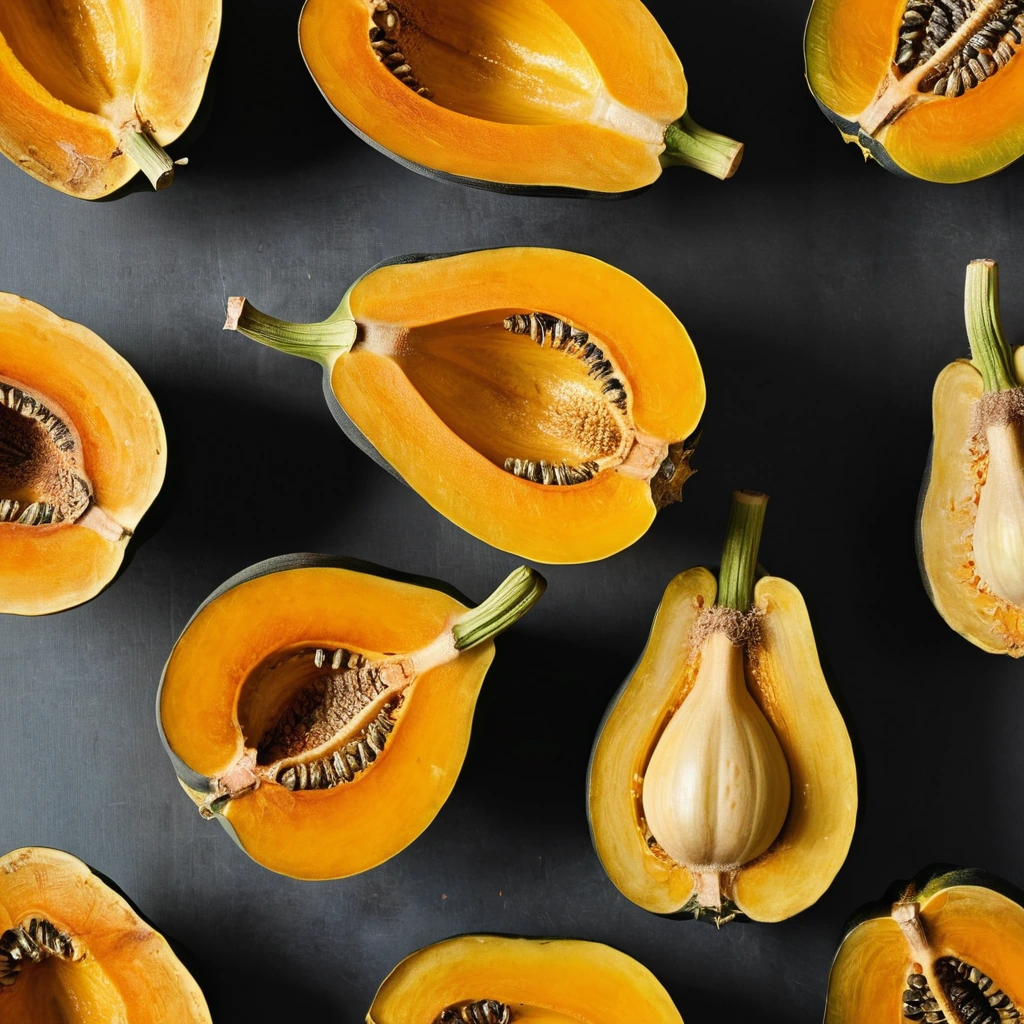
Acorn Squash
Acorn squash is a winter squash variety known for its distinctive teardrop shape and deep ridges resembling the texture of an acorn shell. Originating in the Americas, it has been cultivated for centuries and is a staple in autumn cuisine. The flesh is sweet and nutty with a hint of earthiness, offering a delightful contrast to savory dishes. Its texture is dense yet tender when cooked, making it ideal for roasting or pureeing. In cooking, acorn squash holds its shape well and absorbs flavors from herbs and spices, enhancing both its taste and versatility in recipes.

American Cheese Slices
Those iconic, perfectly pliable slices of creamy, mild American cheese. Each slice boasts a smooth, melt-in-your-mouth texture that brings comfort to any dish.
Recipes to try

Lemon Garlic Butter Scallops over Rice
Tender scallops kissed with lemon and garlicky butter, served over fluffy white rice for a luxurious yet simple dinner.

Tomato Basil Parmesan Farro Risotto
Creamy farro risotto kissed with fresh basil and sun-ripened tomatoes, topped with a generous sprinkle of Parmesan.