Knife Skills: Using a Boning Knife Safely and Efficiently
Mastering knife skills is an essential part of any home cook's journey, and using a boning knife is a technique that can elevate your culinary game. A boning knife is designed for precision, with a narrow, flexible blade that allows you to navigate around bones and joints with ease. Whether you're preparing a succulent roast or deboning chicken for a comforting casserole, understanding how to use this specialized tool can save you time and effort. The boning knife's slender blade is perfect for tasks that require finesse, like removing sinew or carving out delicate cuts of meat. Its flexibility lets you work with the natural contours of the meat, ensuring minimal waste and maximum yield. However, with great power comes great responsibility—safety is paramount when handling any sharp tool. Proper grip, posture, and technique are crucial to avoid accidents and ensure efficiency. In this guide, we'll dive into the nuances of using a boning knife, offering tips that will have you slicing, dicing, and deboning like a pro. From selecting the right knife to maintaining its edge, we'll cover everything you need to know to use a boning knife safely and efficiently.
Notes
Understanding the science behind a boning knife's design can enhance your technique. The flexibility allows you to follow the bone's shape, minimizing meat waste. To troubleshoot common mistakes, ensure your knife is sharp—a dull blade requires more force and can slip, causing injury. Always cut away from your body and keep your focus on the task to avoid accidents. For safety, never leave your knife unattended on the counter. As for make-ahead preparation, deboned meat can be stored in the refrigerator for up to 2 days or frozen for longer-term storage, wrapped tightly to prevent freezer burn.
Steps
- 1 Select a boning knife with a narrow, flexible blade, typically 5 to 7 inches long.
- 2 Hold the knife with a firm yet relaxed grip, using either a pinch or handle grip depending on your comfort.
- 3 Stand with your feet shoulder-width apart for stability and control.
- 4 Place the meat on a clean, sturdy cutting board with non-slip properties.
- 5 Start by making a small incision near the joint where the meat meets the bone.
- 6 Gently slide the knife along the contours of the bone, using the blade's flexibility to navigate.
- 7 Apply gentle pressure and use a rocking motion to separate the meat from the bone.
- 8 Turn the meat as needed to maintain control and visibility of your cuts.
- 9 For tougher connective tissues, use the tip of the knife to carefully cut through.
- 10 Keep your fingers tucked in and use your free hand to stabilize the meat.
- 11 Work methodically, taking your time to follow the bone's path.
- 12 Periodically check your progress and adjust your angle to maintain precision.
- 13 Once deboned, trim any excess fat or silver skin with the tip of the knife.
- 14 Clean your boning knife immediately after use to prevent stains and maintain hygiene.
Ingredients to explore
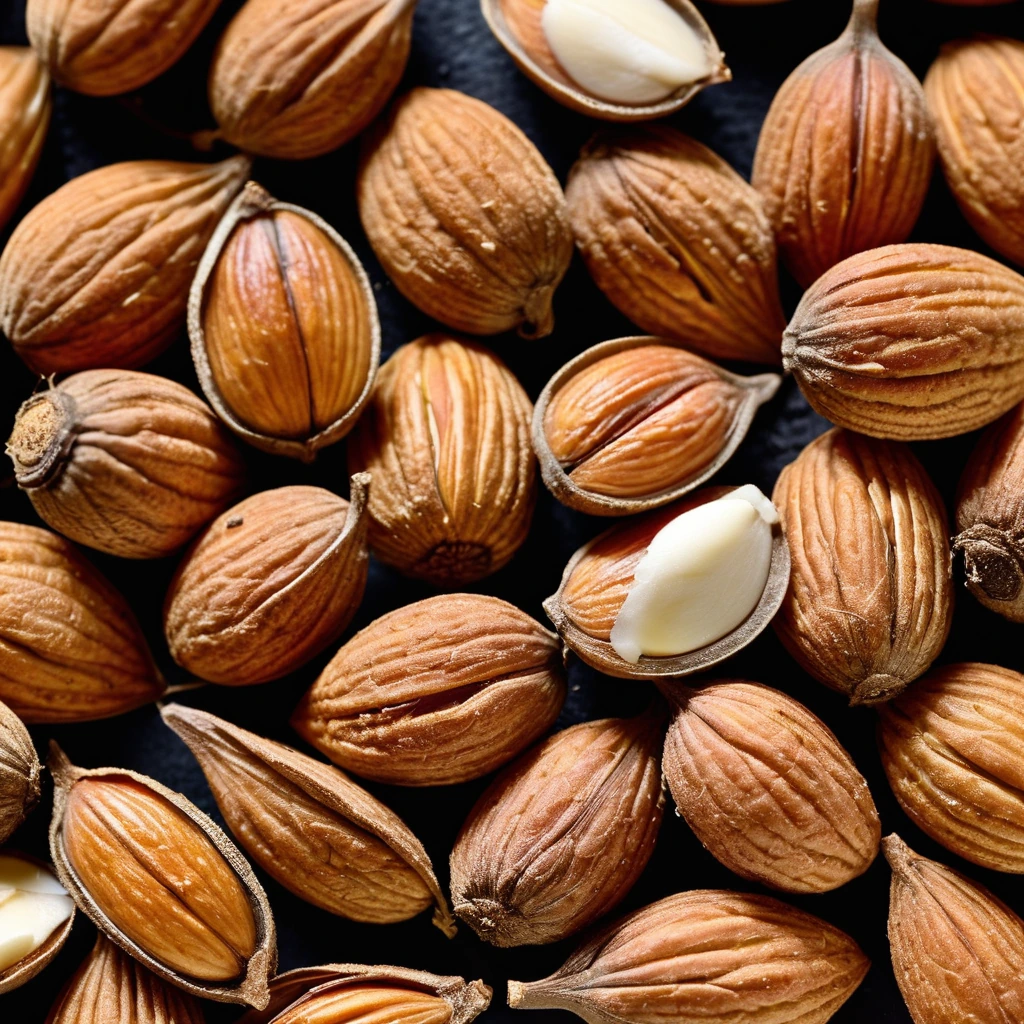
Almond Extract
A fragrant, golden elixir that captures the essence of freshly ground almonds, almond extract is a pantry staple that brings a rich, nutty aroma to your culinary creations.
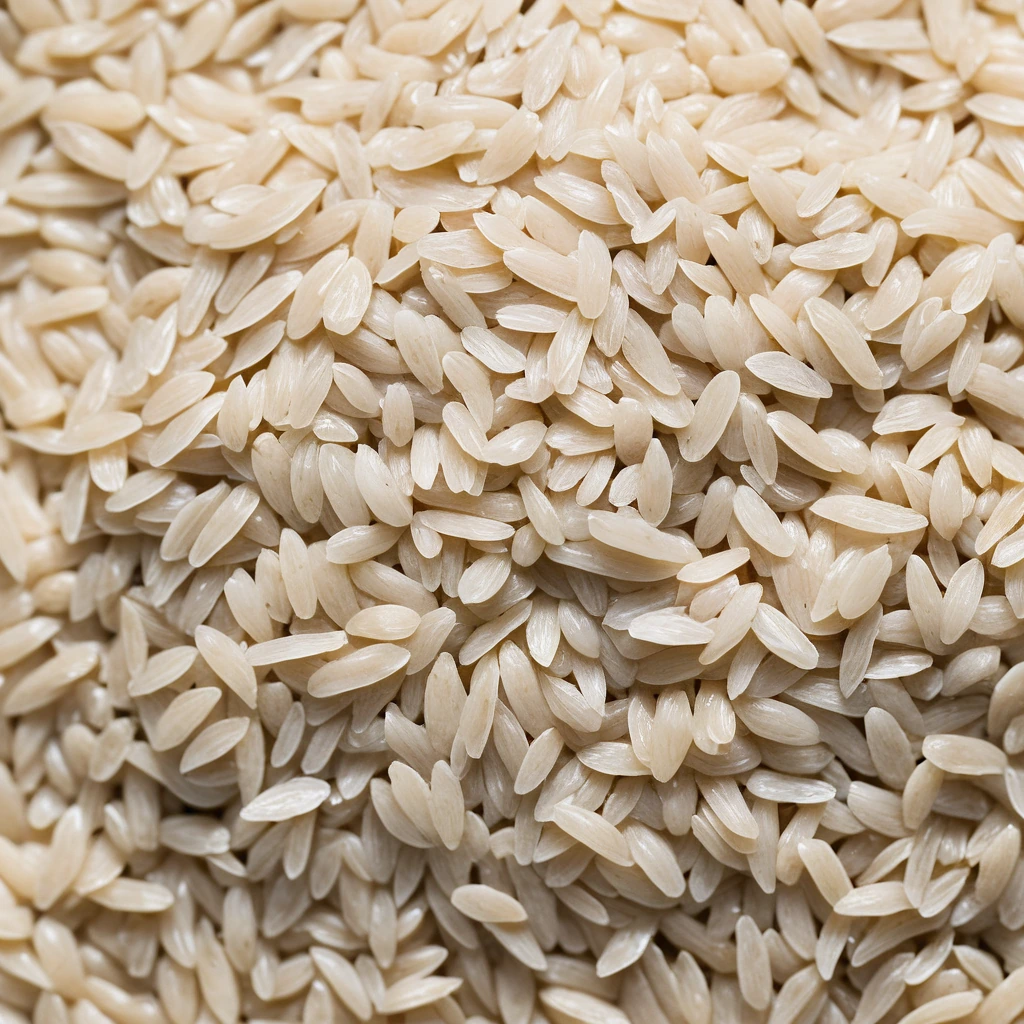
Arborio Rice
Arborio rice is a short-grain Italian rice variety renowned for its use in risotto. Originating from the Po Valley in Northern Italy, it is a staple in Italian cuisine. Its flavor is mild and nutty, with a pleasant creamy texture when cooked due to its high amylopectin content, which releases starch and creates a velvety consistency. The grains remain plump and firm to the bite, offering a satisfying chewiness. In cooking, Arborio rice excels at absorbing flavors from broths and seasonings while maintaining its shape, making it ideal for dishes that require both creaminess and structure.
Recipes to try

Sweet Potato, Sausage, and Egg Breakfast Hash
Rustic and hearty, this breakfast hash is a symphony of smoky sausage, tender sweet potatoes, and perfectly cooked eggs.
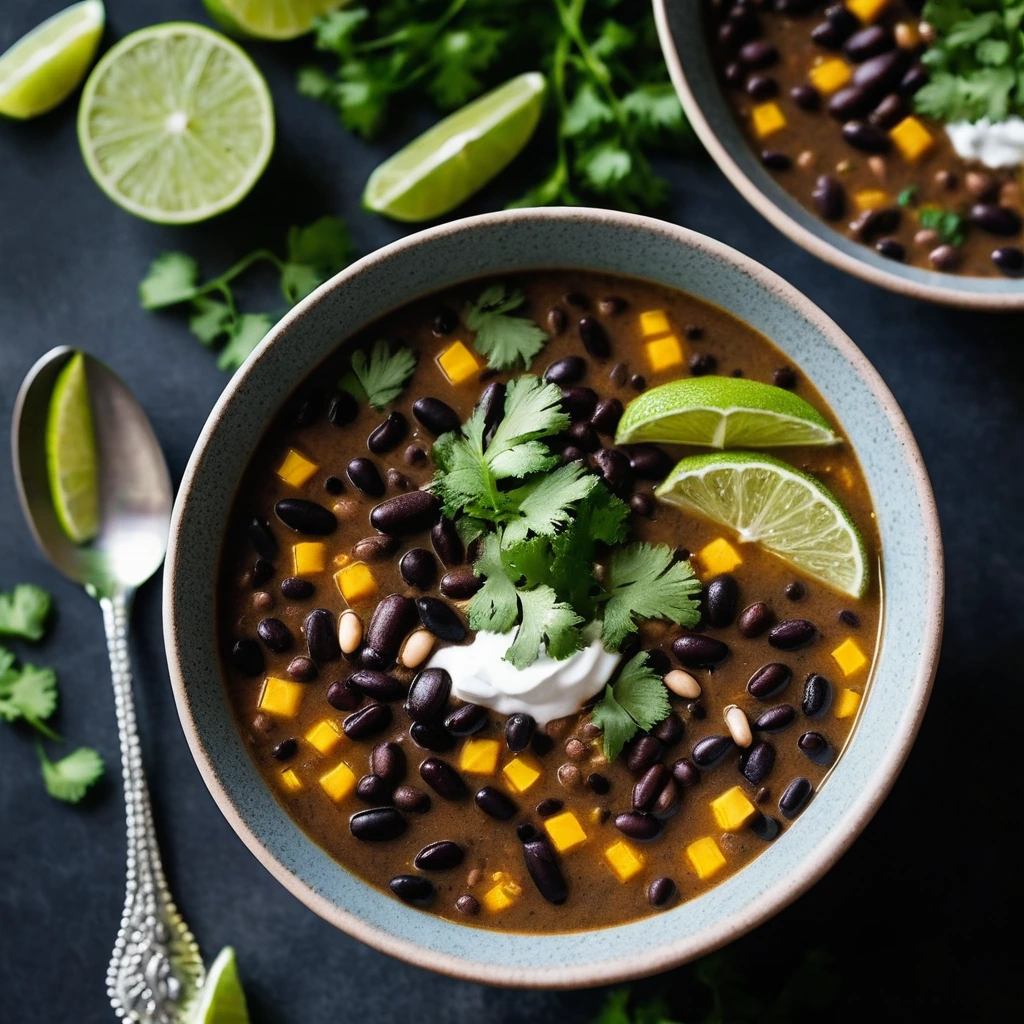
Smoky Black Bean and Corn Soup with Lime
This soup is a tangy, smoky hug in a bowl, with the fresh zing of lime cutting through rich black beans and sweet corn.