Knife Skills: Crosshatch Scoring for Grill Marks
Crosshatch scoring is a technique that not only looks impressive but also enhances the flavor and texture of your grilled meats. By making strategic cuts in a crisscross pattern, you create channels for smoke and heat to penetrate deeper into the food, ensuring even cooking and those coveted grill marks. This method is particularly effective for thicker cuts of meat like steaks, chops, and even firm vegetables. It also provides a larger surface area for seasonings to adhere to, intensifying the overall taste. In this guide, we'll dive into the details of crosshatch scoring, from selecting the right knife to perfecting the angle of your cuts, ensuring you achieve professional-level results at home.
Notes
The science behind crosshatch scoring lies in its ability to increase surface area and facilitate better heat transfer. The cuts allow for more direct contact with the grill grates, enhancing caramelization and the Maillard reaction. Common mistakes include cutting too deeply, which can lead to meat drying out, or not using a sharp knife, resulting in ragged edges. Always ensure your cutting board is stable to prevent slipping, a potential safety hazard. For make-ahead convenience, score your items ahead of time but season just before grilling to maintain maximum flavor. Store scored items uncovered in the refrigerator for up to 24 hours.
Steps
- 1 Select a sharp chef's knife or utility knife.
- 2 Pat your meat or vegetable dry with paper towels.
- 3 Place the item on a stable cutting board.
- 4 Holding the knife at a 45-degree angle, make shallow cuts about 1/4 inch deep.
- 5 Space cuts evenly about 1/2 inch apart.
- 6 Rotate the item 90 degrees and repeat the cuts to form a crosshatch pattern.
- 7 Apply a light layer of oil and seasonings to the scored surface.
- 8 Preheat your grill to medium-high heat, around 450°F to 500°F.
- 9 Place the scored side down first to sear for 2-3 minutes.
- 10 Flip and continue grilling to desired doneness.
- 11 Monitor for grill marks, which should appear within the first few minutes.
- 12 Adjust heat as necessary to avoid burning.
- 13 Rest meat for 5 minutes before serving to retain juices.
Ingredients to explore

All-Purpose Flour
All-purpose flour is a versatile wheat flour that contains a moderate level of protein and gluten, making it suitable for a wide range of baking and cooking needs.
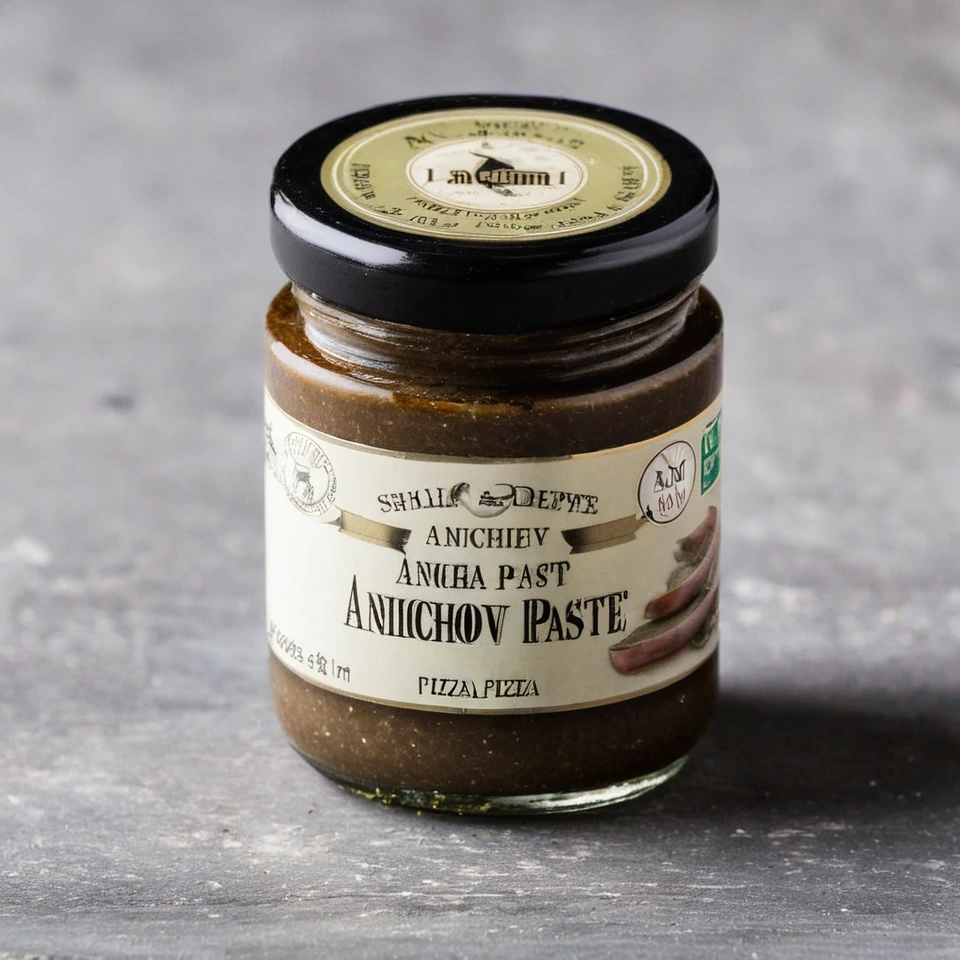
Anchovy Paste
Anchovy paste is a rich, salty spread made from finely ground anchovies, salt, and sometimes olive oil. It offers a deep umami flavor that enhances a variety of dishes.