Knife Skills: Carving a Whole Roast Chicken at the Table
Carving a whole roast chicken at the table is a skill that transforms a meal into a memorable dining experience. It showcases culinary prowess and adds a touch of theater to your dinner service. This technique requires precision, patience, and a bit of practice, but once mastered, it ensures each diner receives a beautifully presented portion of succulent meat and crispy skin. First, we'll discuss the importance of selecting the right tools: a sharp chef's knife is indispensable for smooth cuts. Then, we'll explore how to properly position the chicken on a carving platter, ensuring stability and ease of access. The carving process begins with removing the legs, which involves detaching the drumsticks and thighs while preserving their integrity. Next, we'll tackle the breast meat, slicing it into elegant portions that maintain their moisture and texture. Throughout the guide, we'll provide visual cues and tips to help you identify key anatomical landmarks on the chicken. Finally, we'll cover how to manage the wings and any remaining meat, ensuring nothing goes to waste. This guide will also touch on how to handle common carving challenges and how to present the carved chicken in an appealing manner.
Notes
Understanding the anatomy of a chicken is key to successful carving. The joints are natural breaking points and should be your guide when separating the pieces. Ensure your knife is sharp to avoid tearing the meat. A common mistake is using a serrated knife, which can result in jagged edges. For safety, always cut away from your body and keep fingers tucked. To prepare ahead, let the chicken rest for at least 15 minutes after roasting to allow juices to redistribute. Store leftovers in an airtight container in the refrigerator for up to three days, though carving fresh is ideal for presentation.
Steps
- 1 Place the roasted chicken breast-side up on a carving platter.
- 2 Using a chef's knife, cut through the skin between the leg and the body.
- 3 Gently pull the leg away from the body to expose the joint.
- 4 Slice through the joint to detach the leg, setting it aside.
- 5 Repeat steps 2-4 for the other leg.
- 6 Locate the wing joint closest to the body.
- 7 Cut through the wing joint to remove each wing.
- 8 Slice the breast parallel to the carcass, starting from the neck end.
- 9 Continue slicing across the breast, creating 1/4-inch thick slices.
- 10 Turn the chicken over and remove any remaining meat from the carcass.
- 11 Carve the thighs from the drumsticks by cutting through the joint.
- 12 Arrange all carved pieces neatly on the platter.
- 13 Serve immediately to preserve the chicken's warmth and texture.
Ingredients to explore
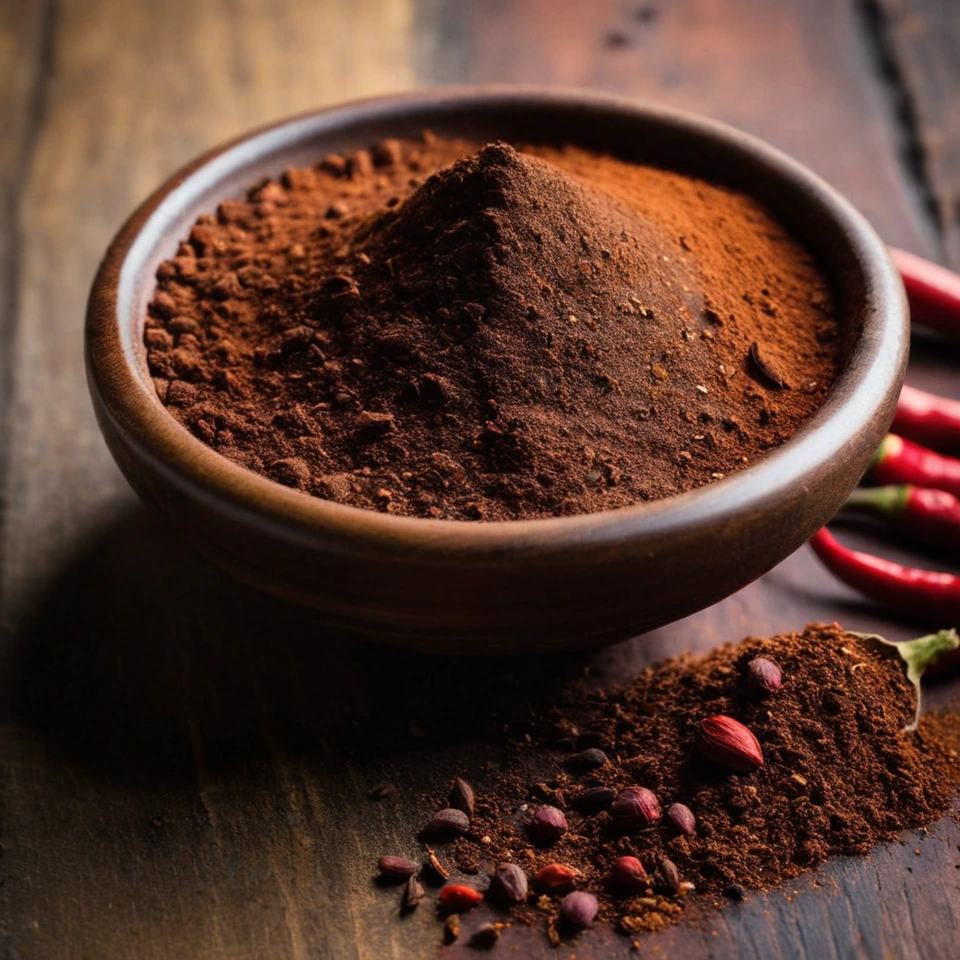
Ancho Chili Powder
Ancho chili powder offers a deep, smoky sweetness with hints of dried fruit and cocoa, reminiscent of its origin as dried poblano peppers from Mexico. Its aroma is warm and inviting, with a mild heat that lingers gently. The texture is fine and velvety, making it easy to incorporate into a variety of dishes. This powder is prized for its ability to add complexity without overwhelming spice, ideal for enriching both traditional Mexican moles and contemporary global cuisines.

Andouille Sausage
Andouille sausage is a coarse-grained, smoked pork sausage with a rich history rooted in French cuisine, particularly from the Alsace region. It was adapted in Louisiana, where it became a staple in Cajun and Creole cooking. The sausage is known for its robust, smoky flavor with hints of garlic, pepper, and other spices, creating a spicy and savory profile. Its texture is firm yet slightly chewy, making it a hearty addition to dishes. When cooked, andouille sausage maintains its shape well and infuses dishes with its distinctive smoky essence, enhancing stews, soups, and rice dishes.
Recipes to try

Strawberry Cream Cheese Stuffed French Toast
Imagine warm, golden French toast stuffed with a tangy cream cheese and sweet strawberry surprise – breakfast just got a gourmet upgrade.
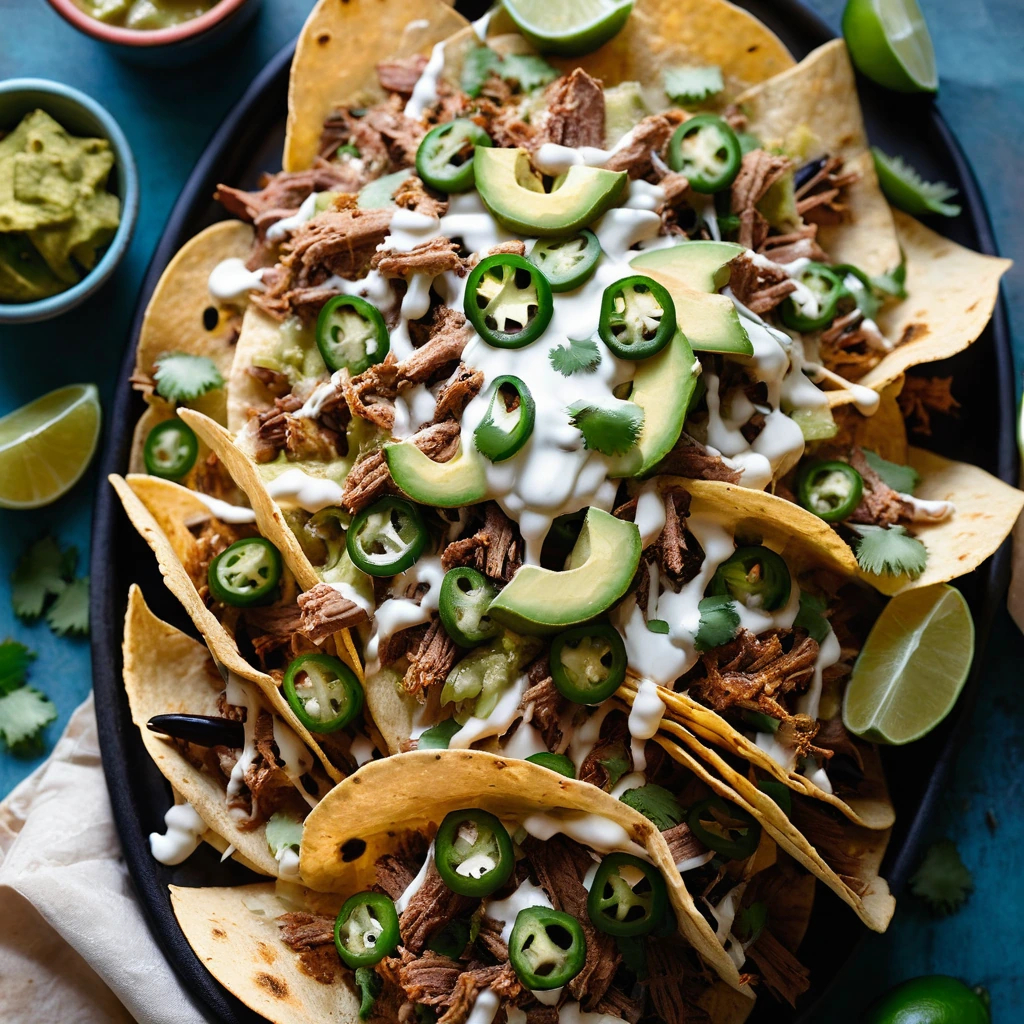
Pork Carnitas Nachos with Queso and Jalapeños
Crispy tortilla chips smothered in tender pork carnitas, melty queso, and zesty jalapeños for a fiesta in your mouth.