Knife Skills: Breaking Down a Whole Pork Shoulder
Breaking down a whole pork shoulder is a fundamental skill that can elevate your home cooking to new heights. Whether you're planning to roast it, smoke it, or turn it into pulled pork, understanding how to properly cut this cut is essential. Pork shoulder, also known as pork butt, is a richly marbled cut that yields tender, flavorful meat when cooked correctly. Learning how to break it down allows you to maximize its potential, portion it for different recipes, and even use trimmings for stocks or sausages. This guide will walk you through the process step by step, ensuring that you feel confident handling this cut like a seasoned chef. We'll cover everything from selecting the right knife to understanding the anatomy of the pork shoulder. Along the way, you'll discover tips for maintaining a sharp blade, ensuring safety in the kitchen, and identifying the different parts of the shoulder. By the end, you'll not only have a practical skill but also a deeper appreciation for this versatile cut of meat.
Notes
Understanding the anatomy of a pork shoulder is crucial for efficient butchery. The Boston butt is ideal for long, slow cooking methods due to its higher fat content, while the picnic shoulder contains more bone and connective tissue, making it excellent for braising. A sharp knife is non-negotiable; a dull blade can slip and cause injury. Always cut away from your body and use a stable cutting surface. Common mistakes include not properly drying the meat, which can lead to slipping, and failing to identify natural seams, resulting in uneven cuts. To extend the shelf life of your pork, vacuum sealing before freezing is ideal. Thaw frozen pork safely in the refrigerator, never at room temperature.
Steps
- 1 Gather your tools: a sharp chef's knife, a sturdy cutting board, and paper towels.
- 2 Pat the pork shoulder dry with paper towels to ensure a better grip.
- 3 Place the pork shoulder fat-side up on the cutting board.
- 4 Using your chef's knife, make a shallow incision along the natural seam of the shoulder.
- 5 Insert your fingers into the incision and gently separate the shoulder into two parts.
- 6 Trim excess fat and silver skin from each piece with your knife.
- 7 Identify the different cuts: the Boston butt and the picnic shoulder.
- 8 Cut the Boston butt into cubes for stewing or leave whole for roasting.
- 9 Slice the picnic shoulder into steaks or leave intact for braising.
- 10 Reserve trimmings and scraps for making stocks or grinding into sausage.
- 11 Clean your knife and cutting board immediately after use to maintain hygiene.
- 12 Store the cut pieces in airtight containers or vacuum-sealed bags.
- 13 Label and refrigerate for up to 3 days or freeze for longer storage.
Ingredients to explore
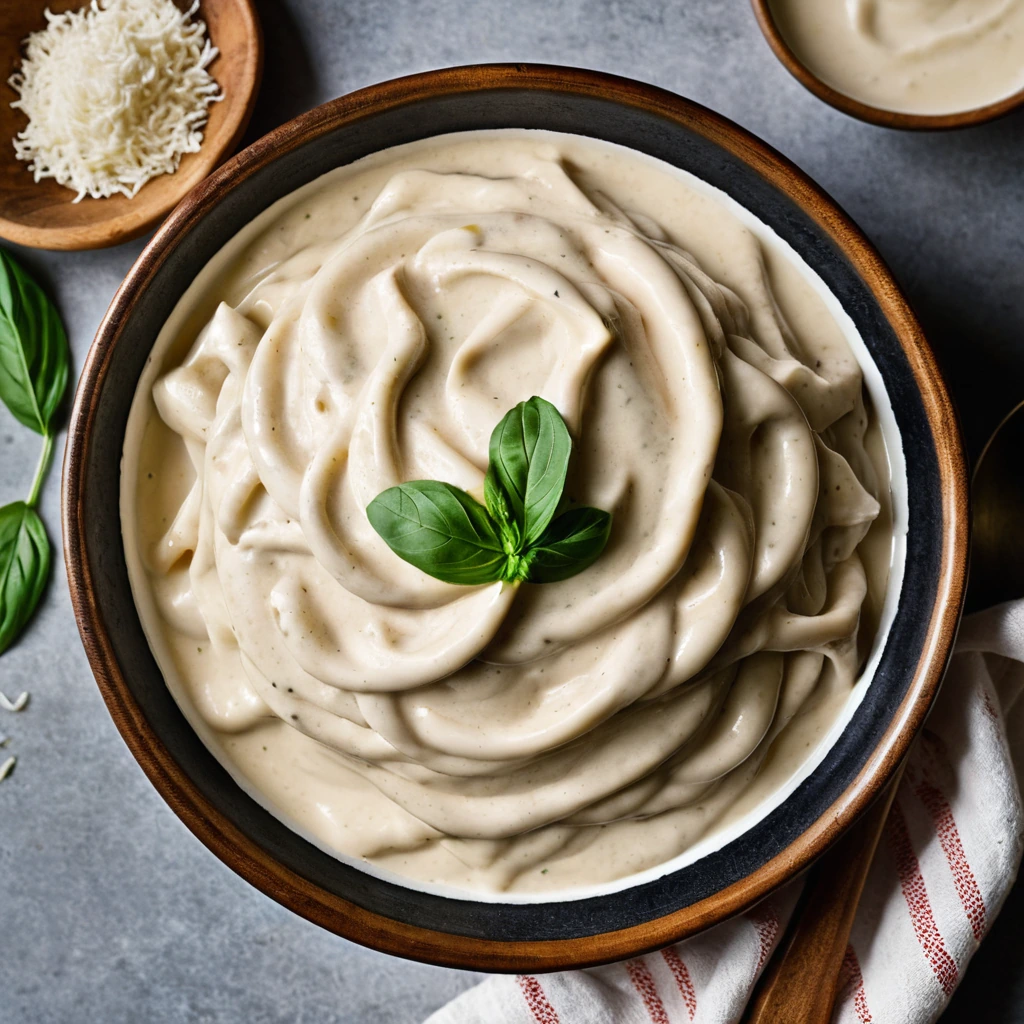
Alfredo Sauce
Creamy, rich, and utterly indulgent, Alfredo sauce is a dreamy blend of butter, heavy cream, and Parmesan cheese. Its velvety texture and savory depth make it a beloved staple in Italian-American cuisine.
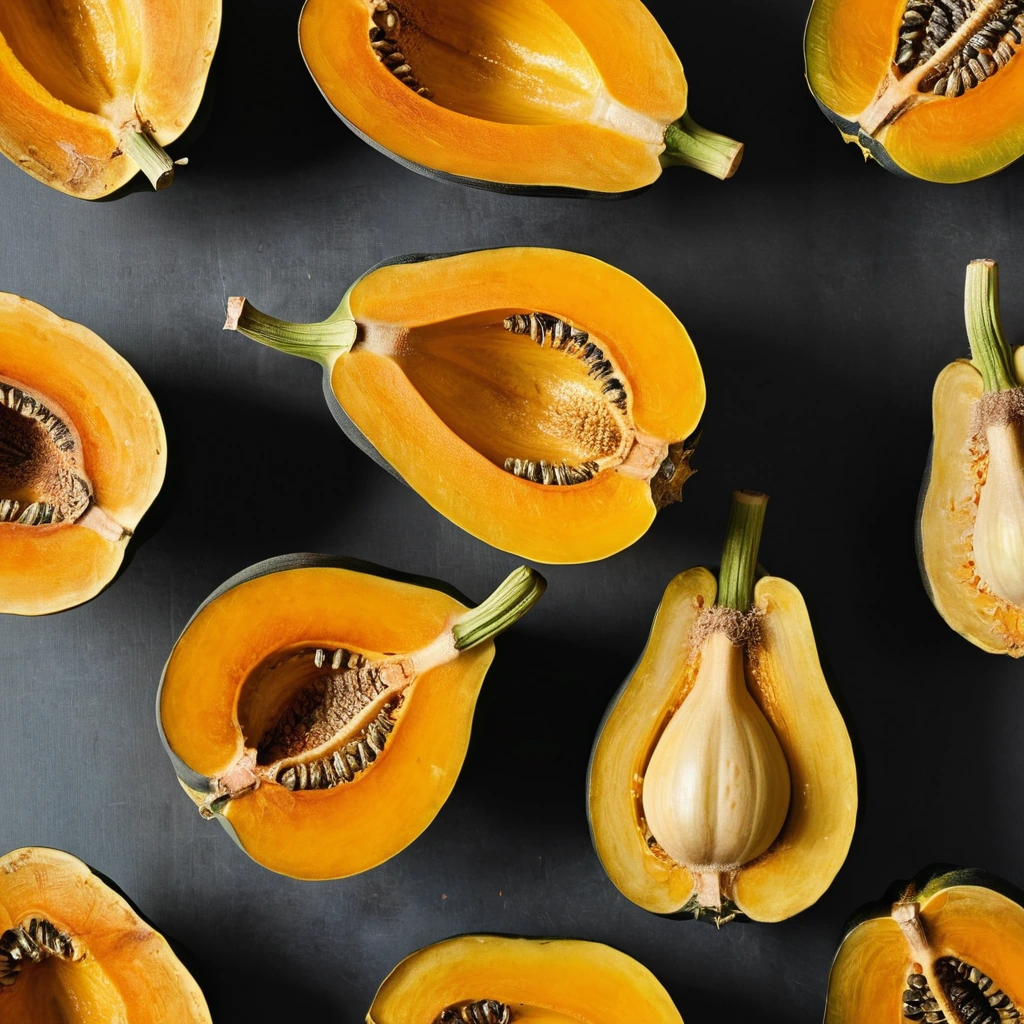
Acorn Squash
Acorn squash is a winter squash variety known for its distinctive teardrop shape and deep ridges resembling the texture of an acorn shell. Originating in the Americas, it has been cultivated for centuries and is a staple in autumn cuisine. The flesh is sweet and nutty with a hint of earthiness, offering a delightful contrast to savory dishes. Its texture is dense yet tender when cooked, making it ideal for roasting or pureeing. In cooking, acorn squash holds its shape well and absorbs flavors from herbs and spices, enhancing both its taste and versatility in recipes.
Recipes to try

Sweet Chili Glazed Meatball Lettuce Wraps
Juicy meatballs cloaked in a sticky-sweet chili glaze, nestled in crisp lettuce cups for a flavor explosion with every bite.
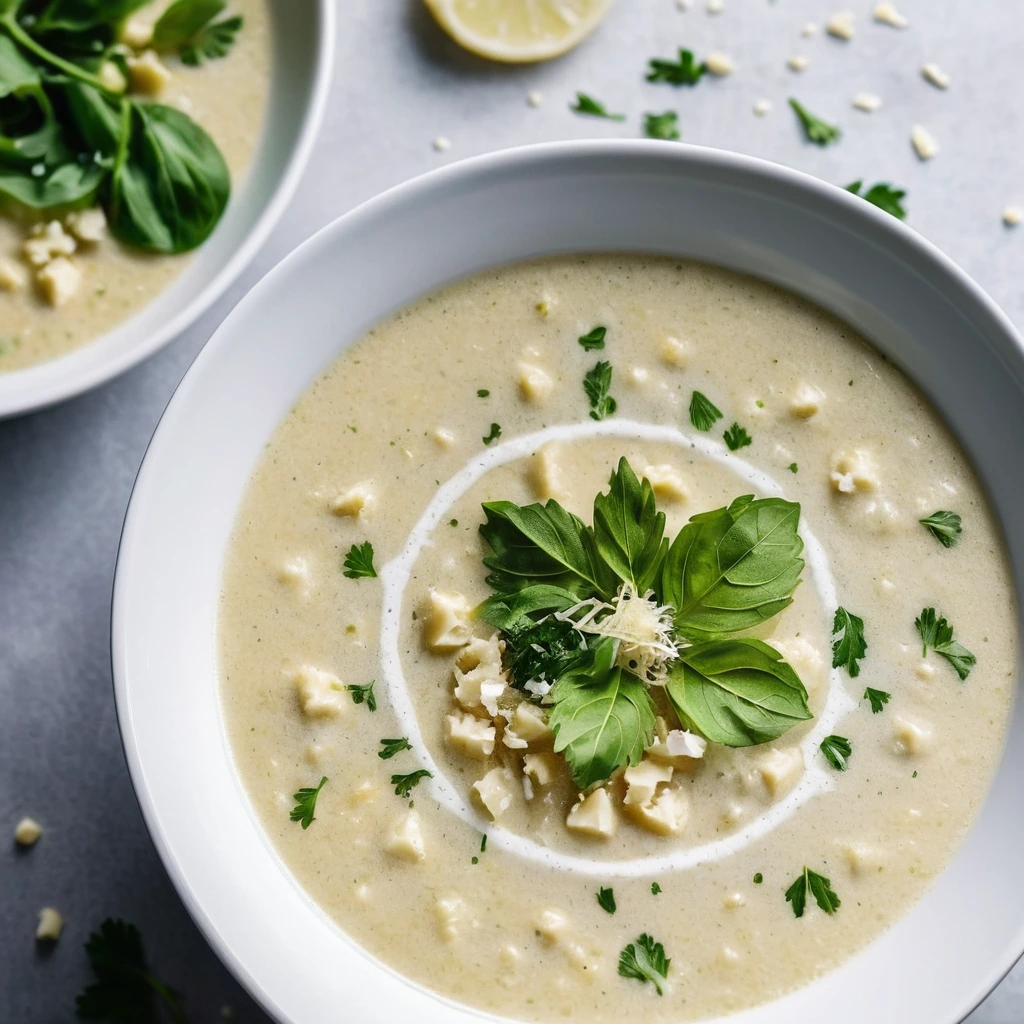
Roasted Cauliflower and Garlic Soup with Parmesan
This velvety soup is a symphony of roasted cauliflower and garlic, kissed with nutty Parmesan for a cozy, crave-worthy bowl.