Heat Management Technique: Using Medium Heat Instead of Max Flame
Cooking with medium heat is a nuanced skill that can transform your culinary adventures from hit-or-miss to consistently delightful. Unlike the high-octane drama of a max flame, medium heat offers a gentler, more controlled environment for your food to develop layers of flavor and texture. When you dial down the intensity, you grant your dishes the time they need to truly shine. This technique is ideal for sautéing, simmering, and braising, where patience yields juicy meats, perfectly tender vegetables, and richly infused sauces. Medium heat allows for even cooking, reducing the risk of scorching or burning, which can ruin a dish in seconds. It's a method that honors the natural pace of cooking, where aromas slowly build and ingredients meld harmoniously. Whether you're searing a steak to a golden-brown crust or gently coaxing a risotto to creamy perfection, understanding and employing medium heat will elevate your cooking. It requires attentiveness and a touch of intuition, but once mastered, it provides a reliable path to culinary success.
Notes
Cooking with medium heat works because it provides a balanced environment where food can cook evenly without the risk of burning. The science behind it lies in the Maillard reaction and caramelization, processes that occur at lower temperatures and contribute to complex flavors. A common mistake is not preheating the pan long enough, leading to food sticking or cooking unevenly. Always ensure your pan is adequately heated before adding ingredients. Safety is paramount; never leave cooking food unattended on medium heat, as it can still overheat or cause a fire hazard. For make-ahead meals, dishes cooked with medium heat often store well since they are less likely to dry out. Store leftovers in airtight containers in the refrigerator for up to 3 days or freeze for longer storage.
Steps
- 1 Start by adjusting your burner to medium heat, typically marked between 4 and 6 on a standard stovetop dial.
- 2 Allow your pan to heat up for 2 to 3 minutes before adding any ingredients.
- 3 Test the heat by flicking a few drops of water onto the pan; they should sizzle and evaporate within a couple of seconds.
- 4 Add your oil or fat and let it warm until it shimmers but does not smoke.
- 5 Introduce your ingredients to the pan, ensuring they have ample space to cook without overcrowding.
- 6 Monitor the cooking process closely, stirring or flipping as needed to ensure even cooking.
- 7 For meats, aim for a sear that develops a golden-brown crust, usually taking 3 to 5 minutes per side.
- 8 For vegetables, cook until they reach a tender crispness, which can take anywhere from 5 to 8 minutes.
- 9 Simmer sauces and soups gently, maintaining a low bubble that breaks slowly at the surface.
- 10 Adjust the heat slightly up or down as needed to maintain the ideal cooking temperature.
- 11 Use a thermometer for dishes that require precise temperatures, like custards or certain meats.
- 12 Finish dishes with delicate ingredients like herbs or butter at the end to preserve their flavor and texture.
- 13 Remove the pan from the heat promptly once the dish is cooked to prevent overcooking.
- 14 Let your dish rest for a few minutes before serving to allow flavors to settle.
Ingredients to explore
Recipes to try
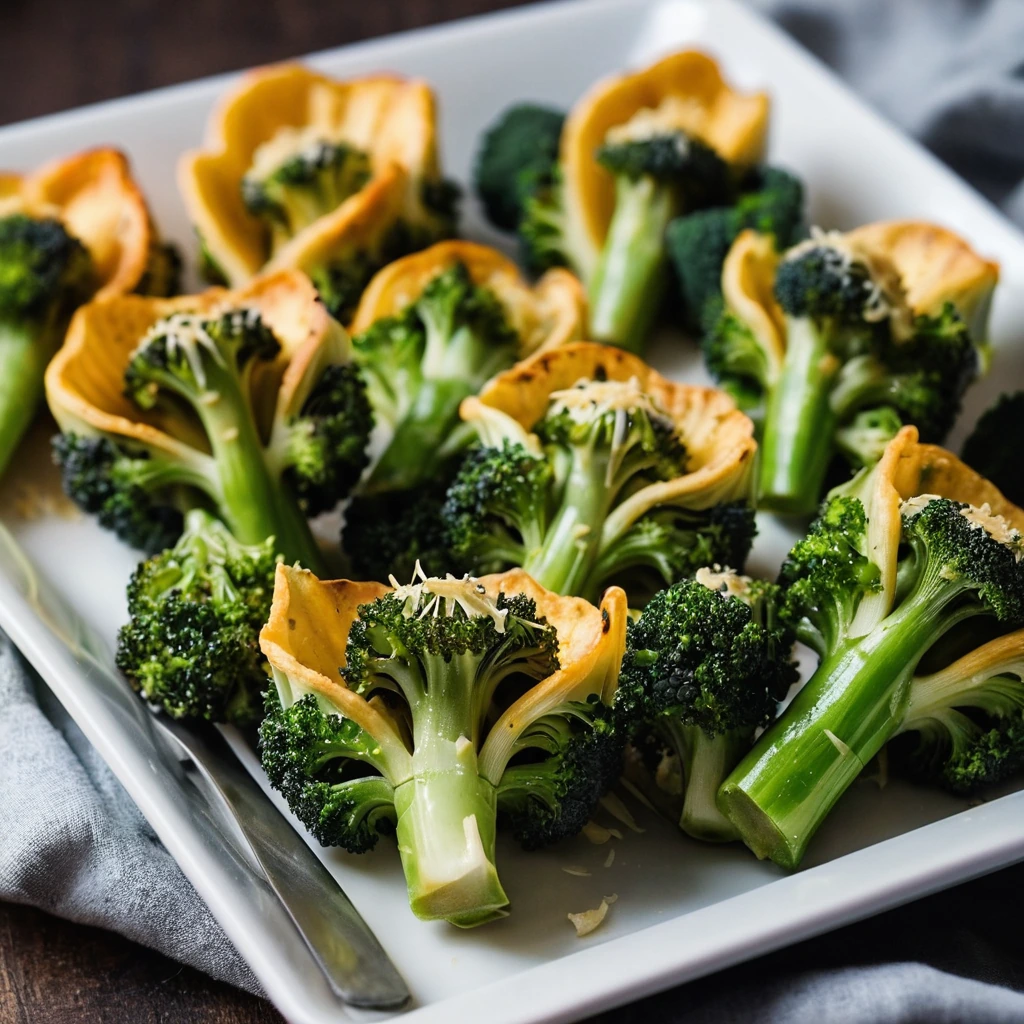
Roasted Broccoli and Cheddar Stuffed Shells
Creamy cheddar cheese and roasted broccoli unite in tender pasta shells for a veggie-packed, cheesy masterpiece.
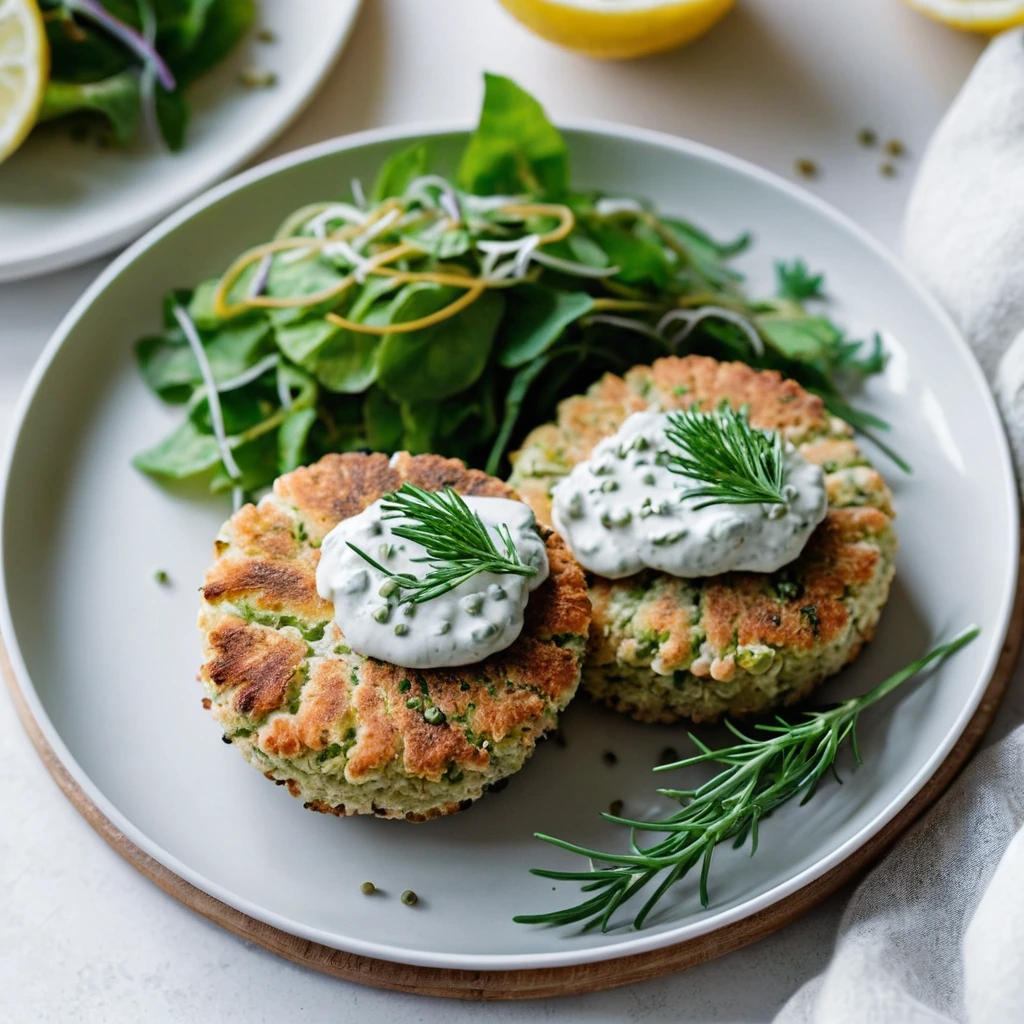
Lemon Dill Salmon Cakes with Caper Mayo
Golden, crispy salmon cakes bursting with fresh dill and zesty lemon, served with a tangy caper mayo that'll have you hooked.