Flavor & Seasoning: Salting Meat in Advance vs at the End
When it comes to preparing meat, the timing of salting can be a game-changer for flavor and texture. Salting meat in advance allows for a process called dry brining, where salt draws out moisture from the meat's surface through osmosis. This moisture is then reabsorbed along with the salt, seasoning the meat more deeply and enhancing its natural flavors. The salt also breaks down proteins, tenderizing the meat over time. Conversely, salting at the end preserves the surface moisture, creating a perfect environment for searing and developing a crust through the Maillard reaction. Understanding the science behind these methods can elevate your cooking from good to gourmet. The choice between the two techniques depends on the type of meat, the cooking method, and personal preference. Early salting is ideal for larger cuts that benefit from tenderizing, like brisket or roasts, while salting at the end works well for quick-cooking proteins like chicken breasts or fish fillets. Balancing the timing of salting with cooking techniques ensures a flavorful, juicy, and perfectly textured meal every time.
Notes
Salting meat in advance works due to osmosis and denaturation of proteins, enhancing flavor penetration and tenderizing the meat. However, over-salting can lead to a salty flavor or overly soft texture, so adjust salt quantities based on resting time. For safety, ensure your meat is properly refrigerated during the salting period to avoid bacterial growth. Salting at the end preserves surface moisture, ideal for achieving a crispy crust through the Maillard reaction. For make-ahead meals, advance salting allows for better planning, but always store salted meat in the refrigerator promptly. For storage, properly wrapped salted meat can last in the fridge for up to two days, depending on the type of meat.
Steps
- 1 Select your cut of meat and pat it dry with paper towels.
- 2 Measure out the appropriate amount of kosher salt for your meat – generally 1 to 1.5 tablespoons per pound.
- 3 Evenly distribute the salt over all surfaces of the meat.
- 4 For advance salting, place the meat on a wire rack set over a tray to catch drippings and refrigerate uncovered.
- 5 Allow the meat to rest in the refrigerator for 4 to 24 hours, depending on the thickness and type of meat.
- 6 Before cooking, rinse off excess salt if necessary, especially if salting for an extended period, and pat dry again.
- 7 For immediate salting, apply the salt just before cooking to ensure surface moisture is preserved.
- 8 Preheat your skillet, grill, or oven to the desired temperature for your cooking method.
- 9 Cook the meat to your preferred level of doneness, monitoring for the desired crust if searing.
- 10 Let the meat rest for 5 to 10 minutes after cooking to redistribute juices.
- 11 Slice and serve your seasoned and cooked meat.
Ingredients to explore
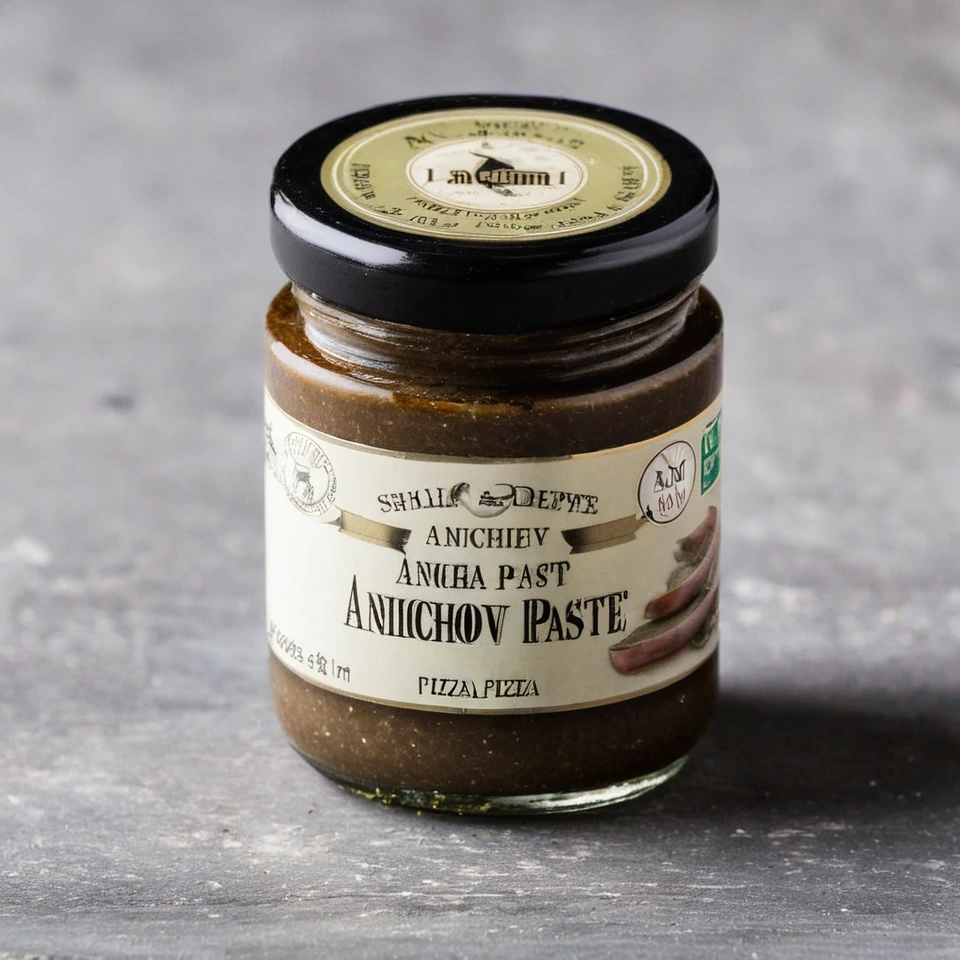
Anchovy Paste
Anchovy paste is a rich, salty spread made from finely ground anchovies, salt, and sometimes olive oil. It offers a deep umami flavor that enhances a variety of dishes.
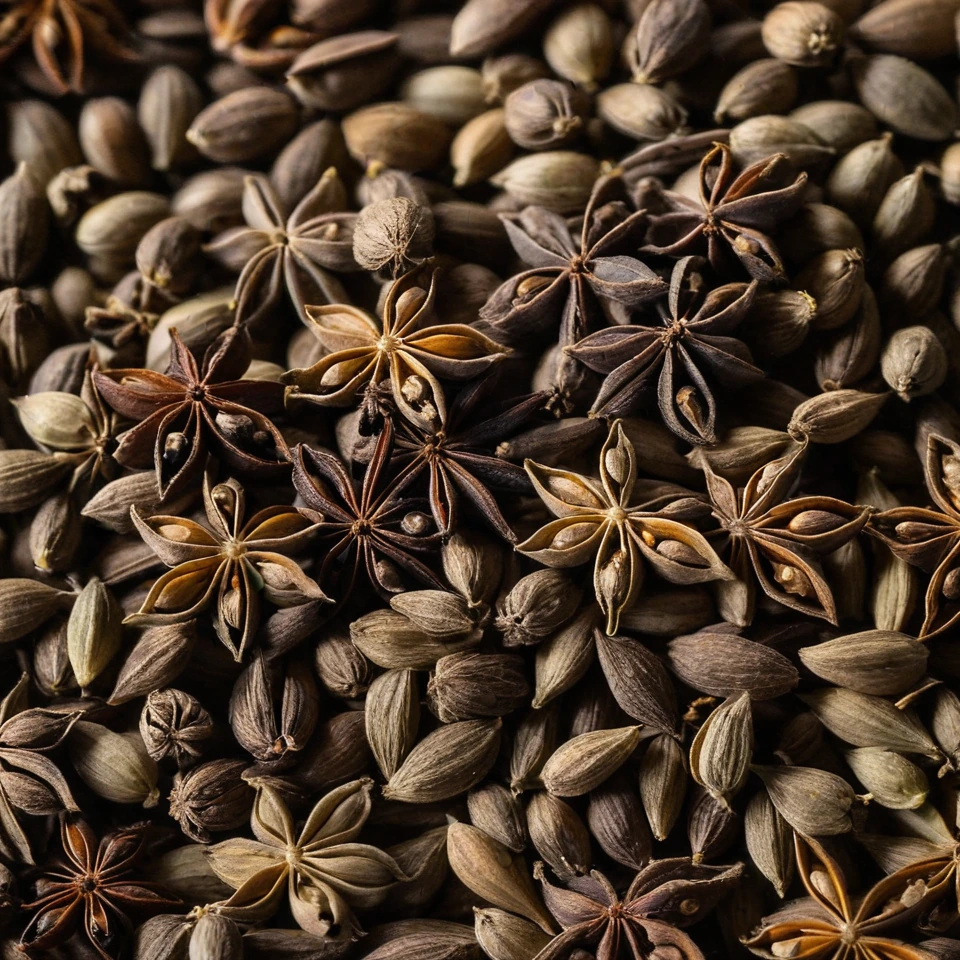
Anise Seeds
Anise seeds are small, oval seeds with a sweet, licorice-like flavor. They are commonly used in both sweet and savory dishes, offering a warm, aromatic taste.
Recipes to try

Shrimp Tacos with Cilantro Lime Slaw
Juicy grilled shrimp nestled in warm tortillas, topped with a vibrant cilantro lime slaw that's as refreshing as a sea breeze.
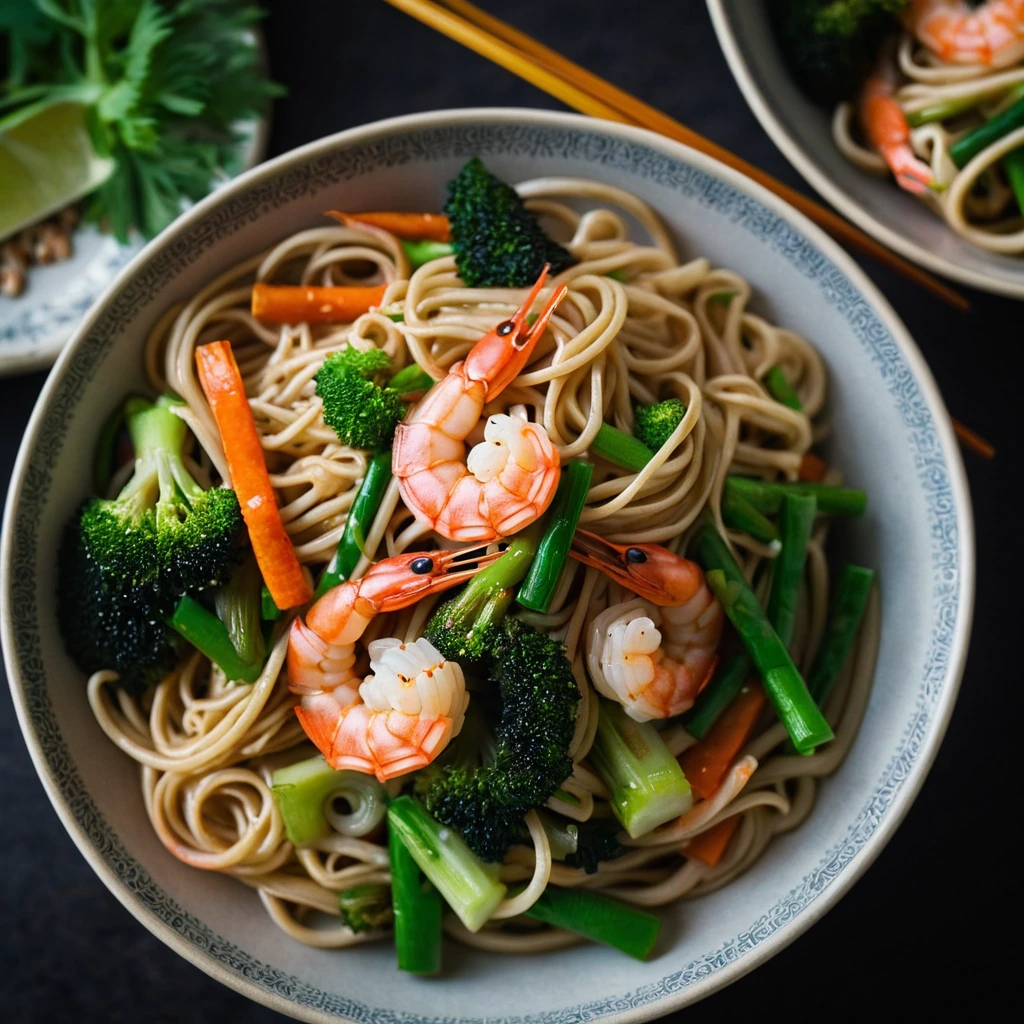
Shrimp and Veggie Lo Mein
Silky noodles twirled with succulent shrimp and a colorful medley of veggies in a savory sauce that'll have you slurping for more.