Dessert Finishes: Folding Whipped Cream into Mousses
Creating a luscious mousse is an art, and folding whipped cream into the base is a critical step to achieving that dreamy, airy texture we all crave. This technique is all about gentle handling to preserve the air bubbles in the whipped cream, ensuring your mousse is light and not deflated. First, understand that the foundation of a great mousse is a well-stabilized base, often made with ingredients like gelatin or egg whites. Whipped cream, when folded in properly, incorporates air and lightness into this base. It's essential to whip the cream to soft peaks—this ensures it's airy but still holds its shape. Overwhipping can lead to butter, which is a no-go for mousses. The folding process requires patience and a delicate touch. Using a spatula, you'll want to cut through the center of the mixture and fold upwards, gently incorporating the whipped cream. This method avoids deflating the air you've worked so hard to whip into the cream. Achieving the right consistency is crucial; the mousse should be smooth, homogenous, and airy. Remember, this isn't a rushed process. Take your time to fold in the whipped cream in stages, ensuring even distribution without losing volume. This technique is versatile, applicable to chocolate, fruit, or even savory mousses. Understanding the science behind it empowers you to troubleshoot common issues like a dense or lumpy mousse. Maintaining the correct temperature of ingredients and tools is key. Cold ingredients whip up better, and a chilled bowl helps maintain the cream's volume. Lastly, practice patience and precision, and soon you'll master the art of creating mousses with a professional finish.
Notes
The science behind folding whipped cream into mousses lies in the delicate balance of air incorporation and gentle handling. Overmixing can deflate the whipped cream, leading to a dense mousse. To prevent this, work slowly and deliberately. Troubleshooting common mistakes includes ensuring your base is not too warm, which can melt the whipped cream, and making sure your whipped cream is at the correct consistency—soft peaks hold their shape but are still malleable. Safety is straightforward here, but cleanliness is crucial to avoid contaminating your ingredients. For make-ahead and storage, keep mousses refrigerated in airtight containers for up to 24 hours to maintain their texture and freshness.
Steps
- 1 Chill a mixing bowl and whisk in the freezer for 10 minutes.
- 2 Pour heavy cream into the chilled bowl.
- 3 Whip the cream with a chilled whisk or electric mixer until soft peaks form.
- 4 Prepare your mousse base according to your recipe, ensuring it's slightly cooled but not set.
- 5 Add a spoonful of the mousse base to the whipped cream and gently fold to lighten the base.
- 6 Incorporate the whipped cream into the mousse base in two additions, folding gently but thoroughly after each addition.
- 7 Ensure the spatula reaches the bottom of the bowl to fully incorporate all ingredients.
- 8 Fold until the mixture is homogenous and no streaks remain, but avoid overmixing.
- 9 Scrape the mousse into serving dishes or a larger serving bowl.
- 10 Smooth the top with a spatula for an even finish.
- 11 Chill the mousse in the refrigerator for at least 2 hours before serving.
Ingredients to explore
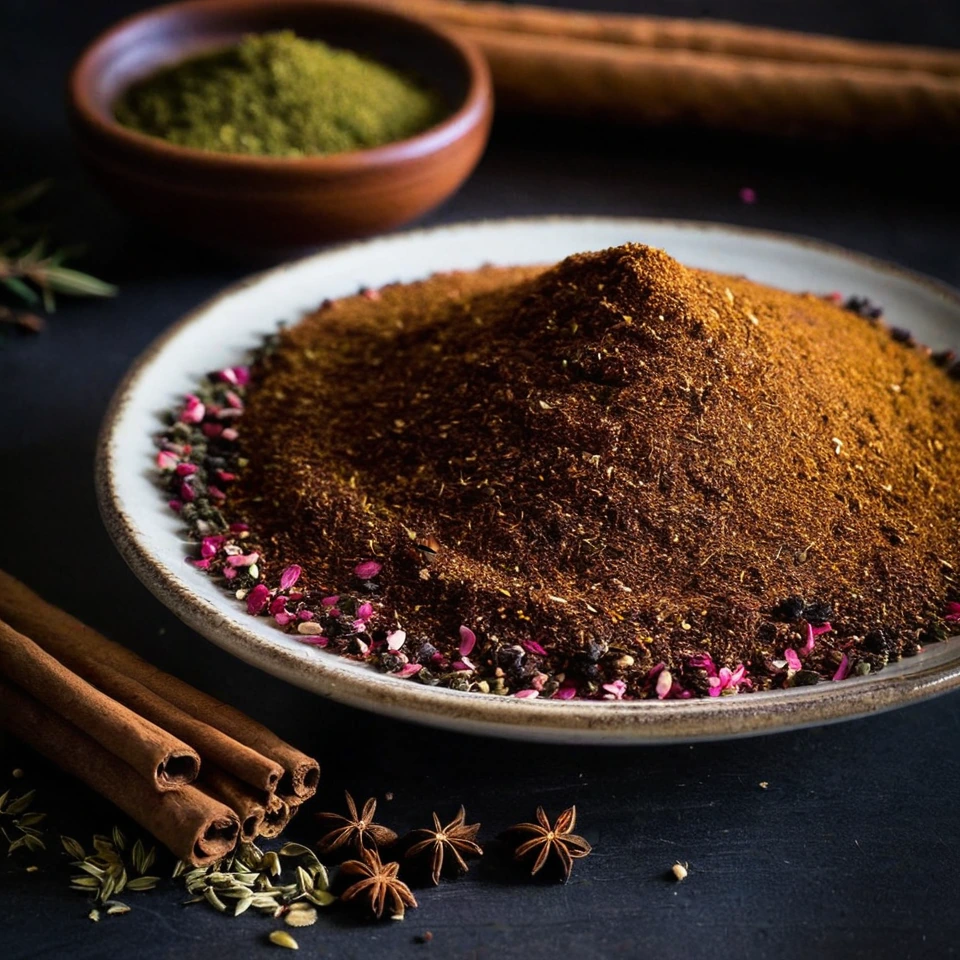
Advieh (Persian Spice Blend)
Advieh is a fragrant Persian spice blend that boasts a complex aroma of warm cinnamon, earthy cumin, and floral hints of rose and saffron. Its texture is finely ground, making it easy to incorporate into dishes. Originating from the rich culinary traditions of Iran, advieh adds depth and sophistication to both savory and sweet recipes. Its unique combination of spices reflects the historical spice trade routes that influenced Persian cuisine.
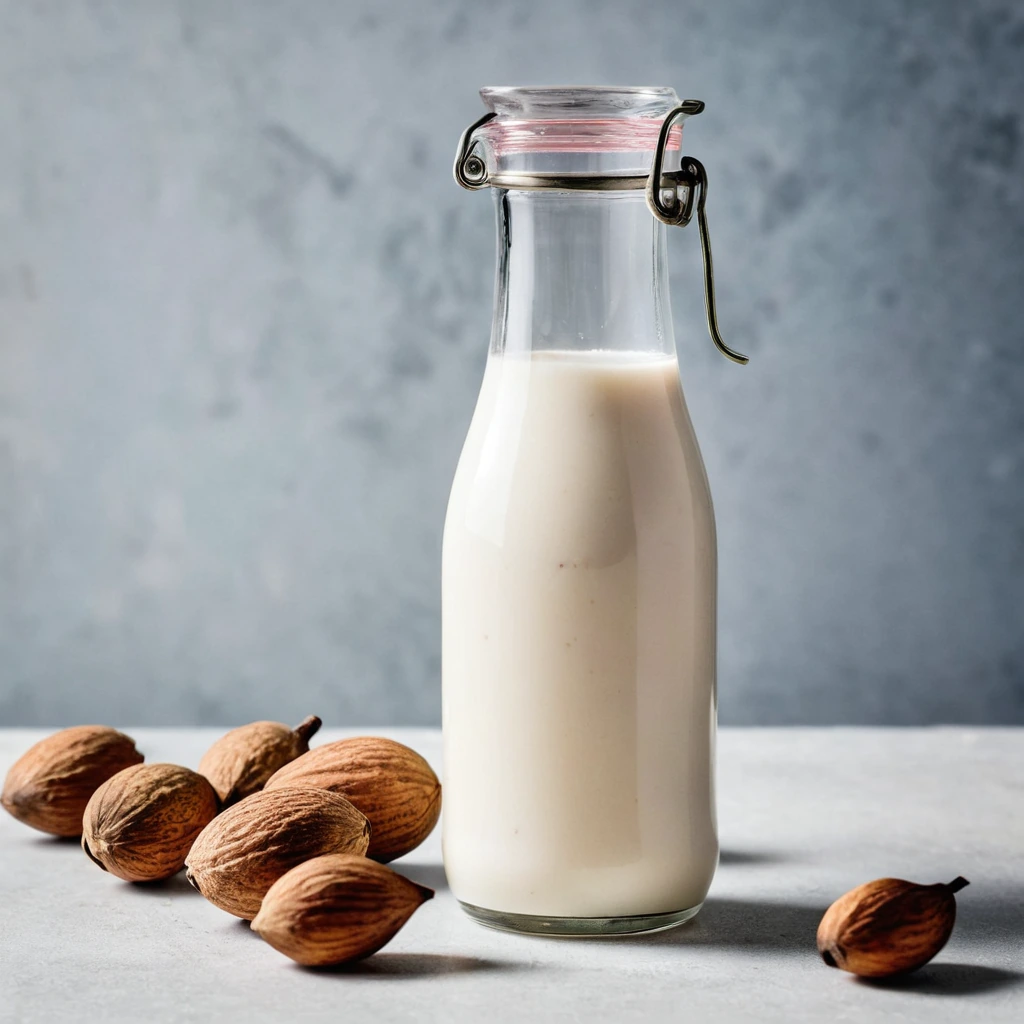
Almond Milk
Almond milk is a plant-based milk alternative made from ground almonds and water. Originating from traditional recipes in medieval Europe and the Middle East, it has gained widespread popularity in modern times as a dairy-free option. Almond milk has a subtly nutty flavor with a mild sweetness, and its aroma is reminiscent of fresh almonds. Its texture is smooth and creamy, though typically lighter than dairy milk. In cooking, almond milk behaves well in both savory and sweet applications, though it does not brown or caramelize like dairy milk. It is often used in cereals, smoothies, and baking, where its delicate flavor complements rather than overpowers other ingredients.
Recipes to try
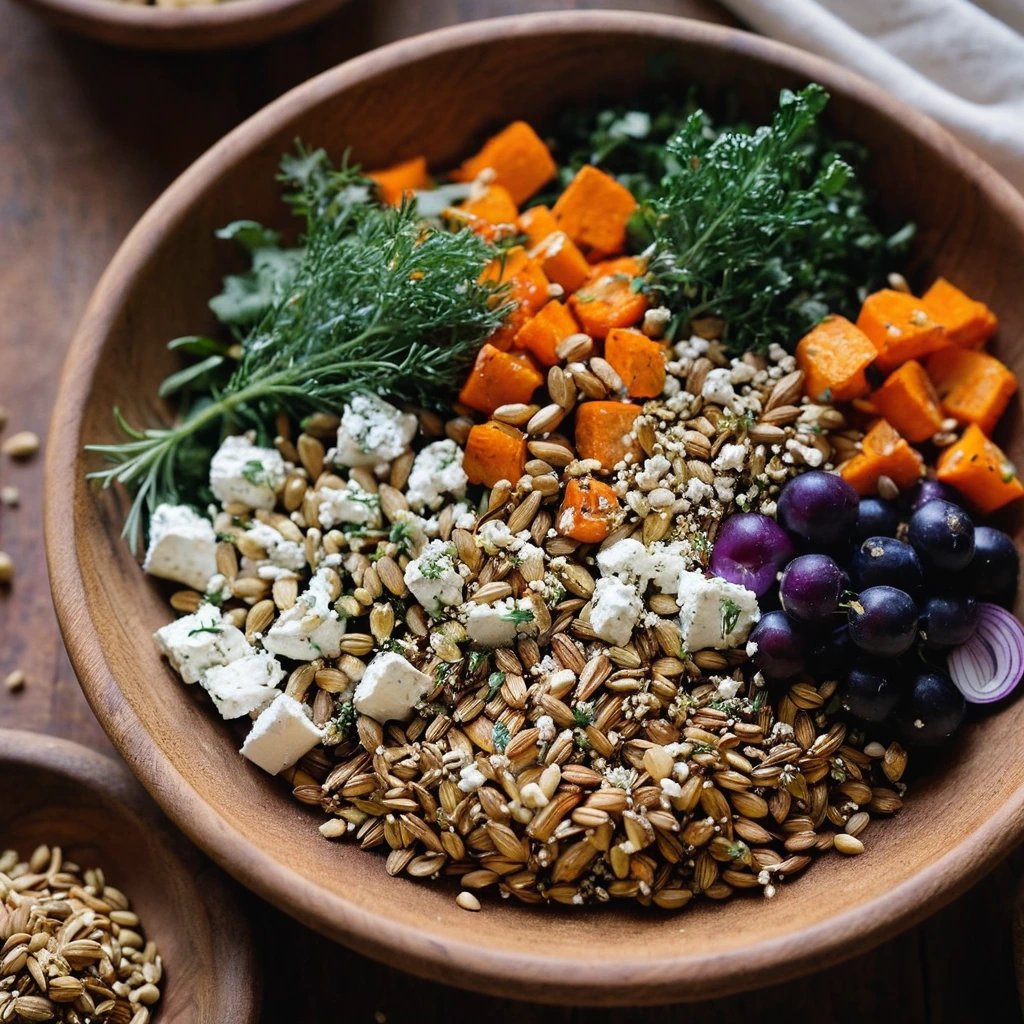
Roasted Vegetable and Goat Cheese Grain Bowls
Warm, roasted veggies mingle with creamy goat cheese over a bed of nutty grains for a comforting yet vibrant meal.

Tomato Basil Chicken and Rice Skillet
Golden chicken and fluffy rice simmered in a vibrant tomato-basil sauce, bursting with fresh garden flavors.