Deep Frying: Testing Oil Temperature Without a Thermometer
Deep frying is an art that requires precision, especially when it comes to oil temperature. Without a thermometer, achieving the perfect fry might seem daunting, but fear not! This technique empowers home cooks to test oil temperature using simple, kitchen-approved methods. First, understanding why oil temperature matters is crucial: too hot, and your food burns on the outside while remaining raw within; too cool, and you risk greasy, soggy results. By mastering alternative temperature testing methods, you can ensure consistently crispy, golden-brown perfection. One tried-and-true method involves using a wooden spoon handle to gauge readiness; tiny bubbles around the handle indicate the oil is ready for breading. Another approach is to drop a small cube of bread into the oil; if it sizzles and browns in 30-60 seconds, the oil is at the ideal frying temperature. These techniques rely on visual and auditory cues, making them accessible and practical for home cooks. Additionally, knowing the ideal temperatures for different frying tasks—like 350°F for French fries or 375°F for chicken—helps tailor your approach. Remember, maintaining oil temperature is an ongoing task due to heat fluctuations when adding food. Learning to recognize these cues not only enhances your frying skills but also boosts your confidence in the kitchen. Finally, safety is paramount; always use caution to avoid burns and never leave hot oil unattended. With these tips, you'll be frying like a pro in no time, delivering restaurant-quality results at home.
Notes
The science behind this technique lies in the reaction of moisture to heat. When oil reaches the correct temperature, moisture from the wood or bread evaporates rapidly, creating visible bubbles or sizzling sounds. This indicates that the oil is hot enough to cook food quickly, forming a crispy exterior while sealing in moisture. Common mistakes include overheating the oil or overcrowding the fryer, leading to uneven cooking or oil spills. For safety, always use a splatter screen and keep an eye on the oil level to prevent overflow. As for make-ahead, pre-prepare your food items but fry them just before serving for the best texture. Store leftover oil in an airtight container in a cool, dark place, but discard if it smells off or has food particles.
Steps
- 1 Fill your pot or fryer with enough oil to fully submerge your food.
- 2 Heat the oil over medium-high heat.
- 3 While waiting, prepare your food for frying.
- 4 To test oil temperature, dip the handle of a wooden spoon into the oil.
- 5 Look for a steady stream of small bubbles around the spoon's handle.
- 6 Alternatively, drop a 1-inch cube of bread into the oil.
- 7 If the bread sizzles and turns golden in 30-60 seconds, the oil is ready.
- 8 If the bread takes longer to brown, increase the heat slightly.
- 9 If the bread darkens too quickly, lower the heat.
- 10 Once the correct temperature is achieved, carefully add your food in batches.
- 11 Monitor the oil temperature by repeating the wooden spoon or bread test as needed.
- 12 Adjust the heat to maintain consistent oil temperature throughout frying.
- 13 Remove food with a slotted spoon and drain on paper towels.
- 14 Keep a fire extinguisher nearby and never leave hot oil unattended.
Ingredients to explore
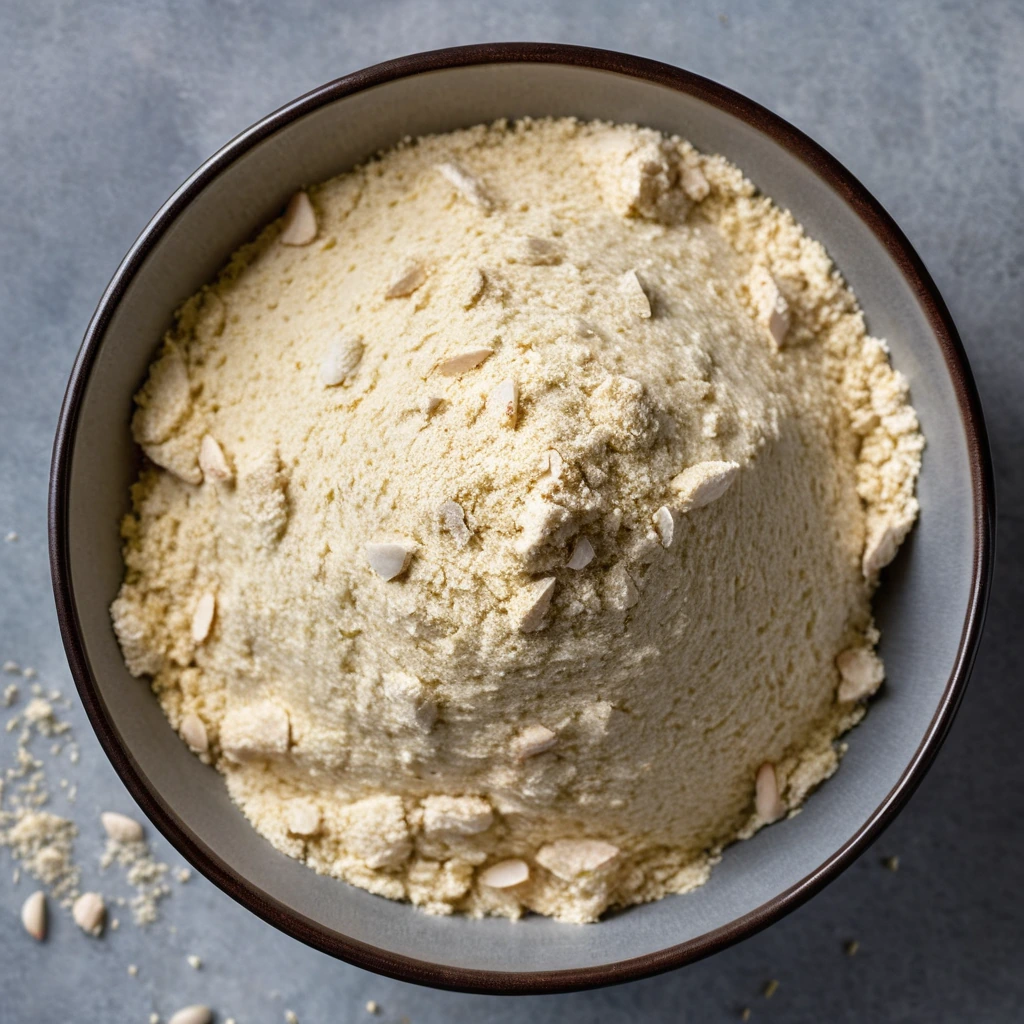
Almond Flour
A finely ground flour made from blanched almonds, offering a delicate nutty aroma and a tender crumb to your baked goods.
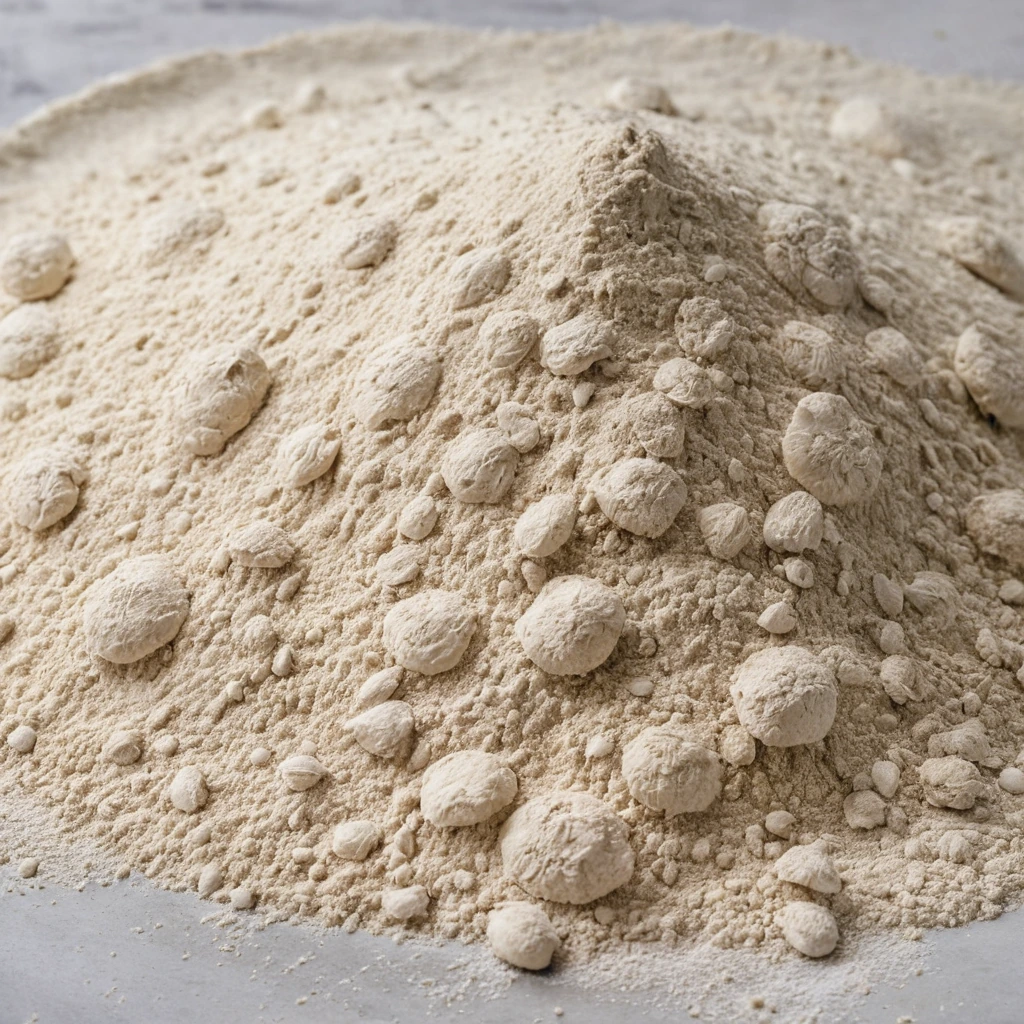
00 Pizza Flour
00 pizza flour is a finely milled Italian flour prized for its versatility in creating authentic Neapolitan-style pizza crusts. Originating from Italy, it is milled to a very fine consistency, which is reflected in its name, 'doppio zero,' indicating its fine grind. This flour has a balanced flavor profile, offering a mild, slightly sweet taste with a subtle nuttiness. Its texture is silky and smooth, contributing to a tender yet chewy crust when used in pizza making. In cooking, 00 pizza flour is known for its ability to hydrate quickly and develop a desirable gluten structure, resulting in a light and airy crust that can withstand high-heat cooking without becoming overly crispy or hard.
Recipes to try
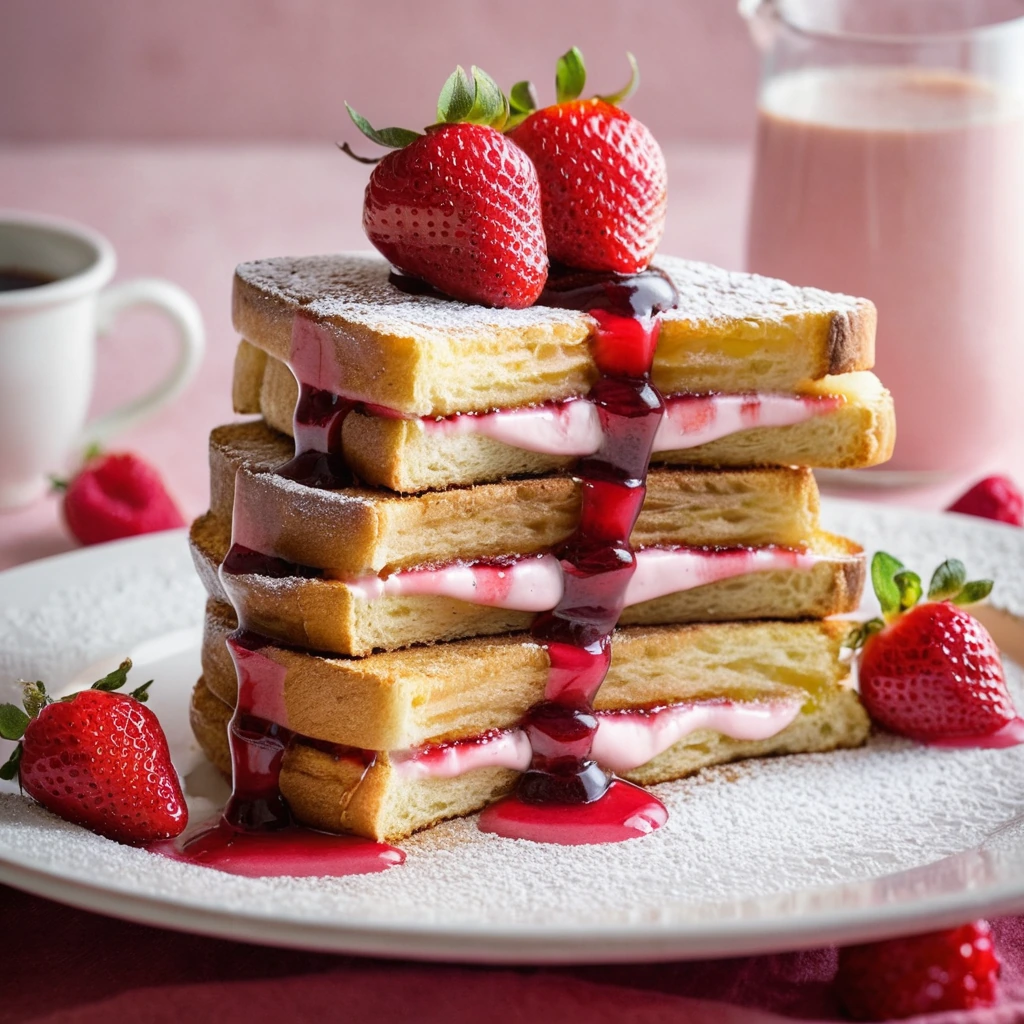
Strawberry Cream Cheese Stuffed French Toast
Imagine warm, golden French toast stuffed with a tangy cream cheese and sweet strawberry surprise – breakfast just got a gourmet upgrade.
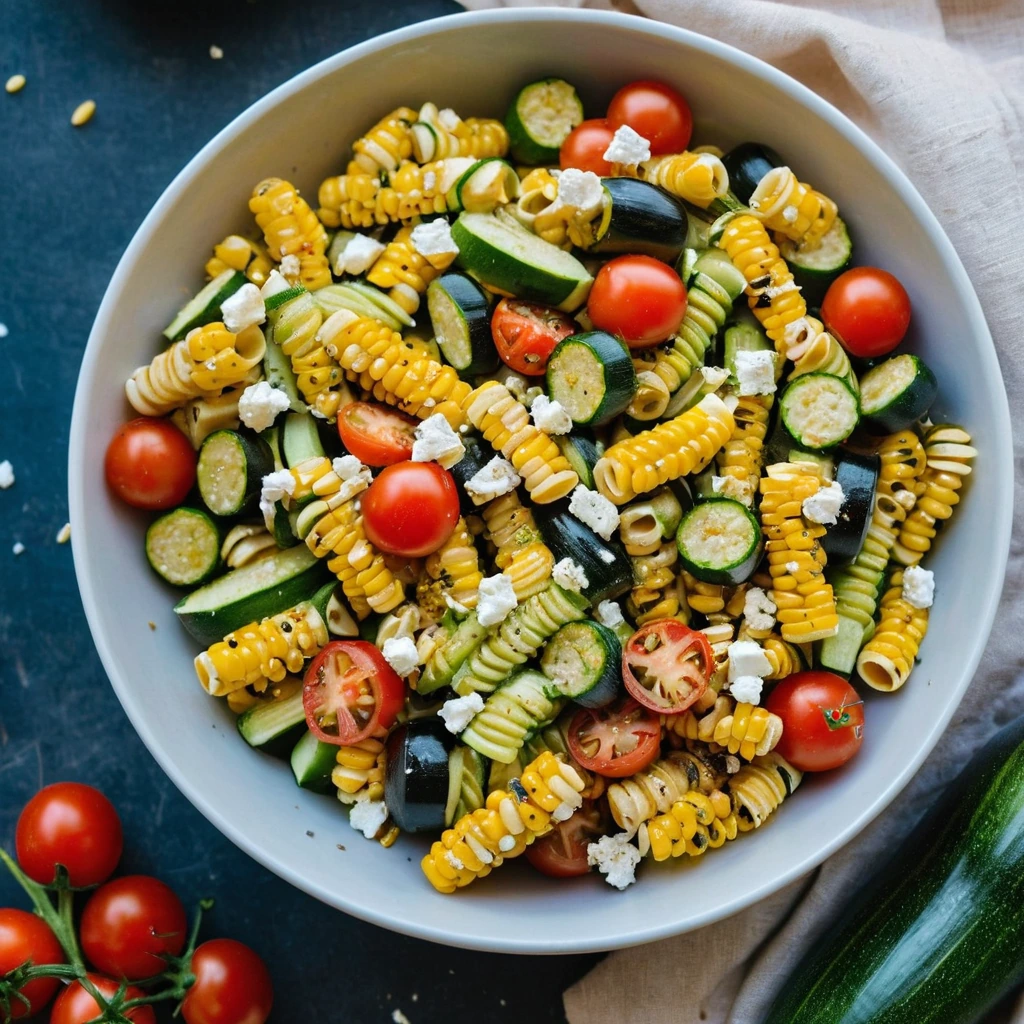
Roasted Zucchini, Corn, and Tomato Pasta Salad
This vibrant pasta salad is bursting with smoky roasted veggies and tangy feta, making every bite a taste of summer.