Bread Technique: Using Prefermented Dough for Flavorful Loaves
The secret to artisan-level bread at home lies in the magic of prefermented dough. This technique harnesses the power of time and fermentation to develop deep, complex flavors in your loaves. Prefermented dough, whether in the form of a poolish, biga, or sourdough starter, jumpstarts the fermentation process, giving your bread a tangy, rich taste that's hard to resist. This method also improves texture, creating a tender crumb and a crisp crust. By understanding the science behind prefermentation, you can elevate your home baking to new heights. We'll explore how to incorporate this technique into your routine, ensuring each loaf you bake is bursting with flavor and character. From understanding the types of preferments to mastering the timing, this guide will walk you through every step with clarity and confidence. Let's dive into the world of prefermented dough and unlock the potential for creating truly exceptional bread.
Notes
The science behind prefermentation is fascinating. The extended fermentation time allows enzymes in the flour to break down starches into sugars, enhancing flavor and aiding browning. Additionally, lactic acid bacteria contribute to the dough's tangy profile. Troubleshooting common mistakes includes ensuring your preferment is active – discard and refresh if it smells off. Overproofing can lead to a dense loaf, so monitor the dough's rise closely. Safety-wise, ensure your workspace is clean to avoid contaminating your dough. For make-ahead convenience, shape your loaves and refrigerate them overnight before baking, allowing for a relaxed morning schedule.
Steps
- 1 Prepare your preferment by mixing flour, water, and a small amount of yeast (or use sourdough starter) in a bowl.
- 2 Cover the bowl with plastic wrap and let it rest at room temperature for 12-18 hours, until bubbly and aromatic.
- 3 Measure out your remaining ingredients for the final dough, adjusting hydration based on the preferment's consistency.
- 4 Combine the preferment with the remaining ingredients in a large mixing bowl.
- 5 Knead the dough until smooth and elastic, about 10-15 minutes, either by hand or with a stand mixer.
- 6 Place the dough in a lightly oiled bowl, cover, and let it rise until doubled in size, typically 1-2 hours.
- 7 Gently shape the dough into your desired loaf form and place it on a parchment-lined baking sheet.
- 8 Cover the shaped dough and allow it to proof for an additional 30-60 minutes, or until it looks puffy and relaxed.
- 9 Preheat your oven to 450°F with a baking stone or Dutch oven inside to ensure even heat distribution.
- 10 Score the top of the dough with a sharp blade to allow for expansion during baking.
- 11 Transfer the dough to the preheated oven, either on the stone or in the Dutch oven, and bake for 25-30 minutes.
- 12 After baking, remove the loaf from the oven and let it cool on a wire rack for at least 1-2 hours before slicing.
Ingredients to explore
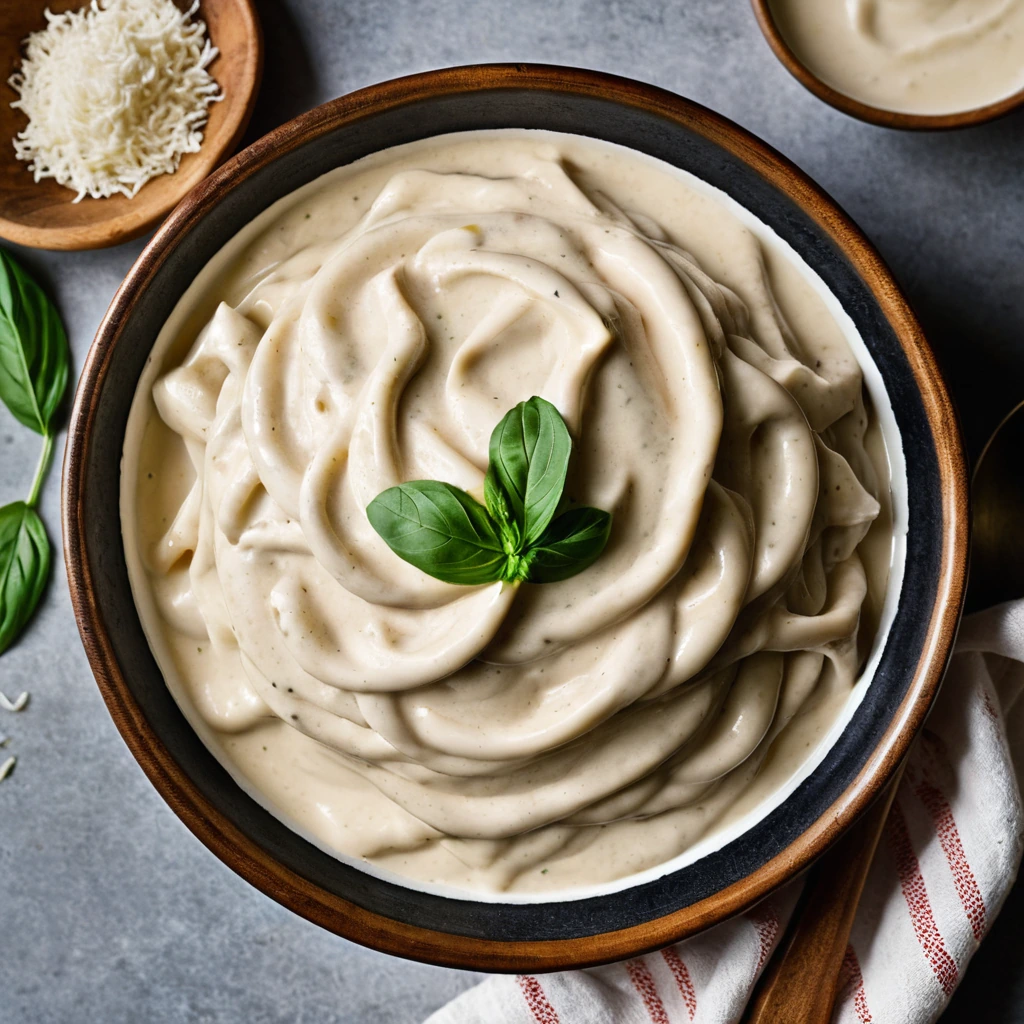
Alfredo Sauce
Creamy, rich, and utterly indulgent, Alfredo sauce is a dreamy blend of butter, heavy cream, and Parmesan cheese. Its velvety texture and savory depth make it a beloved staple in Italian-American cuisine.

American Cheese Slices
Those iconic, perfectly pliable slices of creamy, mild American cheese. Each slice boasts a smooth, melt-in-your-mouth texture that brings comfort to any dish.
Recipes to try
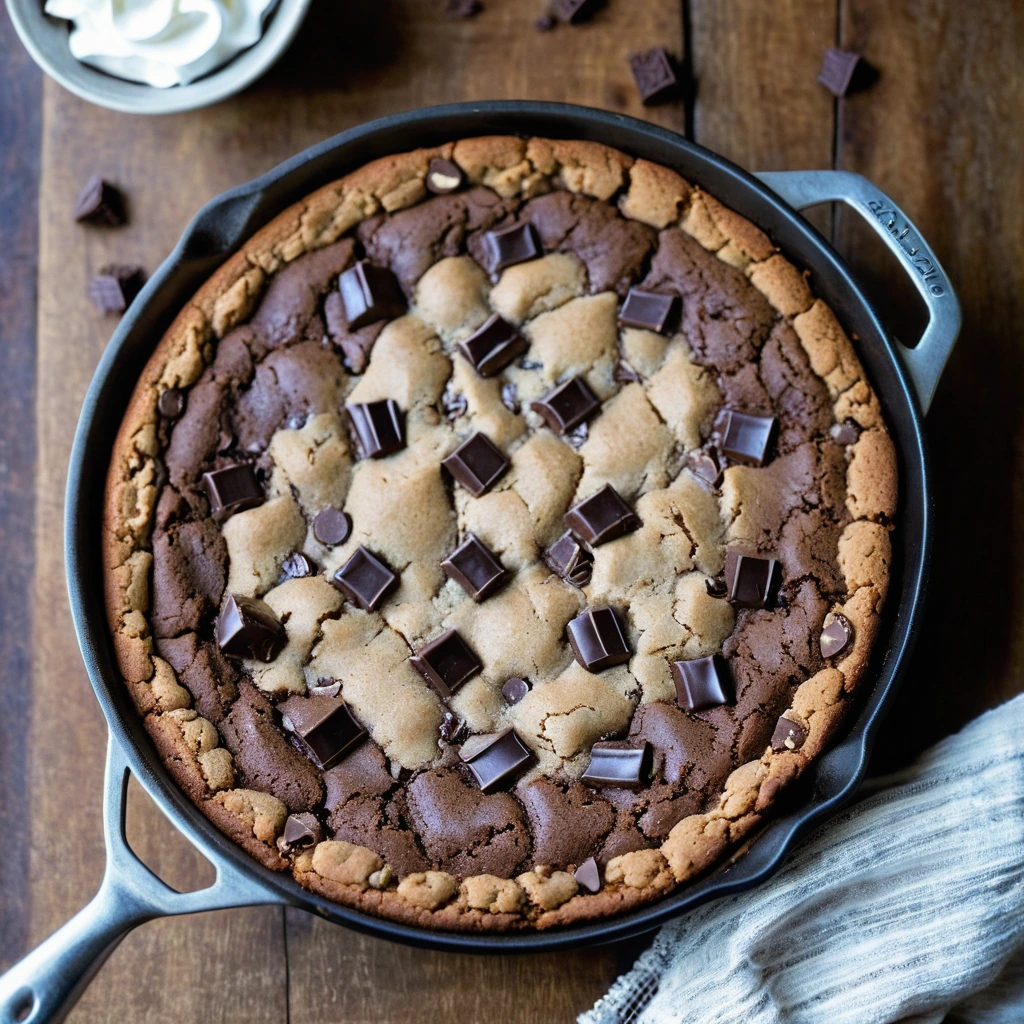
Triple Chocolate Chunk Skillet Cookie
This skillet cookie is a gooey, decadent delight with chunks of dark, milk, and white chocolate that will make you swoon.

Thai Peanut Veggie Lettuce Wraps
Crispy, fresh veggies hugged by buttery lettuce leaves, drizzled with a creamy, tangy peanut sauce that'll make your taste buds do the tango.