Bread Technique: Timing Sourdough Starter Feedings
Mastering the timing of sourdough starter feedings is crucial for creating a vibrant and active culture that can reliably leaven your bread. This technique dives into the nuances of when and how to feed your starter, ensuring it's at its peak for baking. Understanding your starter's behavior is key; each starter is unique and responds differently based on factors like temperature, flour type, and hydration. We'll explore how to observe your starter, interpret its signs, and adjust your feeding schedule accordingly. Learn how to maintain a consistent routine, how to conduct feeding tests to determine peak activity, and how to manage your starter whether you bake daily or weekly. Proper timing not only guarantees robust fermentation but also enhances flavor development, leading to that sought-after tangy taste and open crumb structure. Dive into the rhythm of sourdough starter feedings and transform your home-baked bread into a culinary masterpiece.
Notes
The science behind sourdough starter timing revolves around yeast and bacteria activity. Yeast thrives in warmer conditions, driving fermentation, while bacteria contribute to flavor development. A common mistake is overfeeding, which dilutes the starter and can lead to sluggish fermentation. Ensure your starter is in an environment free from drafts and temperature fluctuations. For storage, an active starter can be refrigerated, slowing down fermentation. To troubleshoot, ensure your flour isn't too old or contaminated, as this can inhibit activity. Make-ahead tip: Feed your starter the night before baking to ensure it peaks in the morning.
Steps
- 1 Observe your starter's current activity level.
- 2 Feed your starter with equal parts flour and water by weight (e.g., 50g flour, 50g water).
- 3 Stir thoroughly to combine and eliminate any dry pockets.
- 4 Cover the starter loosely with a clean cloth or lid to allow airflow.
- 5 Maintain your starter at a consistent room temperature, ideally between 70°F and 75°F.
- 6 Check for signs of fermentation, such as bubbles and increased volume, after 4-12 hours.
- 7 Record the time it takes for your starter to double in size to determine peak activity.
- 8 Adjust your feeding schedule based on your baking routine and desired starter volume.
- 9 For daily baking, feed your starter once daily and use it when it's at its peak.
- 10 If baking weekly, feed your starter, let it peak, then refrigerate until needed.
- 11 Before using a refrigerated starter, take it out and feed it 1-2 times to reinvigorate.
- 12 Always discard a portion of your starter if it becomes too large to manage.
- 13 Keep a log of feeding times and peak activity to refine your timing.
- 14 Experiment with different flours to see how they affect fermentation speed and flavor.
Ingredients to explore
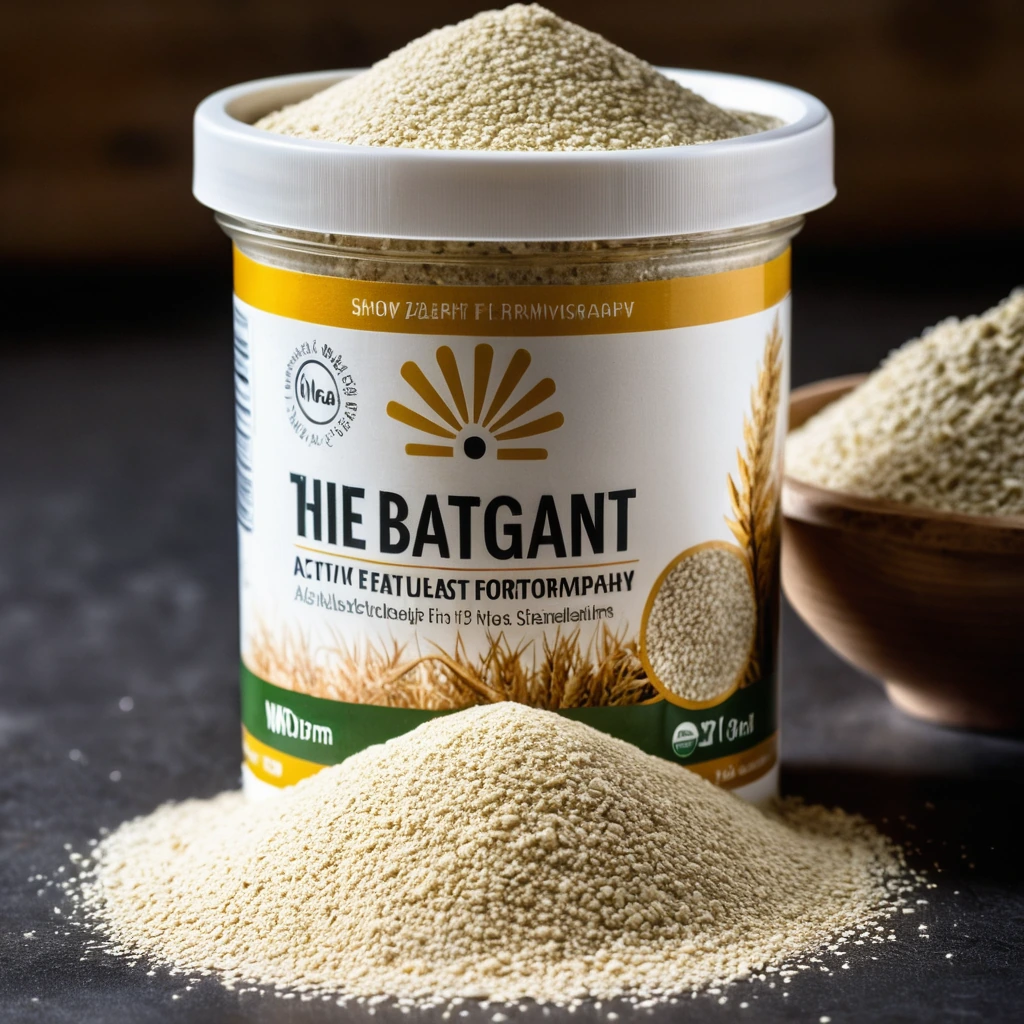
Active Dry Yeast
A fine, granulated leavening agent that brings baked goods to life with its gentle fermentation magic.
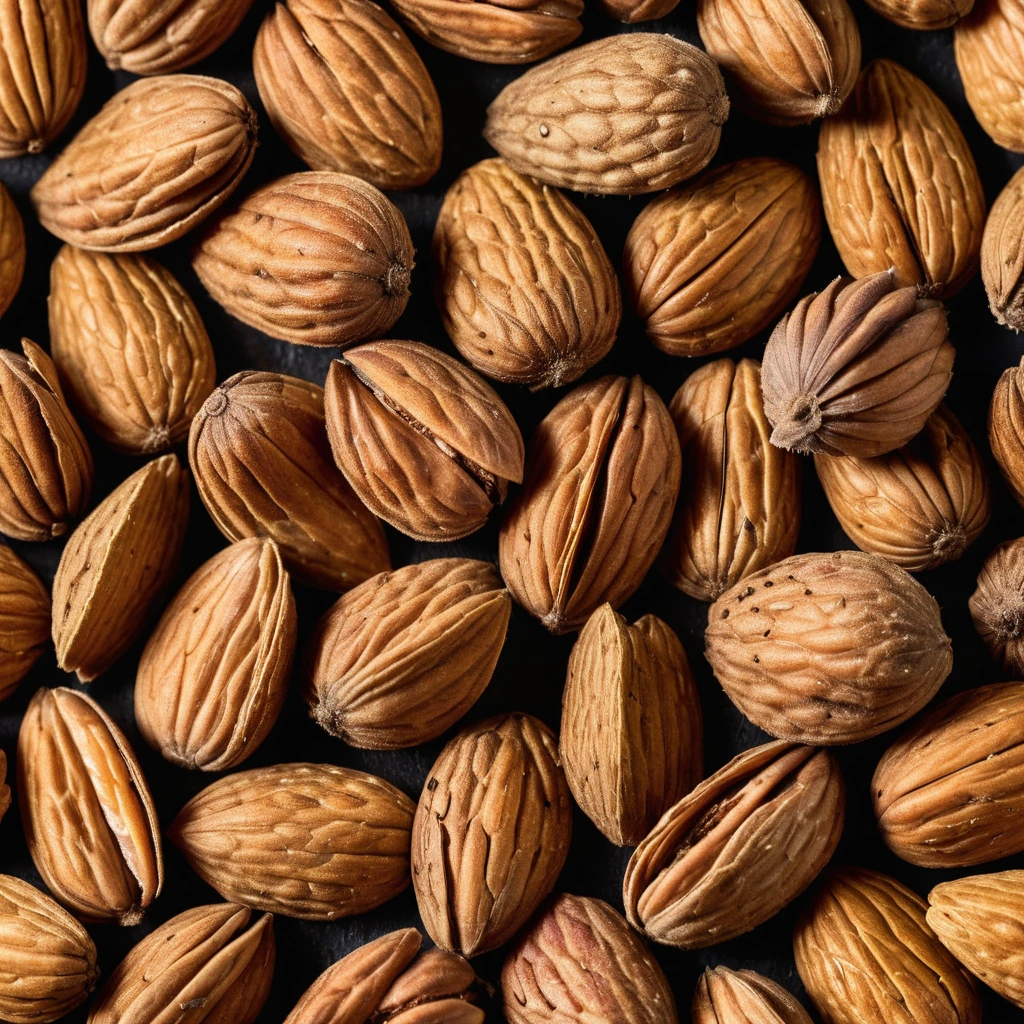
Almonds
With their golden-brown hue and delicate, edible skin, almonds are a crunchy delight. These versatile nuts boast a rich, buttery flavor that adds depth to both sweet and savory dishes.