Bread Technique: Shaping Dinner Rolls for Uniform Proofing
Achieving perfectly uniform dinner rolls can elevate your homemade bread game to new heights. Whether you're serving them at a family gathering or a fancy dinner party, the key to consistent rolls lies in precise shaping. Uniform shaping ensures even proofing, which leads to rolls that bake up with the same texture and doneness. This technique focuses on creating tension in the dough's surface to control the expansion during proofing. By following these steps, you'll learn how to shape your rolls so they rise beautifully and evenly. We'll cover everything from preparing your workspace to the final shaping techniques, ensuring your rolls are ready for the oven with confidence and ease. Understanding the science behind dough tension and proofing will also help troubleshoot any issues and ensure your rolls turn out perfect every time.
Notes
The science of shaping dinner rolls lies in creating surface tension, which is crucial for uniform proofing. This tension helps control how the rolls expand as they rise. Common mistakes include handling the dough too roughly, which can deflate it, and not allowing enough space between rolls, leading to merging during proofing. Ensure your dough isn't too sticky before shaping, as this can make handling difficult. For safety, always use oven mitts when handling hot baking sheets. These rolls can be made ahead up to the proofing stage and refrigerated overnight, just remember to let them come to room temperature before baking. Store baked rolls in an airtight container for up to two days to maintain freshness.
Steps
- 1 Prepare your workspace by lightly flouring a clean surface.
- 2 Divide your dough into equal portions using a kitchen scale for consistency.
- 3 Gently shape each portion into a round ball by folding the dough onto itself.
- 4 Cup your hands around the dough and rotate it while applying even pressure to form a smooth surface.
- 5 Place the shaped roll onto a parchment-lined baking sheet with the smooth side up.
- 6 Ensure each roll is spaced about 2 inches apart to allow for expansion.
- 7 Cover the rolls with a clean kitchen towel and let them proof at room temperature.
- 8 Check the rolls after 45 minutes; they should have doubled in size. If not, allow more time.
- 9 Preheat your oven to 375°F while the rolls are proofing.
- 10 Optional: Brush the rolls with an egg wash just before baking for a shiny crust.
- 11 Transfer the rolls to the preheated oven and bake until golden brown.
- 12 Keep an eye on the rolls to avoid over-browning, typically 15-20 minutes.
Ingredients to explore
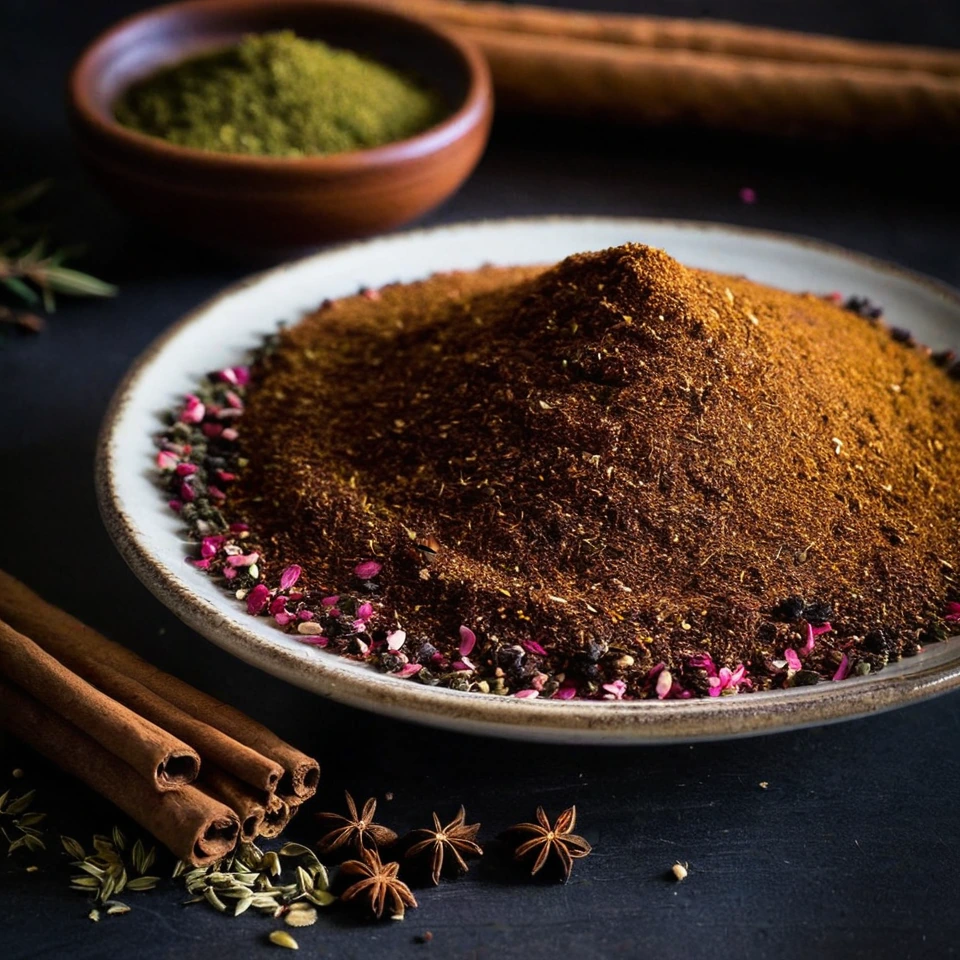
Advieh (Persian Spice Blend)
Advieh is a fragrant Persian spice blend that boasts a complex aroma of warm cinnamon, earthy cumin, and floral hints of rose and saffron. Its texture is finely ground, making it easy to incorporate into dishes. Originating from the rich culinary traditions of Iran, advieh adds depth and sophistication to both savory and sweet recipes. Its unique combination of spices reflects the historical spice trade routes that influenced Persian cuisine.
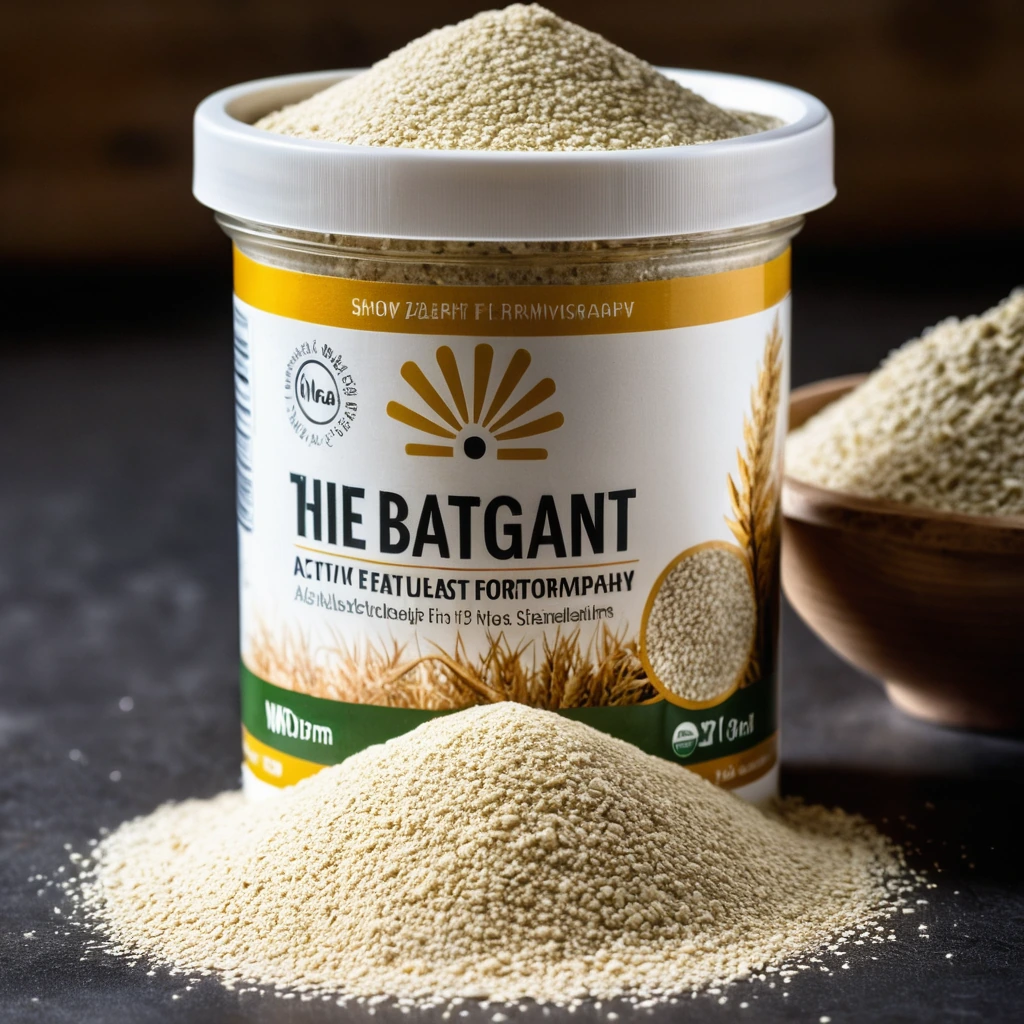
Active Dry Yeast
A fine, granulated leavening agent that brings baked goods to life with its gentle fermentation magic.
Recipes to try

Tomato Basil Parmesan Farro Risotto
Creamy farro risotto kissed with fresh basil and sun-ripened tomatoes, topped with a generous sprinkle of Parmesan.

Sheet Pan Chicken Tikka with Garlic Potatoes
Juicy chicken and golden potatoes roasted to perfection on one sheet pan, infused with smoky tikka spices and garlicky goodness.