Bread Technique: Proofing Dough Without Over-Rising
Proofing dough is a critical step in bread making that allows yeast to ferment and produce gases, leading to a light, airy texture. However, over-proofing can lead to a dense, flat loaf. Achieving the perfect rise requires understanding yeast activity, temperature control, and timing. This technique guides you through creating an ideal environment for your dough to rise just enough. First, we'll explore how yeast works and why temperature is crucial. Yeast is a living microorganism that feeds on sugars in the dough, producing carbon dioxide and alcohol as byproducts. The gas gets trapped in the dough, causing it to rise. Too much time or too warm an environment can cause the yeast to consume all available sugars, leading to over-proofing. A cool, consistent environment is key. We'll discuss the signs of properly proofed dough, such as volume increase and a springy texture. Additionally, we'll cover how to adjust for different climates and seasons, ensuring your dough always rises just right. Finally, we'll touch on how to test for readiness and how to gently handle the dough to preserve its structure. Mastering this technique will elevate your homemade bread from good to exceptional, with a perfect balance of flavor and texture.
Notes
Understanding the science behind proofing helps troubleshoot common issues. Yeast activity is temperature-dependent; too hot, and it dies; too cold, and it becomes sluggish. The ideal room temperature allows yeast to work steadily without racing through its lifecycle. A common mistake is using a too-warm environment, which can cause over-proofing and collapse. To prevent this, monitor your dough's progress and adjust the environment as needed. Safety is generally not a concern with proofing, but ensure your work area is clean to avoid contamination. For make-ahead convenience, you can retard (slow down) the proofing process in the refrigerator, allowing you to bake fresh bread when you're ready. Stored properly, proofed dough can wait in the fridge, giving you flexibility in your baking schedule.
Steps
- 1 Prepare your dough according to your recipe's instructions.
- 2 Shape the dough into a ball or loaf and place it in a lightly greased bowl.
- 3 Cover the bowl with a clean kitchen towel or plastic wrap to prevent drying.
- 4 Place the bowl in a draft-free area with a consistent temperature of 75°F to 78°F.
- 5 Allow the dough to rise until it has doubled in size, usually taking 1 to 2 hours.
- 6 Check the dough by gently poking it with a finger; it should spring back slowly.
- 7 If the dough doesn't spring back and looks overly bubbly, it is over-proofed.
- 8 To slow down proofing in warmer climates, place the bowl in a turned-off oven with the light on.
- 9 For cooler climates, use a turned-off oven with a warm water bowl inside to maintain warmth.
- 10 Avoid direct sunlight or placing the dough near heating vents.
- 11 If you need to pause proofing, chill the dough in the refrigerator for up to 24 hours.
- 12 Once proofed, gently transfer the dough to a baking sheet or preheated Dutch oven.
- 13 Preheat your oven to the temperature specified in your bread recipe.
- 14 Bake the dough immediately to set the structure and avoid over-proofing.
Ingredients to explore
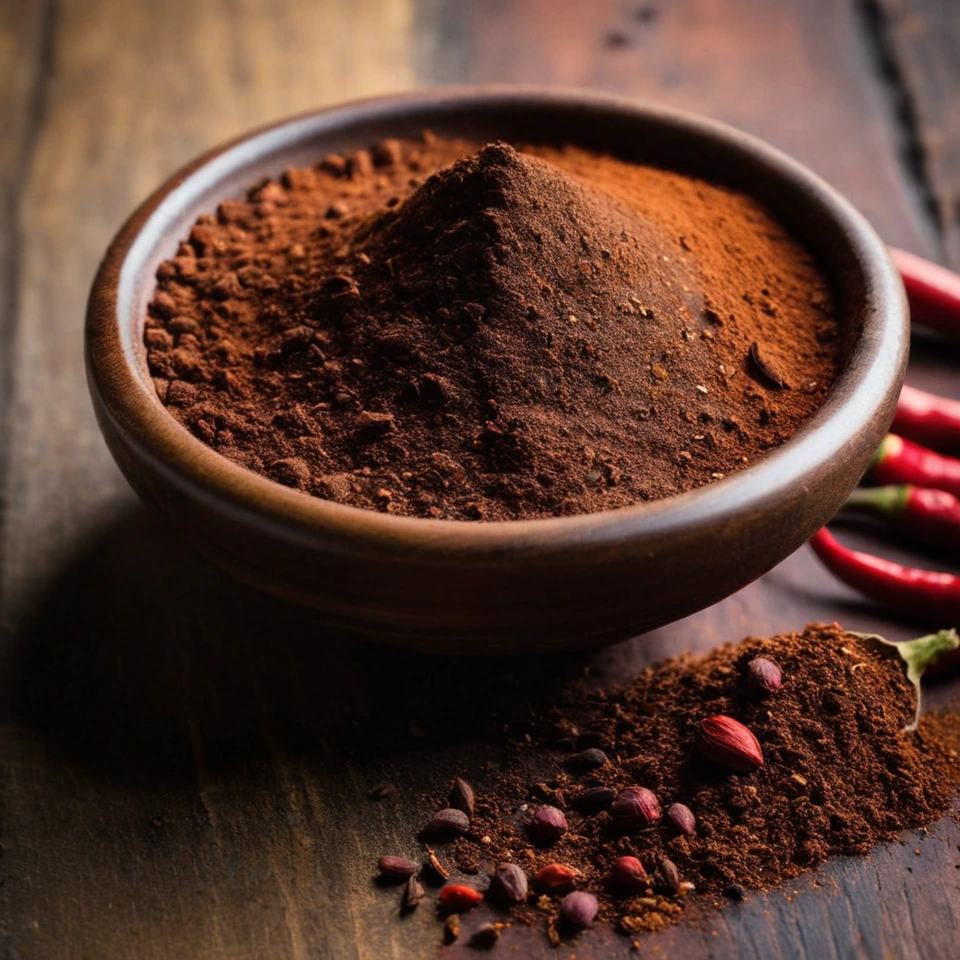
Ancho Chili Powder
Ancho chili powder offers a deep, smoky sweetness with hints of dried fruit and cocoa, reminiscent of its origin as dried poblano peppers from Mexico. Its aroma is warm and inviting, with a mild heat that lingers gently. The texture is fine and velvety, making it easy to incorporate into a variety of dishes. This powder is prized for its ability to add complexity without overwhelming spice, ideal for enriching both traditional Mexican moles and contemporary global cuisines.
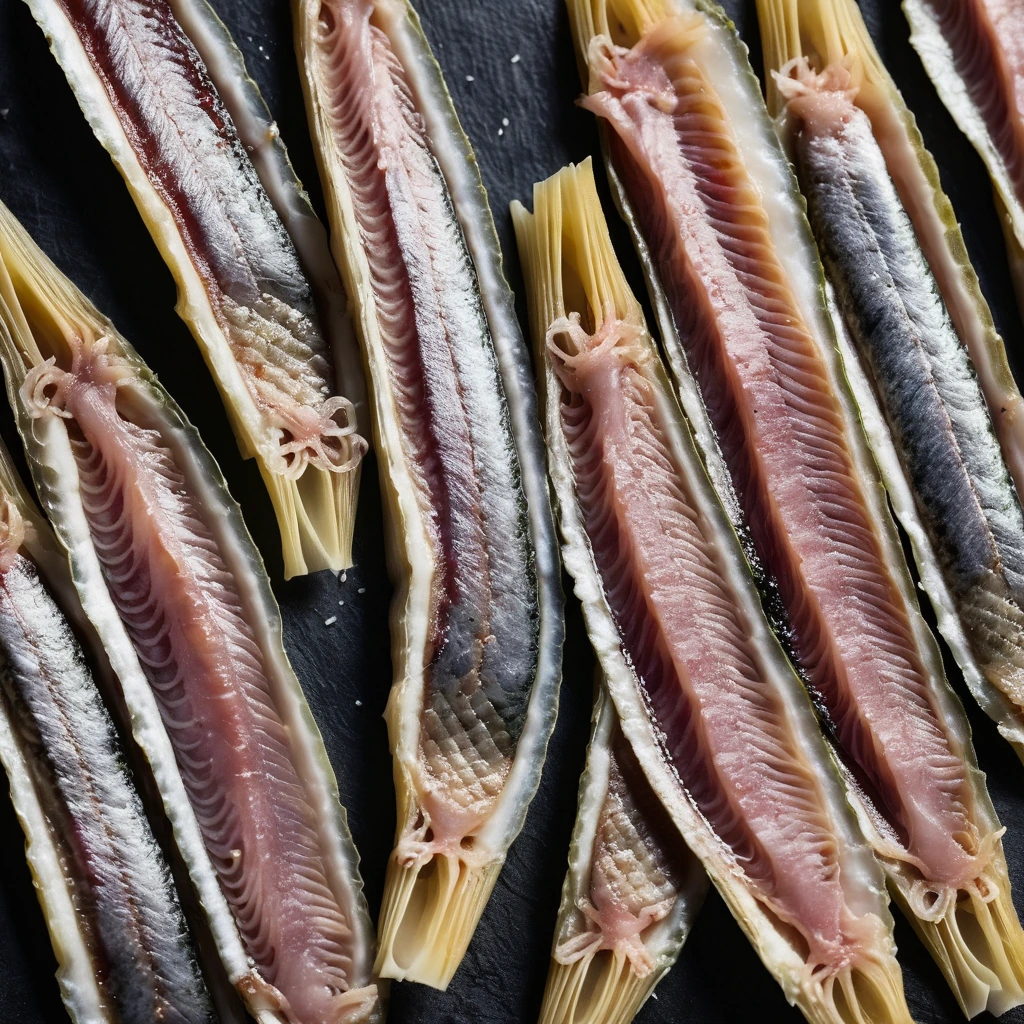
Anchovy Fillets
Silvery and succulent, anchovy fillets are a briny treasure from the sea. Their rich, umami flavor adds depth to dishes, making them a beloved ingredient in kitchens worldwide.