Bread Technique: Handling High-Hydration Doughs Confidently
High-hydration doughs can seem intimidating to the home baker, but with the right approach, they yield bread with open crumb structure and a chewy texture that's worth the effort. High-hydration doughs contain a higher proportion of water compared to flour, resulting in a stickier, more challenging dough to manage. However, mastering this technique will elevate your bread game. The key lies in understanding the dough's behavior and adjusting your handling techniques accordingly. Start by ensuring your workspace is prepped correctly—flour dusted surfaces and a bowl of water nearby for frequent hand washing are essential. When mixing, expect the dough to be shaggy and wet; resist the urge to add extra flour. Instead, embrace wetter conditions and use a dough scraper to aid in shaping and transferring. Kneading high-hydration doughs is best done with a stretch-and-fold method, which develops gluten without overworking the dough. This technique involves gently folding the dough onto itself at regular intervals, giving it time to rest in between. Proofing, or allowing the dough to rise, requires patience, as high-hydration doughs often take longer to develop. A well-floured banneton or a proofing basket lined with a floured kitchen towel will support the dough's shape during this delicate phase. Baking requires a steamy environment to achieve that coveted oven spring. Finally, mastering the art of scoring is crucial—it allows controlled expansion during baking, leading to a beautifully irregular crust pattern. With practice, you'll gain the confidence to handle these doughs with ease and produce artisan-quality loaves at home.
Notes
High-hydration doughs work because the extra water helps develop a strong gluten network, resulting in bread with a desirable open crumb structure. Troubleshooting common mistakes includes ensuring your dough doesn't tear during shaping by handling it gently and using enough flour for support but not so much that you inhibit gluten development. To prevent sticking, always have a bench scraper handy. Safety is key when creating oven steam—be cautious of hot surfaces and steam burns. For storage, allow bread to cool completely before wrapping it in a clean kitchen towel or storing it in a paper bag to maintain crust texture.
Steps
- 1 Prepare your workspace with a bowl of water and flour dusted surfaces.
- 2 Combine your ingredients in a large bowl, mixing until shaggy and wet.
- 3 Rest the dough for 20 minutes to allow flour to hydrate fully.
- 4 Perform a series of stretch-and-folds every 30 minutes for 2-3 hours.
- 5 After the final fold, cover the dough and let it rest for 30 minutes.
- 6 Shape the dough gently into a round or oblong form.
- 7 Place the shaped dough into a well-floured banneton or proofing basket.
- 8 Cover and proof the dough at room temperature for 2-4 hours, or until doubled.
- 9 Preheat your oven and a baking stone or Dutch oven to 475°F.
- 10 Score the top of the dough with a sharp blade just before baking.
- 11 Transfer the dough to the preheated oven, creating steam with a spray bottle or hot water in a pan.
- 12 Bake covered for 20 minutes, then uncover and bake for another 20-25 minutes, or until deeply golden.
- 13 Cool the bread on a wire rack completely before slicing.
Ingredients to explore
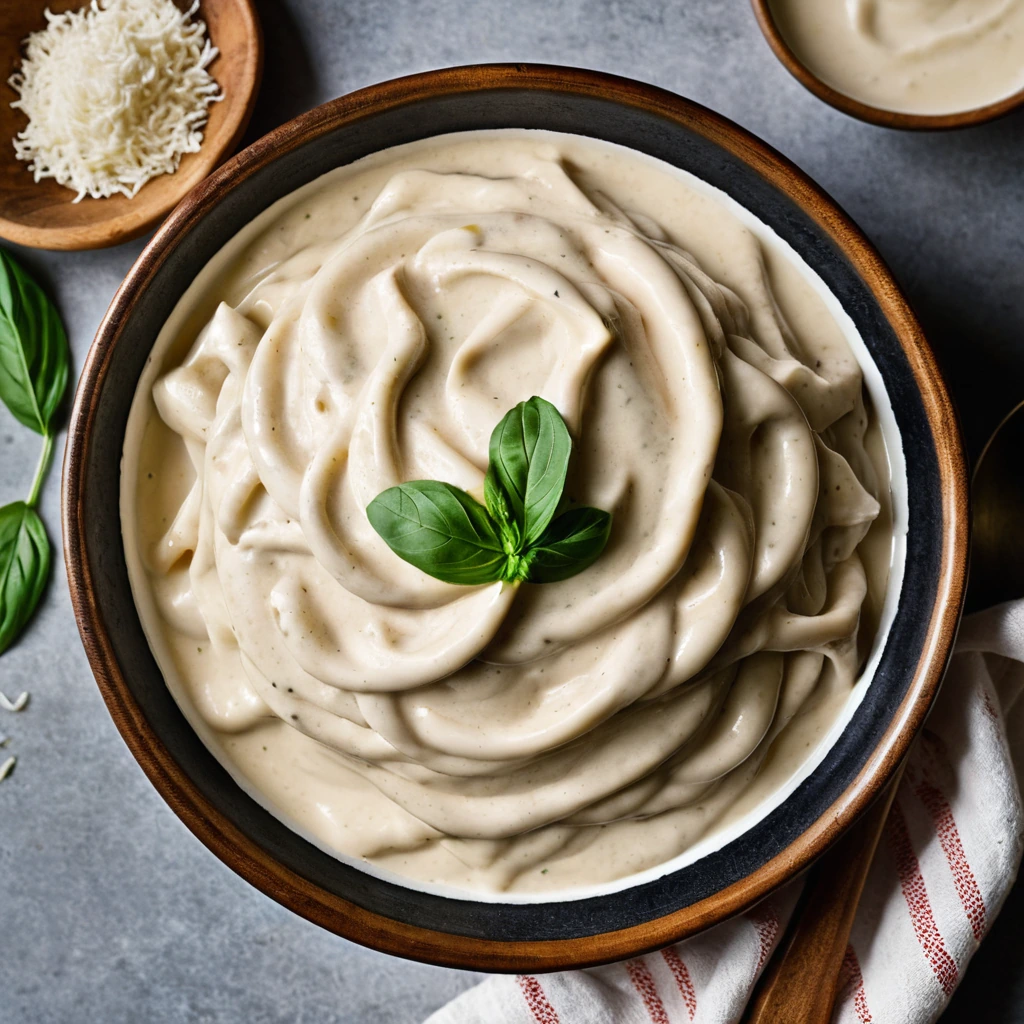
Alfredo Sauce
Creamy, rich, and utterly indulgent, Alfredo sauce is a dreamy blend of butter, heavy cream, and Parmesan cheese. Its velvety texture and savory depth make it a beloved staple in Italian-American cuisine.
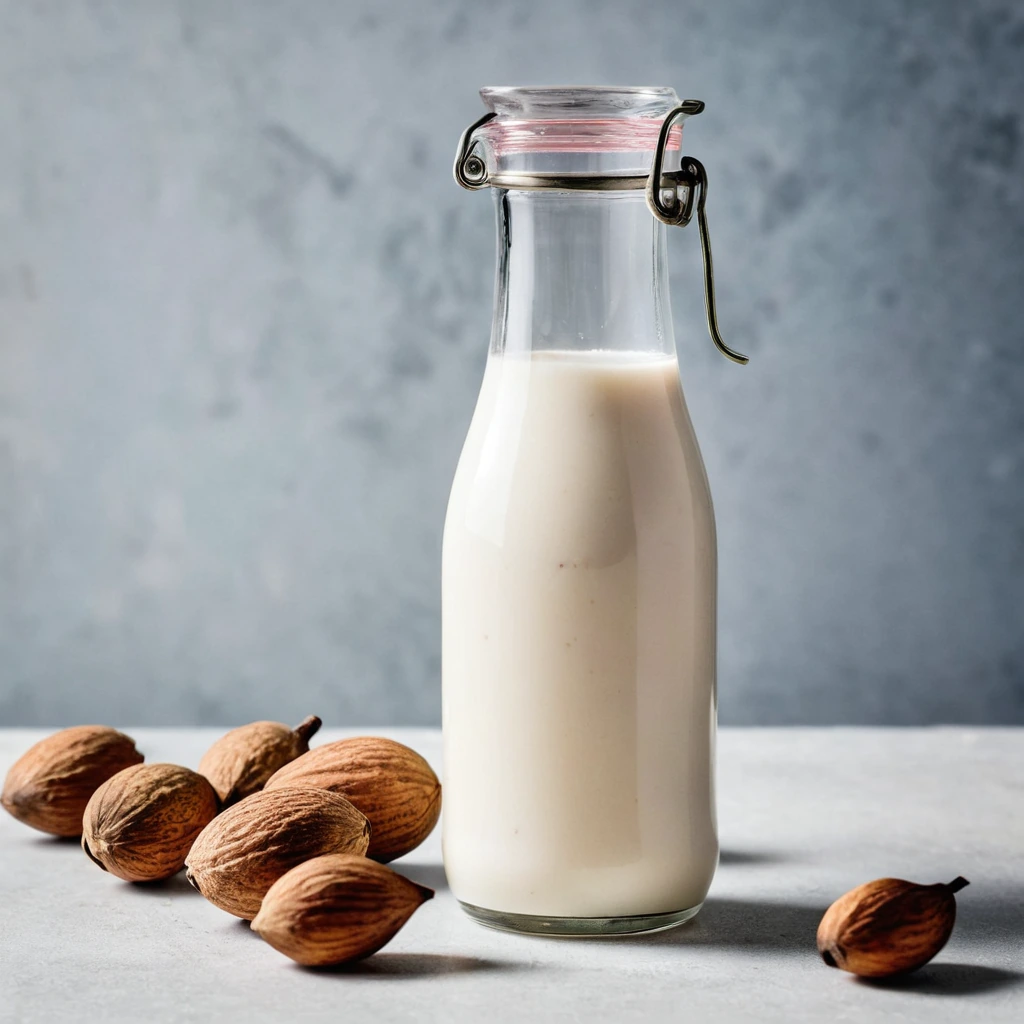
Almond Milk
Almond milk is a plant-based milk alternative made from ground almonds and water. Originating from traditional recipes in medieval Europe and the Middle East, it has gained widespread popularity in modern times as a dairy-free option. Almond milk has a subtly nutty flavor with a mild sweetness, and its aroma is reminiscent of fresh almonds. Its texture is smooth and creamy, though typically lighter than dairy milk. In cooking, almond milk behaves well in both savory and sweet applications, though it does not brown or caramelize like dairy milk. It is often used in cereals, smoothies, and baking, where its delicate flavor complements rather than overpowers other ingredients.
Recipes to try
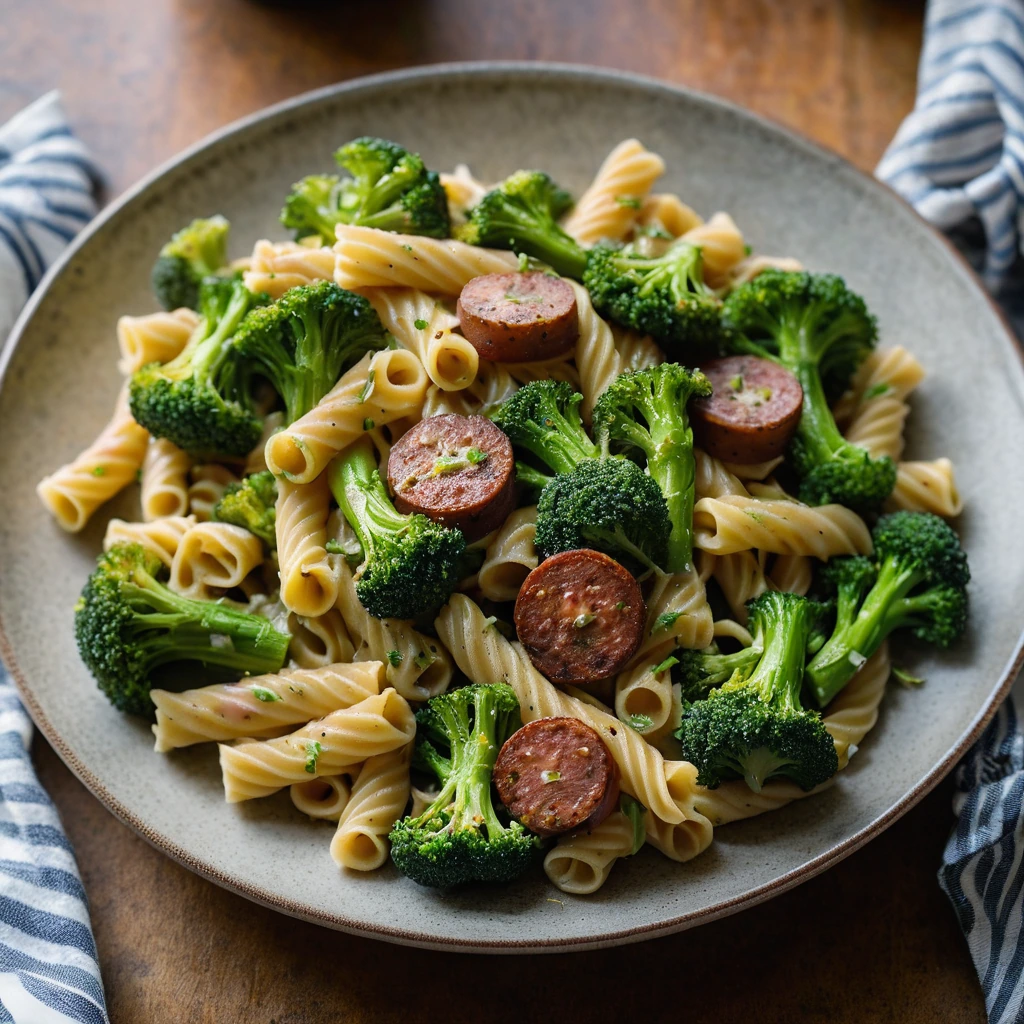
Smoked Sausage and Broccoli Cheddar Pasta
Creamy, cheesy comfort with a smoky kick—this pasta dish is pure bliss in every bite.

Roasted Beet, Orange, and Pistachio Salad
Warm roasted beets mingle with citrusy orange segments and crunchy pistachios for a vibrant, refreshing salad that sings with color and flavor.