Bread Technique: Folding Seeds and Nuts into Dough Without Tearing Gluten
Creating artisanal bread at home is a rewarding experience, but incorporating seeds and nuts into the dough can be tricky. The wrong technique can lead to torn gluten strands, resulting in a dense and uneven loaf. Fear not, home bakers! This technique ensures that your seeds and nuts are evenly distributed throughout the dough while preserving the integrity of the gluten network. The key is to treat your dough with care and follow a methodical approach. First, understand that gluten is a protein network that gives bread its structure and elasticity. When you introduce seeds and nuts, you risk cutting through these delicate strands, which can deflate your dough and compromise texture. By employing gentle folding techniques and timing your additions correctly, you can maintain the dough’s structure and achieve a beautifully speckled loaf. This method is particularly useful for breads like sourdough, challah, or any rustic loaf that benefits from added texture and flavor. Let’s dive into the specifics of how to fold seeds and nuts into your dough with confidence, ensuring each slice is a testament to your baking prowess.
Notes
The science behind this technique lies in gluten’s elasticity and strength. When you gently fold rather than knead the seeds and nuts into the dough, you minimize the risk of shearing the gluten strands, which can lead to a weaker structure. Troubleshooting common mistakes includes ensuring seeds and nuts are cool before adding them to prevent melting fats from interfering with gluten development. Additionally, avoid overhandling the dough after adding inclusions to maintain the desired texture. For safety, always check nuts for freshness and store your bread properly to maintain crispness and prevent mold. If making ahead, you can store shaped dough in the refrigerator for up to 24 hours before baking, allowing for a convenient bake-off.
Steps
- 1 Prepare your dough according to your recipe until it reaches the bulk fermentation stage.
- 2 Lightly toast your seeds and nuts in a dry skillet over medium heat until fragrant, about 3-5 minutes.
- 3 Allow the toasted seeds and nuts to cool completely to prevent melting butter or killing yeast.
- 4 Divide the seeds and nuts evenly into small portions for easier distribution.
- 5 Gently deflate the dough by pressing it with your fingertips to release air bubbles.
- 6 Sprinkle a portion of seeds and nuts over one half of the deflated dough.
- 7 Fold the other half of the dough over the seeds and nuts, using a gentle pressing motion to seal them in.
- 8 Rotate the dough 90 degrees and repeat the sprinkling and folding process until all seeds and nuts are incorporated.
- 9 Perform a series of gentle stretch-and-folds to redistribute the seeds and nuts and strengthen the dough.
- 10 Allow the dough to rest for 15-20 minutes to let the gluten relax and recover.
- 11 Shape the dough into your desired loaf form, taking care not to press too hard.
- 12 Place the shaped dough into a floured proofing basket or onto a parchment-lined baking sheet.
- 13 Cover and let the dough proof until it has increased in volume by about 50%.
- 14 Preheat your oven and baking vessel as per your recipe instructions before baking.
Ingredients to explore
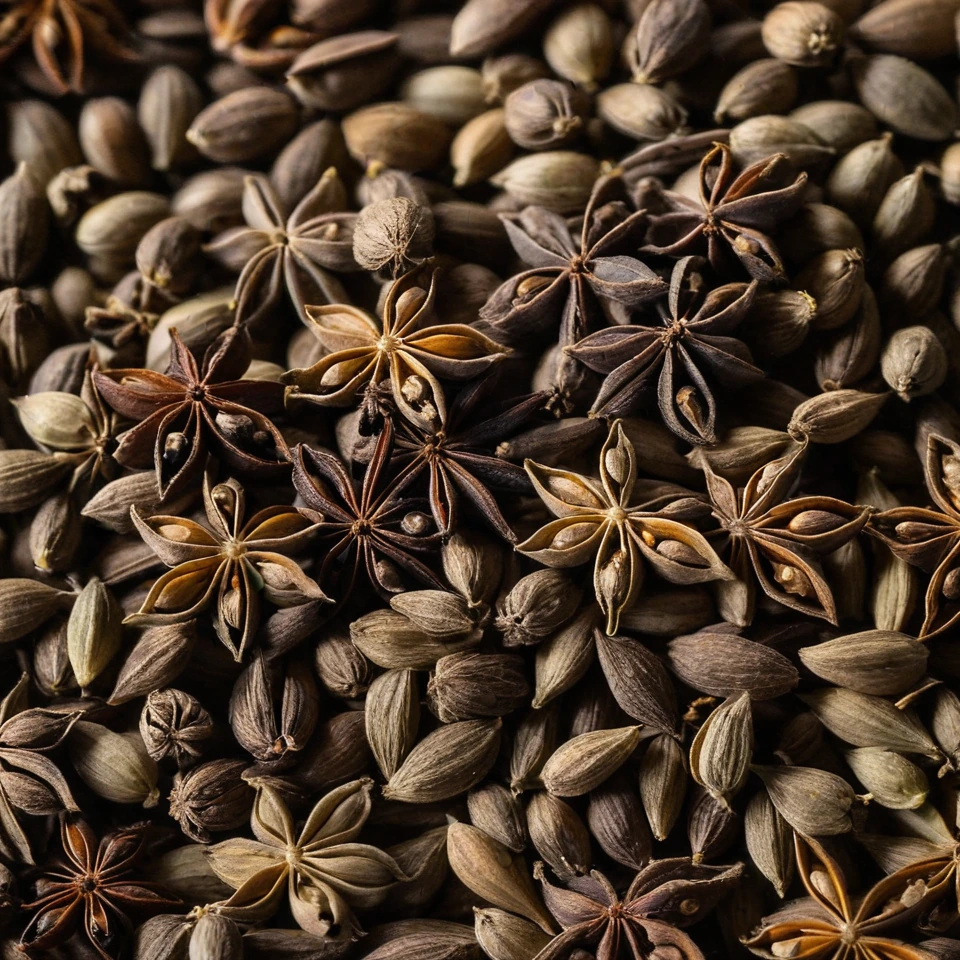
Anise Seeds
Anise seeds are small, oval seeds with a sweet, licorice-like flavor. They are commonly used in both sweet and savory dishes, offering a warm, aromatic taste.
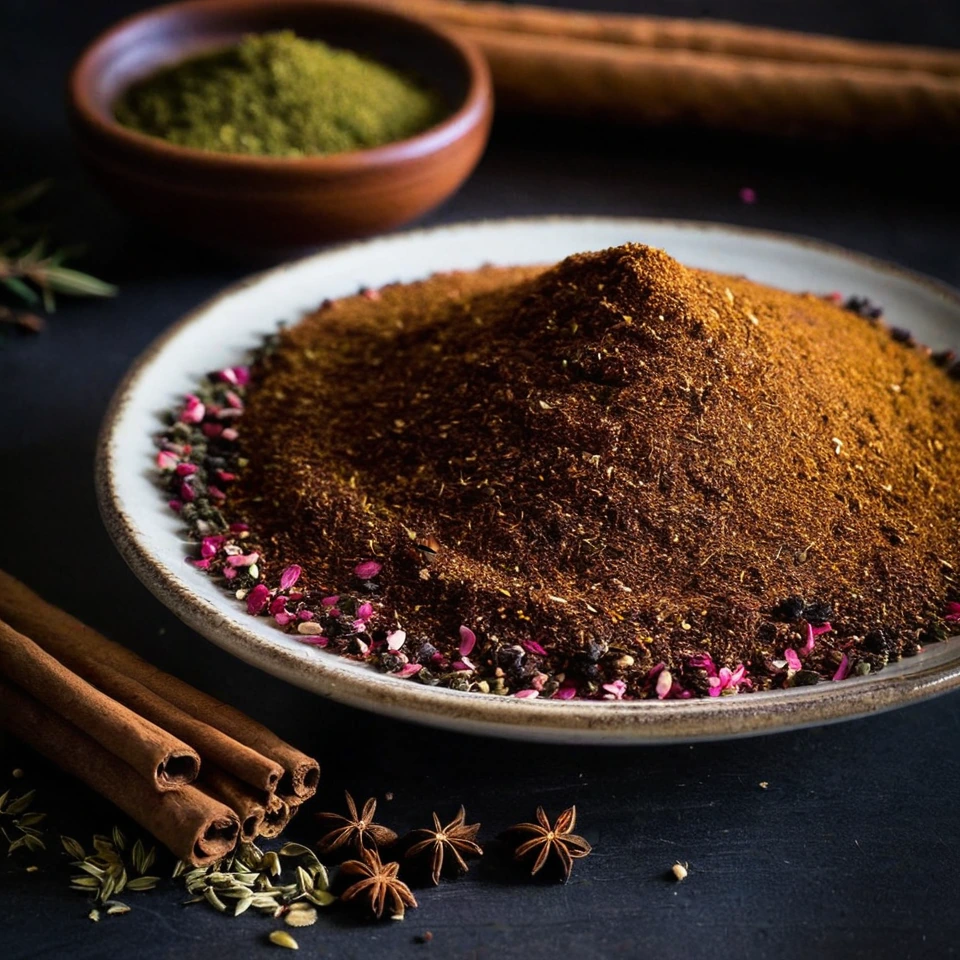
Advieh (Persian Spice Blend)
Advieh is a fragrant Persian spice blend that boasts a complex aroma of warm cinnamon, earthy cumin, and floral hints of rose and saffron. Its texture is finely ground, making it easy to incorporate into dishes. Originating from the rich culinary traditions of Iran, advieh adds depth and sophistication to both savory and sweet recipes. Its unique combination of spices reflects the historical spice trade routes that influenced Persian cuisine.
Recipes to try
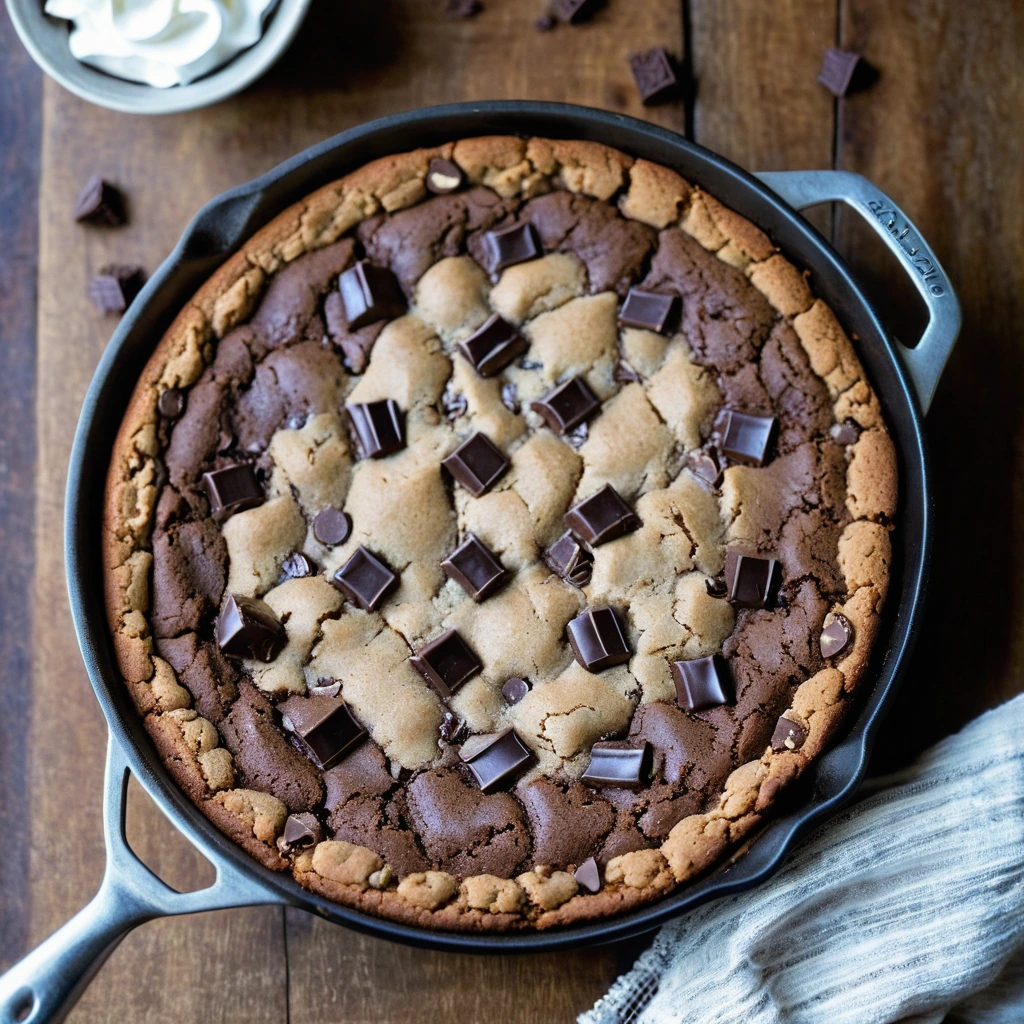
Triple Chocolate Chunk Skillet Cookie
This skillet cookie is a gooey, decadent delight with chunks of dark, milk, and white chocolate that will make you swoon.

Shrimp Alfredo Stuffed Pasta Shells
Creamy, cheesy alfredo sauce stuffed into plump pasta shells and topped with succulent shrimp—comfort food at its finest.