Bread Technique: Checking Proof with the Finger Dent Test
The Finger Dent Test is an age-old method used by bakers to determine if their bread dough has proofed sufficiently. Proofing is the process where yeast ferments and produces carbon dioxide, causing the dough to rise. Achieving the perfect proof is crucial for a well-structured loaf with an airy crumb. Overproofing can lead to a dense, collapsed loaf, while underproofing results in a tight, chewy texture. This technique is simple yet precise, offering bakers a reliable way to assess their dough's readiness without relying on exact timing or temperature measurements. The test involves gently pressing your finger into the dough to observe how it springs back. If the dough is properly proofed, it will gently resist your touch and slowly return to its original shape. This method requires patience and practice, as dough behavior can vary based on factors like room temperature, yeast activity, and ingredient ratios. By mastering this technique, you'll gain confidence in your baking, leading to consistently excellent results. Understanding the science behind proofing helps demystify the process, allowing you to adjust for different conditions and troubleshoot common issues. This technique is invaluable for both novice and experienced bakers alike, ensuring that each loaf reaches its full potential.
Notes
The Finger Dent Test works because dough that has proofed correctly has developed enough gluten structure and gas to support its weight, yet remains elastic enough to spring back. If your kitchen is particularly cold, the dough may need longer to proof, while a warm environment can hasten the process. To troubleshoot, ensure your yeast is active and your ingredients are at the correct temperature. If you're making dough in humid conditions, cover it to prevent a skin from forming, which can affect the test's accuracy. For storage, proofed dough can be refrigerated for up to 24 hours before baking, but always check with the finger dent test before proceeding.
Steps
- 1 Prepare your dough according to your recipe and let it rest in a warm, draft-free spot.
- 2 After the estimated proofing time has elapsed, gently preheat your oven to 70°F for 5 minutes, then turn it off to create a consistent environment.
- 3 Place the dough in the warm oven for 5-10 minutes to stabilize its temperature.
- 4 Don a clean kitchen towel or glove to protect your hand from heat.
- 5 Gently press your fingertip about 1/2 inch into the dough.
- 6 Observe how the dough responds immediately after removing your finger.
- 7 If the dent fills in slowly and leaves a slight indentation, the dough is ready.
- 8 If the dent springs back quickly, allow the dough more time to proof.
- 9 If the dent remains or collapses, the dough is overproofed and ready to bake immediately.
- 10 Remove the dough from the oven and proceed with shaping or baking as per your recipe.
- 11 Repeat the test if necessary after additional proofing time.
- 12 Keep track of total proofing time for future reference.
- 13 Ensure your work area is clean and hands are dry before handling the dough to avoid deflating it.
Ingredients to explore
Anchovy Paste
Anchovy paste is a rich, salty spread made from finely ground anchovies, salt, and sometimes olive oil. It offers a deep umami flavor that enhances a variety of dishes.

2% Milk
Creamy and just a touch lighter than whole milk, 2% milk offers a perfect balance of richness and reduced fat. Its smooth texture and subtle sweetness make it a delightful choice for sipping or cooking.
Recipes to try
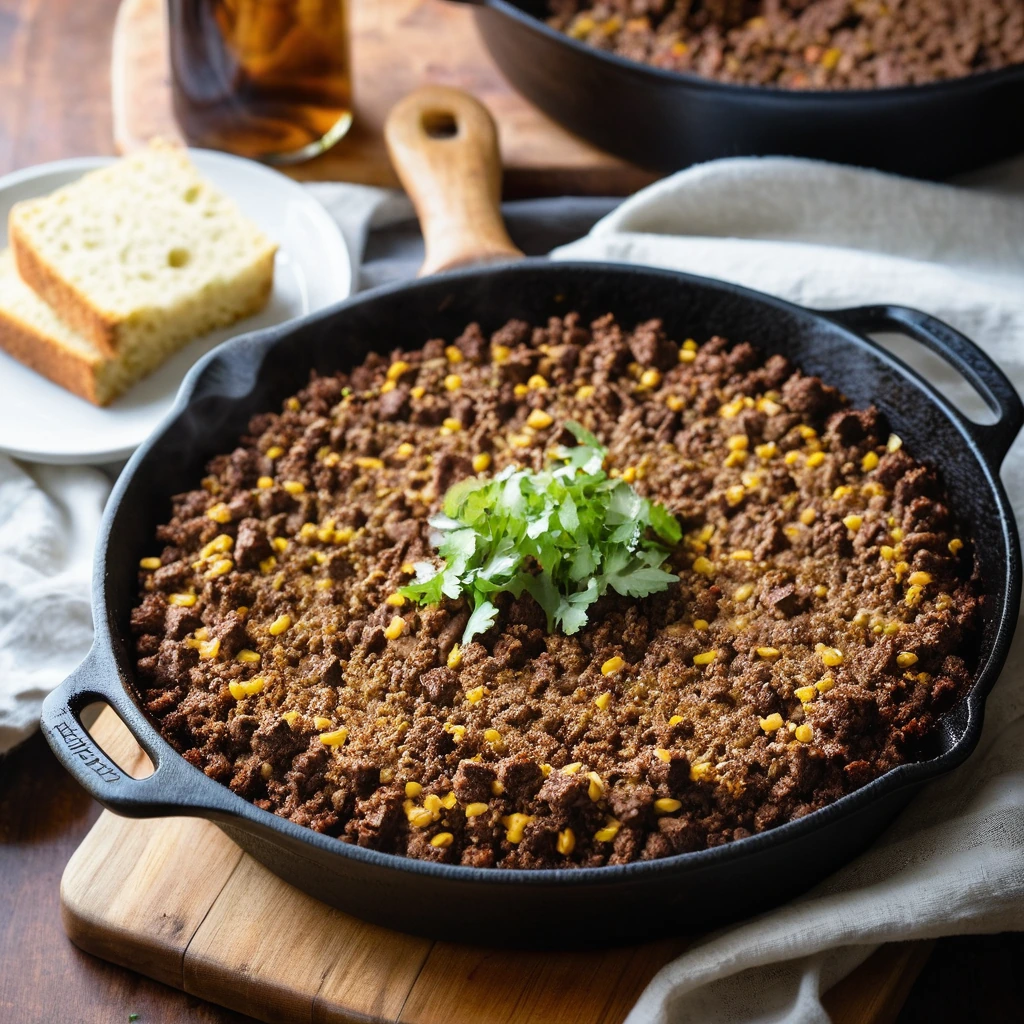
Smoky BBQ Ground Beef and Cornbread Skillet
Imagine the rich smokiness of BBQ sauce mingling with tender ground beef atop golden, crumbly cornbread in a skillet.
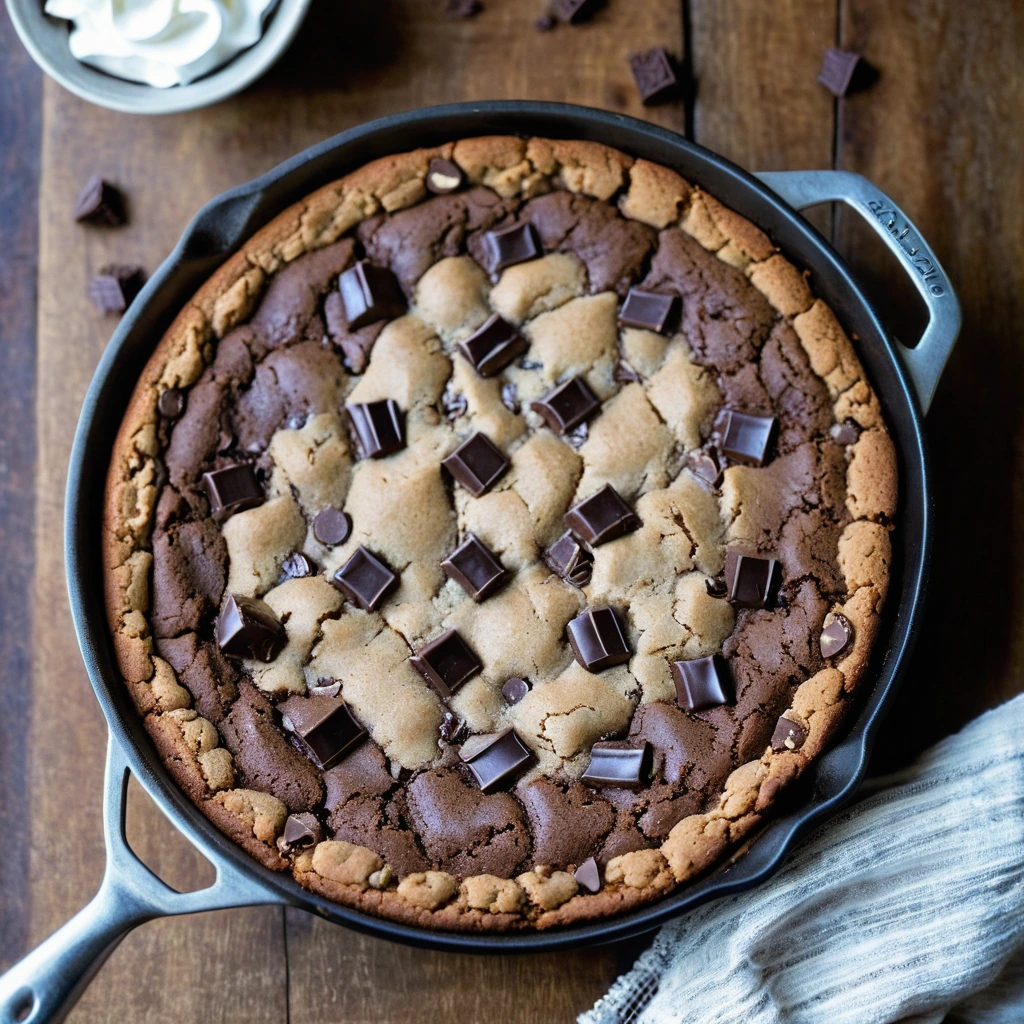
Triple Chocolate Chunk Skillet Cookie
This skillet cookie is a gooey, decadent delight with chunks of dark, milk, and white chocolate that will make you swoon.