Baking Technique: Using Frozen Butter for Extra-Flaky Biscuits
Creating extra-flaky biscuits starts with one simple yet crucial ingredient: frozen butter. This technique harnesses the power of cold to create layers of buttery, flaky goodness in your homemade biscuits. When butter is frozen, it cuts into the flour mixture in distinct, solid pieces. These pieces create pockets of steam as they melt during baking, leading to a biscuit that's both tender and flaky. But why frozen butter specifically? The answer lies in the science of fat distribution and steam creation. As the biscuits bake, the frozen butter takes longer to melt, providing time for the flour proteins to set and form layers around each piece of fat. This method contrasts with softened butter, which can lead to a more homogeneous mixture and less distinct layers. Achieving the perfect biscuit requires precision, patience, and a good grasp of the baking process. From selecting the right butter to understanding the ideal oven temperature, each step is vital. Additionally, the handling of the dough plays a critical role—overworking can lead to tough biscuits, while gentle handling preserves those precious layers. This technique is ideal for home bakers looking to elevate their biscuit game, offering a clear path to achieving professional-level results in their own kitchens. Remember, the key to flaky biscuits is in the fat: keep it cold, cut it in properly, and handle the dough with care.
Notes
The science behind using frozen butter is all about creating steam pockets. When butter melts in the oven, it turns to liquid and then to steam, which helps lift the layers of dough for that desired flakiness. A common mistake is overworking the dough, which can lead to tough biscuits—handle it gently. Always use a sharp biscuit cutter to ensure clean edges, promoting even rising. For make-ahead convenience, you can prepare the dough, cut the biscuits, and freeze them on a baking sheet before transferring to a freezer bag. When ready to bake, place frozen biscuits directly into a preheated oven, adding a couple of extra minutes to the baking time. Store any leftovers in an airtight container for up to 2 days or freeze for longer storage.
Steps
- 1 Preheat your oven to 450°F.
- 2 Grate frozen butter using a box grater directly into the dry ingredients.
- 3 Toss the butter pieces gently with a fork to coat them in flour.
- 4 Add buttermilk to the mixture and gently stir until just combined.
- 5 Turn the dough out onto a lightly floured surface.
- 6 Gently knead the dough 4-5 times to bring it together.
- 7 Pat the dough to a thickness of about 1 inch.
- 8 Use a biscuit cutter to cut out biscuits, re-rolling scraps minimally.
- 9 Place biscuits on a parchment-lined baking sheet.
- 10 Brush the tops with a little buttermilk for a golden finish.
- 11 Bake for 10-12 minutes or until golden brown.
- 12 Remove from the oven and let cool slightly before serving.
- 13 Ensure all utensils and ingredients are chilled before starting.
Ingredients to explore
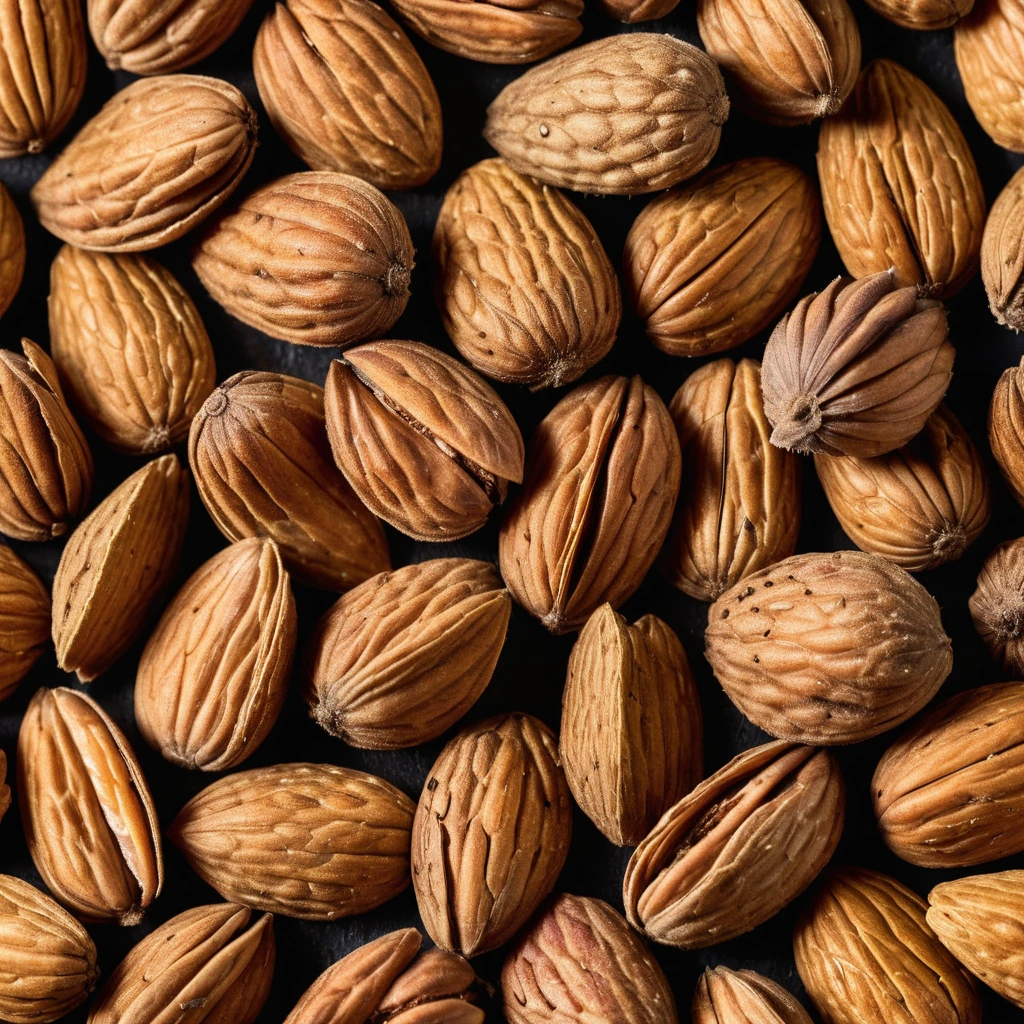
Almonds
With their golden-brown hue and delicate, edible skin, almonds are a crunchy delight. These versatile nuts boast a rich, buttery flavor that adds depth to both sweet and savory dishes.
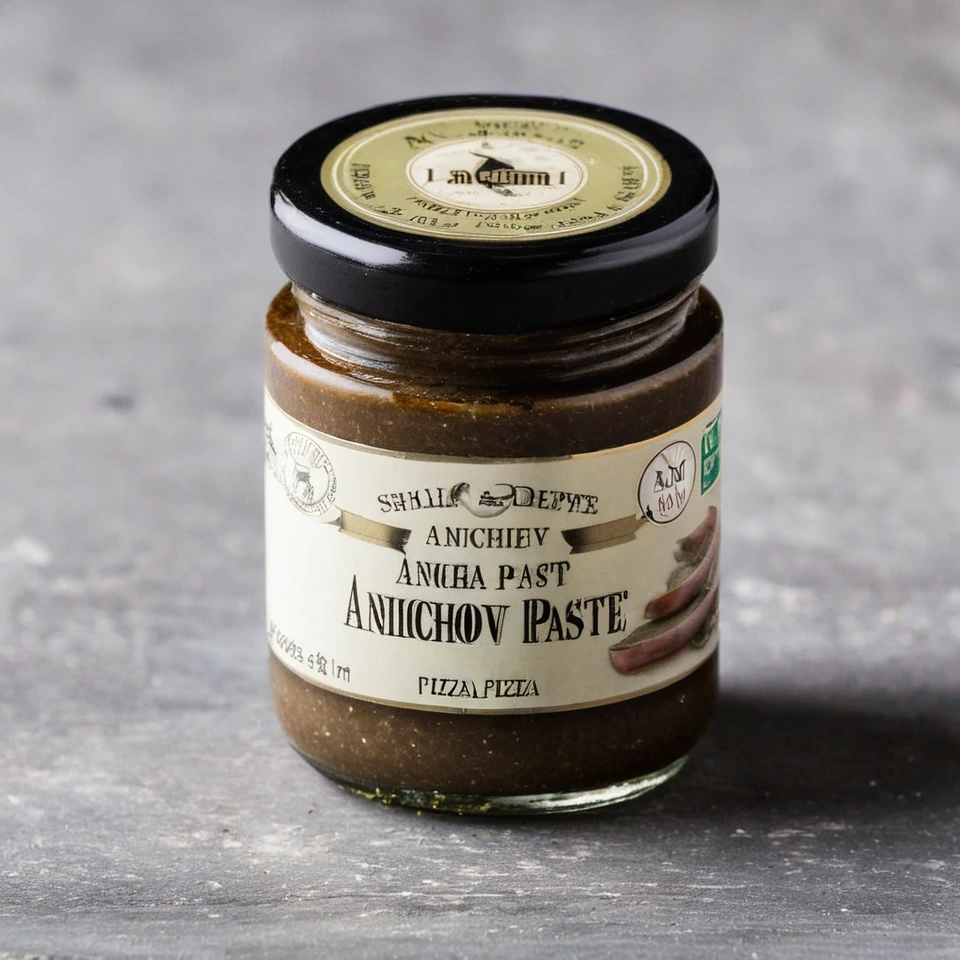
Anchovy Paste
Anchovy paste is a rich, salty spread made from finely ground anchovies, salt, and sometimes olive oil. It offers a deep umami flavor that enhances a variety of dishes.
Recipes to try
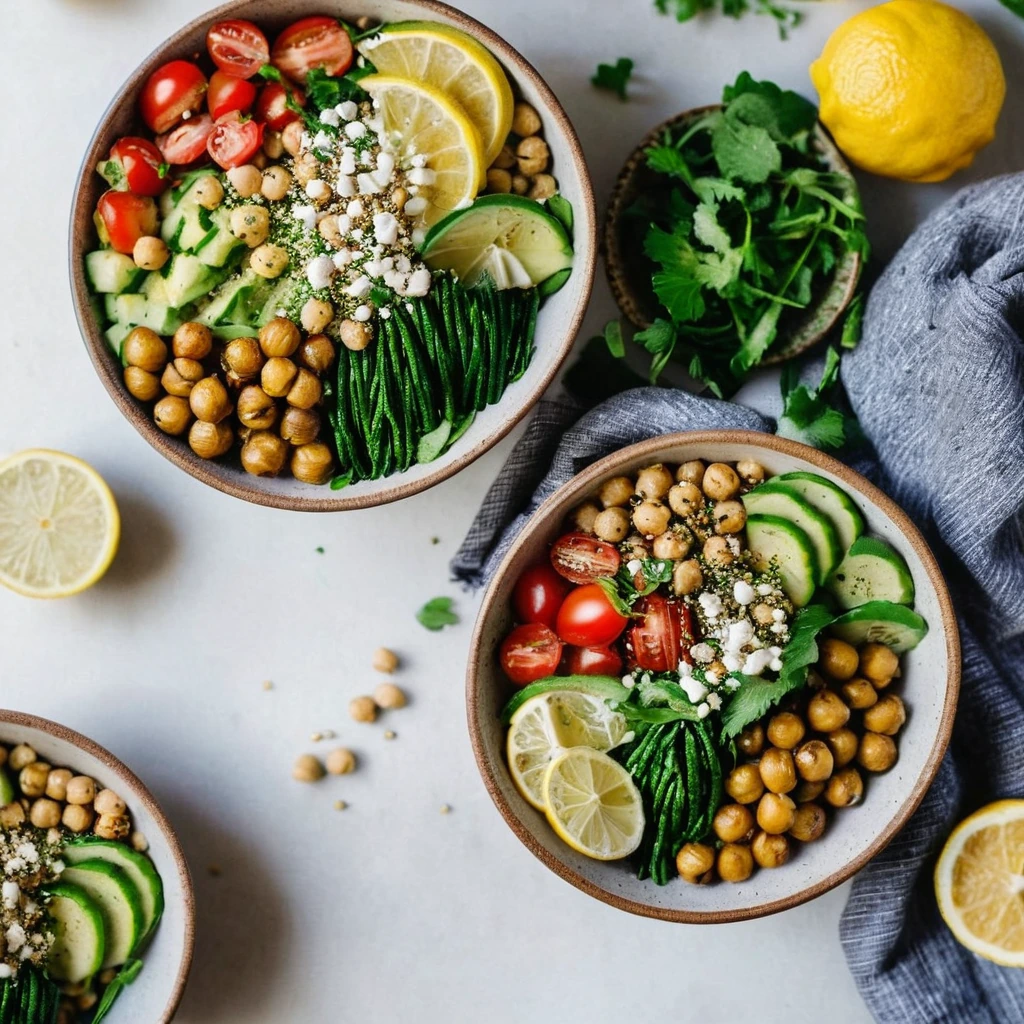
Mediterranean Chickpea Bowls with Lemon Tahini
A vibrant medley of textures and flavors, these bowls are packed with lemony tahini drizzle and fresh Mediterranean herbs.

Roasted Cauliflower Tikka with Basmati Rice
Golden roasted cauliflower bites with a smoky, spicy kick served alongside fragrant basmati rice.