Baking Technique: Slashing High-Hydration Dough with a Lame
Slashing high-hydration dough with a lame is an artful technique that allows home bakers to control the expansion and shape of their loaves during baking. This method is essential for achieving professional-looking bread with a beautiful crust and well-defined ears. High-hydration doughs, often used in artisanal breads like ciabatta and sourdough, are notoriously sticky and challenging to handle. The lame, a sharp blade on a handle, is ideal for making precise cuts that allow steam to escape and the dough to expand in controlled directions. Understanding the principles behind slashing helps bakers predict how their bread will open up in the oven, ensuring an even bake and enhancing the bread's overall appearance. The angle, depth, and pattern of the slashes are crucial, as they directly impact the loaf's crust texture and structure. Mastering this technique requires patience and practice, but with these guidelines, even beginners can achieve impressive results. The science behind slashing lies in creating intentional weak points in the dough's surface tension, which guides the bread's expansion during the oven spring phase. Properly executed slashes not only prevent unsightly cracks but also promote even oven spring, leading to a more uniform crumb. This description will walk you through the nuances of handling sticky dough, selecting the right lame, and executing precise slashes to elevate your home baking.
Notes
Understanding the science behind slashing is key to perfecting this technique. The surface tension of the dough needs to be broken to allow for controlled expansion. Common mistakes include making slashes too deep, which can deflate the dough, or too shallow, which may not allow enough room for expansion. Always ensure your lame is extremely sharp to prevent tearing rather than cutting. Safety is paramount; handle the lame with care to avoid accidental cuts. For best results, slash just before baking to prevent the dough from drying out. High-hydration dough can be tricky, but storing it in a floured couche or a well-floured bowl can help maintain its shape. Leftovers can be stored in an airtight container, though freshly baked bread is always best enjoyed the day it's made.
Steps
- 1 Prepare your high-hydration dough and shape it into the desired form.
- 2 Let the dough rest for 20-30 minutes to relax the gluten.
- 3 Place a baking parchment or couche on a sturdy surface.
- 4 Transfer the shaped dough onto the parchment or couche.
- 5 Hold the lame at a slight angle, approximately 30 degrees, to the dough surface.
- 6 With a swift, confident motion, make a shallow cut about 1/4 inch deep.
- 7 Aim for clean, decisive slashes; avoid sawing back and forth.
- 8 For multiple slashes, space them evenly across the top of the dough.
- 9 Ensure each slash is consistent in depth and angle for uniform expansion.
- 10 Lift the dough carefully and transfer it to a preheated baking vessel or oven.
- 11 Bake immediately to take advantage of the dough's relaxed state.
- 12 Monitor the oven spring during the first 10 minutes of baking.
Ingredients to explore
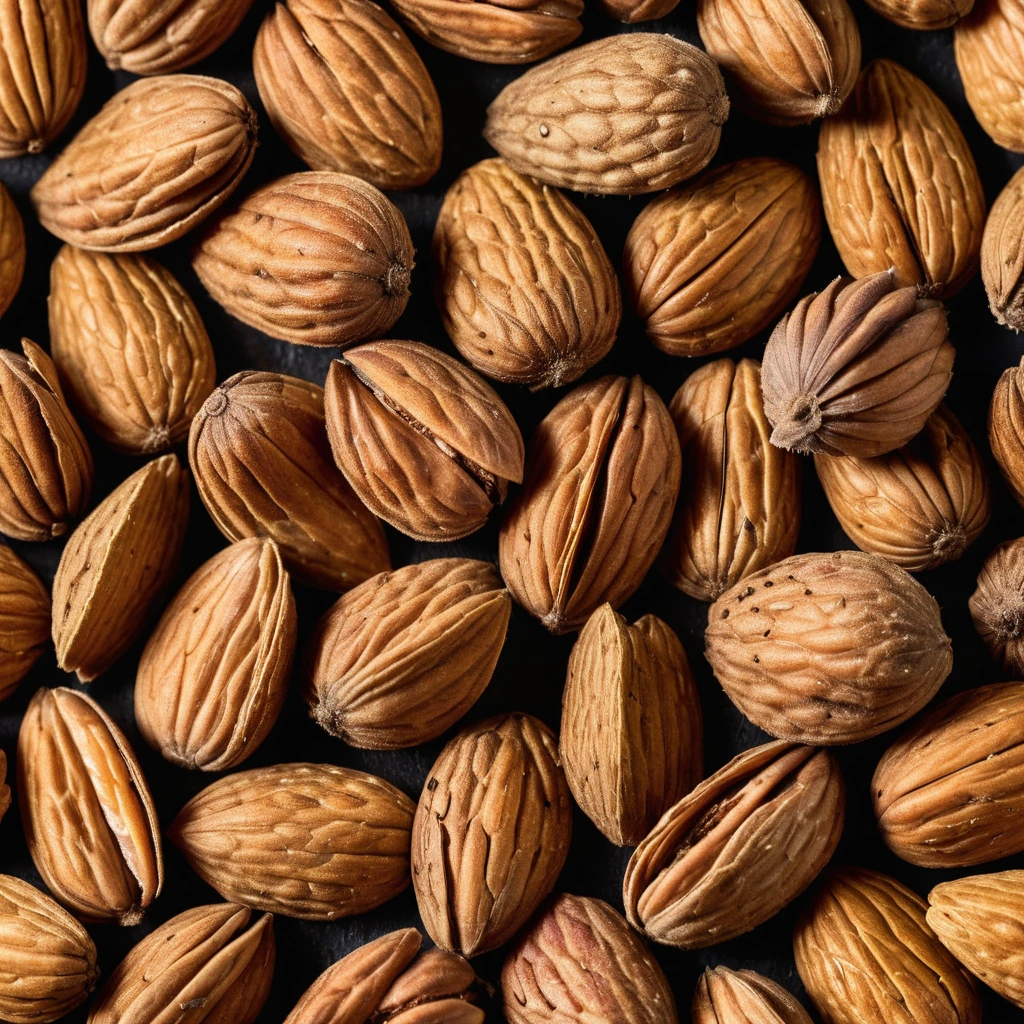
Almonds
With their golden-brown hue and delicate, edible skin, almonds are a crunchy delight. These versatile nuts boast a rich, buttery flavor that adds depth to both sweet and savory dishes.

Anaheim Peppers
Anaheim peppers are a mild chili pepper variety named after Anaheim, California, where they were first cultivated commercially. Originating from the New Mexico region, these peppers are celebrated for their versatility and gentle heat. They possess a flavor that is mildly sweet with a subtle tang, and a pleasant vegetal note reminiscent of green bell peppers, but with a hint of spice. Their texture is firm and crisp when fresh, becoming tender and slightly smoky when roasted or cooked. In cooking, Anaheim peppers behave well across a range of techniques, from grilling and roasting to stuffing and sautéing, contributing a nuanced depth without overwhelming other ingredients with heat.
Recipes to try
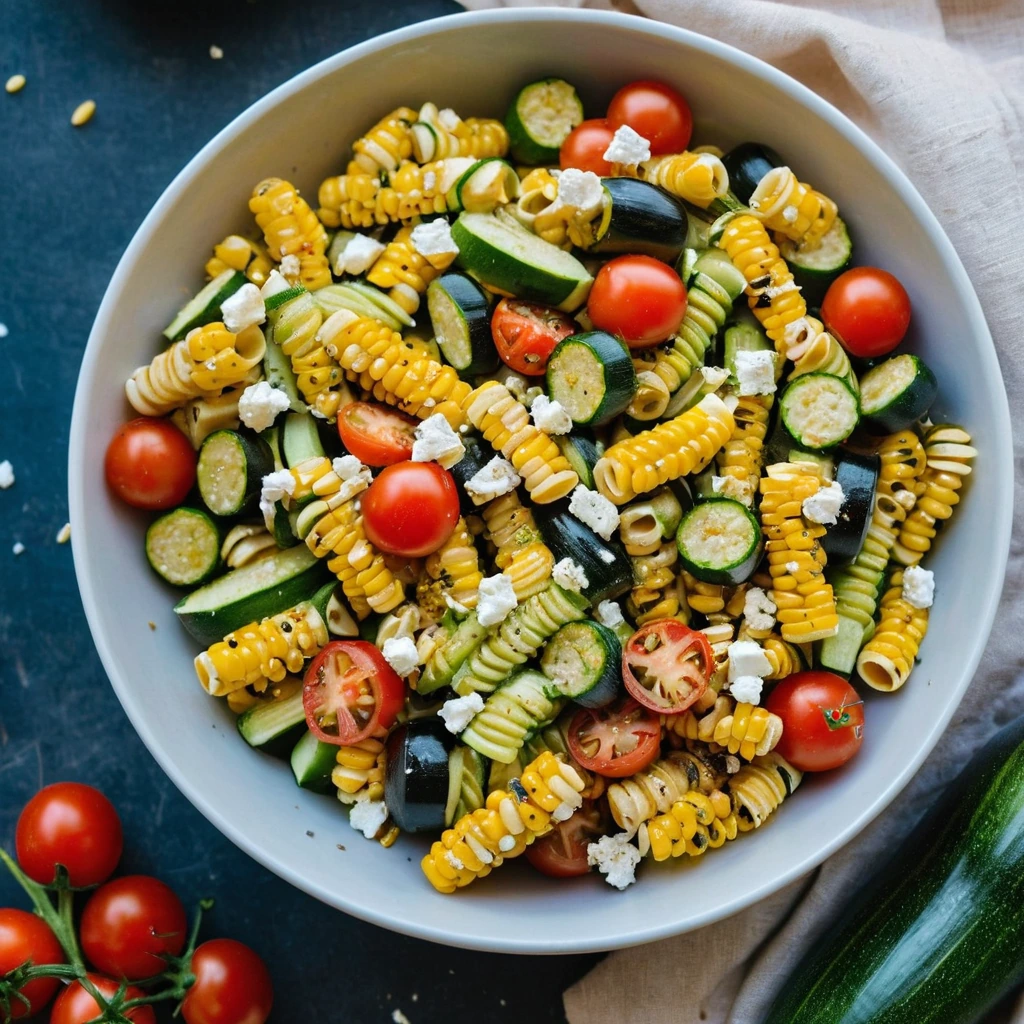
Roasted Zucchini, Corn, and Tomato Pasta Salad
This vibrant pasta salad is bursting with smoky roasted veggies and tangy feta, making every bite a taste of summer.
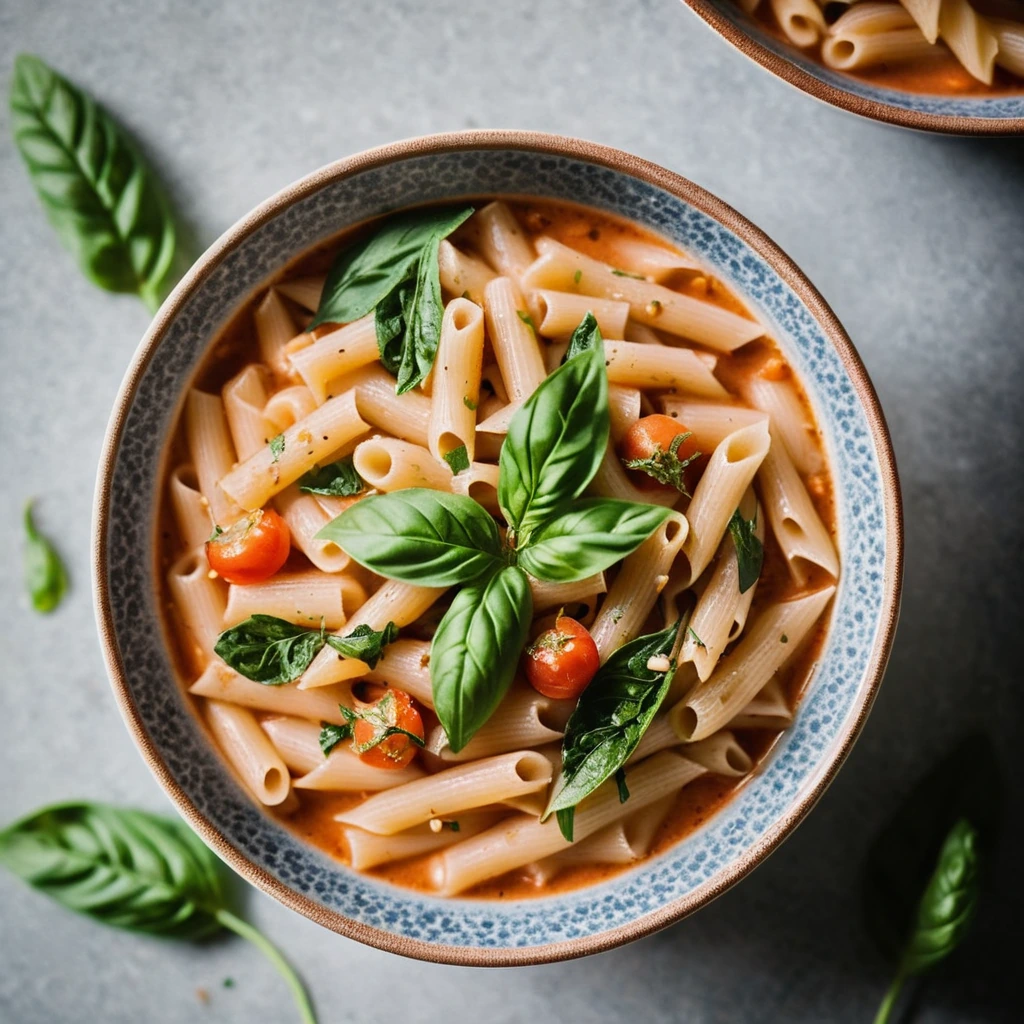
One-Pot Tuscan White Bean and Pasta Stew
Warm up with this hearty stew where tender pasta mingles with creamy cannellini beans in a rich, garlicky tomato broth.