Baking Technique: Cutting Butter into Flour for Flaky Crusts
Creating a flaky, buttery crust is an art that begins with the foundational step of cutting butter into flour. This technique is crucial for achieving layers of tender, flaky pastry in everything from pie crusts to biscuits. The key lies in understanding how to incorporate cold butter into flour to create pockets of fat that will steam and separate during baking, resulting in that coveted flakiness. Achieving this requires precision, patience, and a gentle touch. The process starts with selecting the right type of butter and flour. Unsalted butter allows you to control the salt content in your recipe, while all-purpose flour provides the structure needed for a sturdy crust. The butter must be cold, straight from the refrigerator or freezer, to ensure it doesn't melt prematurely. The flour should be chilled as well to maintain a cool environment, preventing the butter from softening too quickly. Next, you'll need to choose a cutting tool. Pastry blenders, two knives, or your fingertips can be used, each offering a slightly different texture and size of butter pieces. The goal is to cut the butter into the flour until the mixture resembles coarse meal with pea-sized pieces of butter distributed throughout. Overworking the dough will result in a tough crust, so handle it minimally. Understanding the science behind this technique involves recognizing that fat coats flour proteins, inhibiting gluten formation. This is crucial for a tender crust. When the butter melts in the oven, it leaves behind pockets of air that create layers. Additionally, the water in the butter turns to steam, which helps lift and separate the layers, enhancing flakiness. To troubleshoot common issues, avoid using butter that is too soft, as it will blend into the flour rather than creating distinct pieces. If your crust turns out tough, you may have overworked the dough. Always use a light hand and stop mixing once the butter is properly incorporated. For storage, wrap your prepared dough tightly in plastic wrap and refrigerate for up to two days or freeze for longer storage. Thaw it in the refrigerator before use to maintain the integrity of the butter pieces.
Notes
The science behind cutting butter into flour is all about creating layers. When the butter is distributed in pea-sized pieces, it melts at different rates during baking, leaving air pockets that contribute to flakiness. To avoid common mistakes, ensure your butter is properly chilled before starting, and work quickly to maintain its solid state. Overworking the dough can lead to a tough crust due to excess gluten development, so be gentle. For safety, ensure all tools and surfaces are clean to prevent any contamination. For make-ahead convenience, you can prepare the dough up to two days in advance and store it in the refrigerator, or freeze for up to three months. When ready to use, let the dough thaw in the refrigerator to maintain the integrity of the butter pieces.
Steps
- 1 Chill unsalted butter and all-purpose flour in the refrigerator for at least 30 minutes.
- 2 Cut the butter into small cubes, about 1/2 inch in size.
- 3 Place the flour in a large mixing bowl.
- 4 Scatter the cubed butter over the flour.
- 5 Use a pastry blender to cut the butter into the flour, working quickly.
- 6 Alternatively, use two knives, crisscrossing them to cut the butter into the flour.
- 7 Continue until the mixture resembles coarse meal with pea-sized butter pieces.
- 8 Avoid overworking the dough to prevent gluten formation.
- 9 Check the texture by squeezing a small handful; it should hold together with slight pressure.
- 10 Turn the dough out onto a lightly floured surface if rolling out immediately.
- 11 Cover and refrigerate the dough for at least 30 minutes before rolling to ensure it holds its shape.
- 12 Preheat your oven to the required temperature for your specific recipe.
- 13 Roll out the dough gently, maintaining an even thickness.
- 14 Proceed with your recipe, confident in your perfectly prepared flaky crust base.
Ingredients to explore
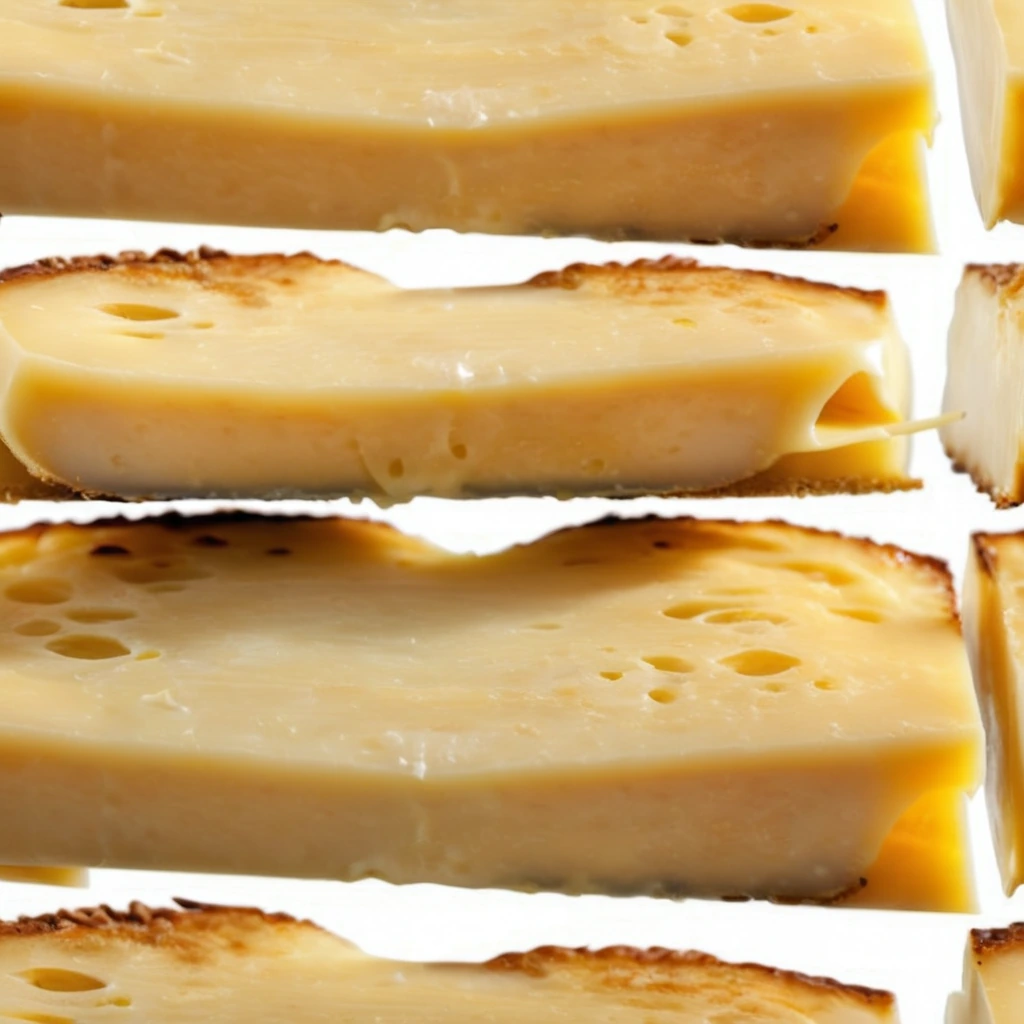
American Cheese Slices
Those iconic, perfectly pliable slices of creamy, mild American cheese. Each slice boasts a smooth, melt-in-your-mouth texture that brings comfort to any dish.
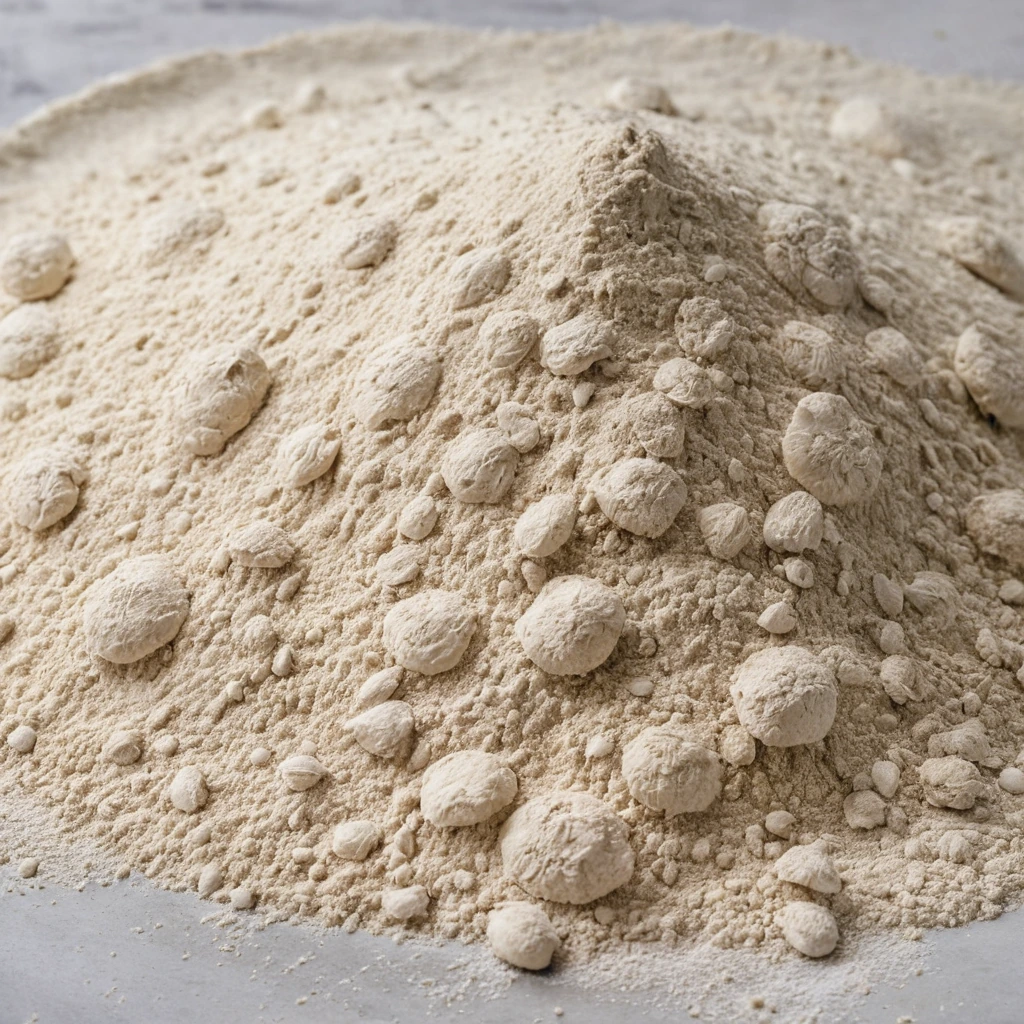
00 Pizza Flour
00 pizza flour is a finely milled Italian flour prized for its versatility in creating authentic Neapolitan-style pizza crusts. Originating from Italy, it is milled to a very fine consistency, which is reflected in its name, 'doppio zero,' indicating its fine grind. This flour has a balanced flavor profile, offering a mild, slightly sweet taste with a subtle nuttiness. Its texture is silky and smooth, contributing to a tender yet chewy crust when used in pizza making. In cooking, 00 pizza flour is known for its ability to hydrate quickly and develop a desirable gluten structure, resulting in a light and airy crust that can withstand high-heat cooking without becoming overly crispy or hard.
Recipes to try

Thai Chicken Coconut Noodle Soup
Warm and fragrant, this soup is a symphony of coconut milk, zesty lime, and tender chicken with a hint of spice.

Maple Sausage and Cheddar Breakfast Biscuits
Golden, flaky biscuits stuffed with savory maple sausage and melted sharp cheddar—it's a hearty breakfast hug in every bite.