Baking Technique: Cooling Pastries on Racks to Preserve Crispness
Achieving that perfect, crisp finish on your pastries is an art form that requires attention to detail, even after they've left the oven. Cooling pastries on racks is a simple yet crucial step that can make or break your final product. This technique ensures that pastries maintain their structural integrity and delightful crunch by preventing them from becoming soggy or overly soft. When pastries cool directly on a surface like a countertop or baking sheet, they can trap steam and moisture, leading to a less-than-ideal texture. By using a cooling rack, air can circulate freely around the pastries, drawing out excess moisture and preserving their crispness. This method is particularly beneficial for delicate items like cookies, scones, and pastries with flaky layers, ensuring they remain irresistibly crunchy. Understanding the science behind this technique will elevate your baking game, leaving you with pastries that are as delightful to eat as they are to look at. The key lies in the airflow and the prevention of condensation buildup, which can turn your crispy masterpiece into a chewy disappointment. Additionally, cooling racks are versatile tools that can be used for a variety of baked goods, making them a staple in any home baker's kitchen. This guide will walk you through the steps of properly cooling your pastries on racks and provide insights into why this technique is so effective. By following these instructions, you can ensure that your pastries not only look professional but also maintain their intended texture and flavor.
Notes
The science behind cooling pastries on racks is simple yet profound. By elevating pastries off the counter, you create a space for air to circulate around all surfaces, which helps to evaporate residual moisture that can cause sogginess. This airflow is crucial for pastries with flaky or layered textures, as trapped moisture can lead to layers sticking together. A common mistake is to let pastries cool directly on a baking sheet, which can steam the bottom and ruin the crispness. To troubleshoot, always use parchment paper when baking to prevent sticking, making transfer to a rack easier. Safety is not a major concern with this technique, but be cautious when handling hot pastries. For make-ahead preparation, ensure pastries are completely cooled before storing in an airtight container to maintain their crispness. If storing for longer than a day, consider placing a piece of bread in the container to absorb excess moisture.
Steps
- 1 Preheat your oven according to your recipe instructions.
- 2 Bake your pastries until they are just done, watching for the desired color and texture.
- 3 Remove pastries from the oven and let them rest for 1-2 minutes on the baking sheet.
- 4 Transfer each pastry to a wire cooling rack using a spatula.
- 5 Ensure pastries are spaced apart on the rack to allow for proper airflow.
- 6 Allow pastries to cool completely at room temperature, typically 30-60 minutes.
- 7 Check pastries periodically to ensure they are not sticking to the rack.
- 8 Once cooled, transfer pastries to an airtight container for storage.
- 9 For optimal crispness, consume pastries within 24 hours.
Ingredients to explore
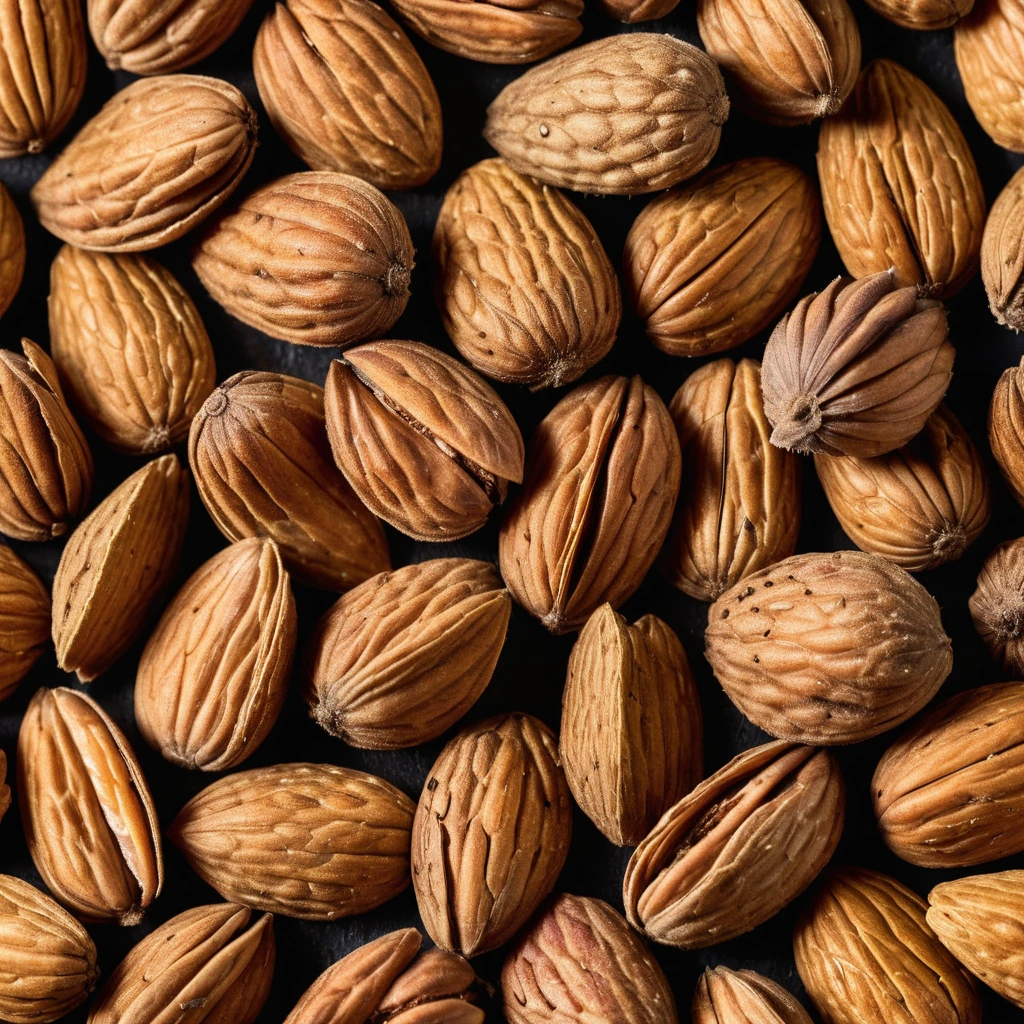
Almonds
With their golden-brown hue and delicate, edible skin, almonds are a crunchy delight. These versatile nuts boast a rich, buttery flavor that adds depth to both sweet and savory dishes.
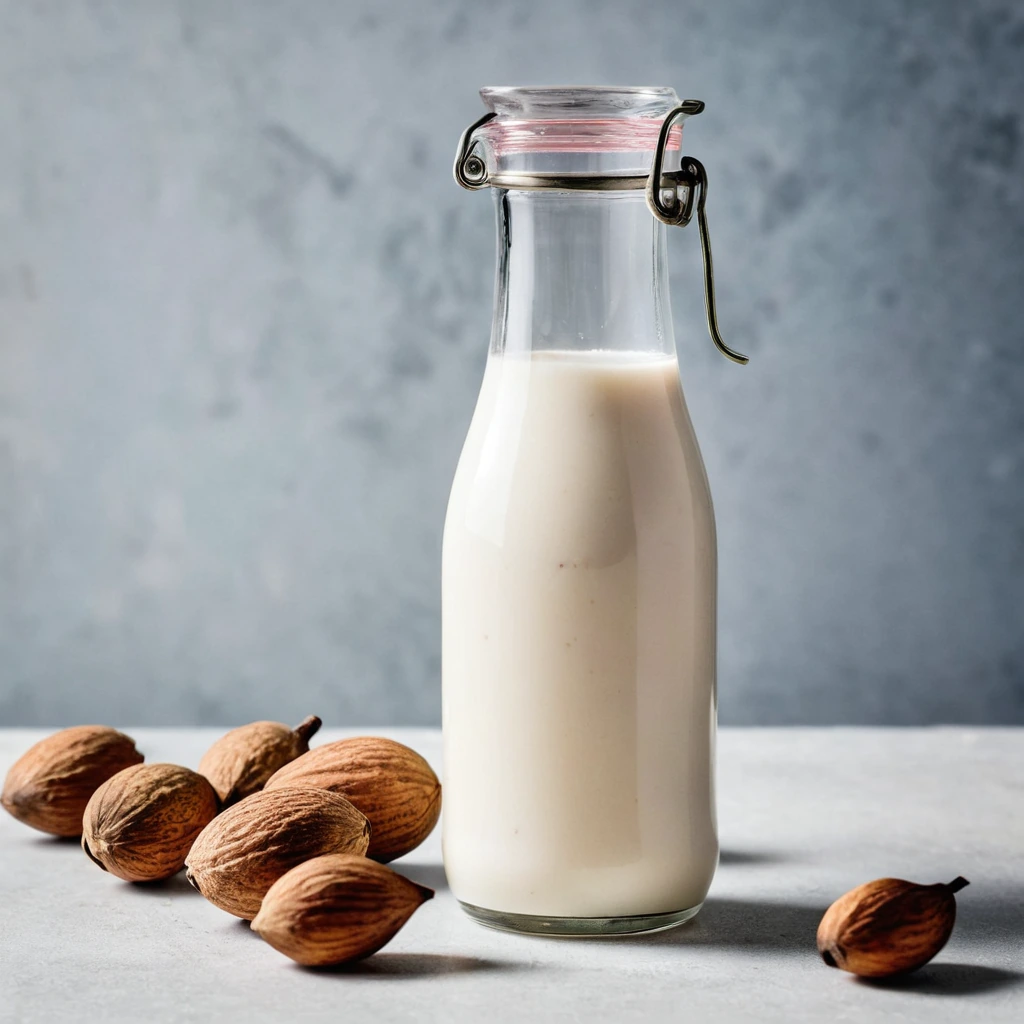
Almond Milk
Almond milk is a plant-based milk alternative made from ground almonds and water. Originating from traditional recipes in medieval Europe and the Middle East, it has gained widespread popularity in modern times as a dairy-free option. Almond milk has a subtly nutty flavor with a mild sweetness, and its aroma is reminiscent of fresh almonds. Its texture is smooth and creamy, though typically lighter than dairy milk. In cooking, almond milk behaves well in both savory and sweet applications, though it does not brown or caramelize like dairy milk. It is often used in cereals, smoothies, and baking, where its delicate flavor complements rather than overpowers other ingredients.
Recipes to try

Teriyaki Glazed Salmon and Veggie Bowls
Sweet and savory teriyaki glaze coats succulent salmon fillets atop a vibrant medley of colorful veggies, creating a symphony of flavors in every bite.

Spicy Sausage and Roasted Red Pepper Rigatoni
A zesty dance of spicy sausage and smoky roasted red peppers twirled in al dente rigatoni.