Baking Technique: Converting Pan Sizes Without Ruining Texture
Scaling your favorite recipes to fit different pan sizes can be daunting, but fear not! This technique will guide you through adjusting baking recipes for various pan sizes while maintaining that perfect texture. Whether you're working with a loaf pan, cake tin, or muffin tray, understanding how pan size impacts baking is crucial. The surface area and depth of your pan directly influence how heat is distributed, which in turn affects the baking time and texture of your creation. Shallow pans bake faster and may lead to drier results, while deeper pans can cause undercooked centers if not managed properly. We'll dive into how to calculate volume, adjust baking times, and tweak oven temperatures to ensure your baked goods come out just right, every single time. Learn the science behind why these adjustments work and discover tips to troubleshoot common issues like uneven browning or dense centers. With this technique, you'll be equipped to confidently adapt your recipes without sacrificing texture or taste.
Notes
The science behind this technique lies in understanding heat transfer and surface area. A larger pan exposes more surface area to heat, potentially drying out the edges before the center is cooked. Conversely, a smaller pan traps heat, risking overcooked exteriors and undercooked interiors. To troubleshoot, always preheat your oven accurately and use an oven thermometer for precision. Common mistakes include not adjusting baking times and temperatures, leading to uneven textures. For safety, ensure oven mitts are used when handling hot pans. To make ahead, let your baked goods cool completely before storing in airtight containers at room temperature for up to three days or freezing for longer storage.
Steps
- 1 Determine the volume of your original pan by multiplying its length, width, and depth.
- 2 Calculate the volume of your new pan using the same method.
- 3 Compare the volumes to understand how much bigger or smaller your new pan is.
- 4 Adjust your recipe yield to match the new pan's volume; scale ingredients proportionally.
- 5 If the new pan is larger, increase the oven temperature by 25°F to promote even browning.
- 6 If using a smaller pan, reduce the oven temperature by 25°F to prevent over-browning.
- 7 Estimate the new baking time: larger pans may need up to 1/3 more time, while smaller pans could require 1/3 less time.
- 8 Check your creation 10-15 minutes before the estimated time is up, using a toothpick to test for doneness.
- 9 Rotate the pan halfway through baking to ensure even heat distribution.
- 10 Allow the baked good to cool in the pan for 10 minutes before transferring to a wire rack.
- 11 Monitor the edges and center closely to avoid overbaking or underbaking.
- 12 Use parchment paper to prevent sticking and aid in easy removal.
- 13 Keep a kitchen scale handy for precise ingredient measurements when scaling recipes.
Ingredients to explore
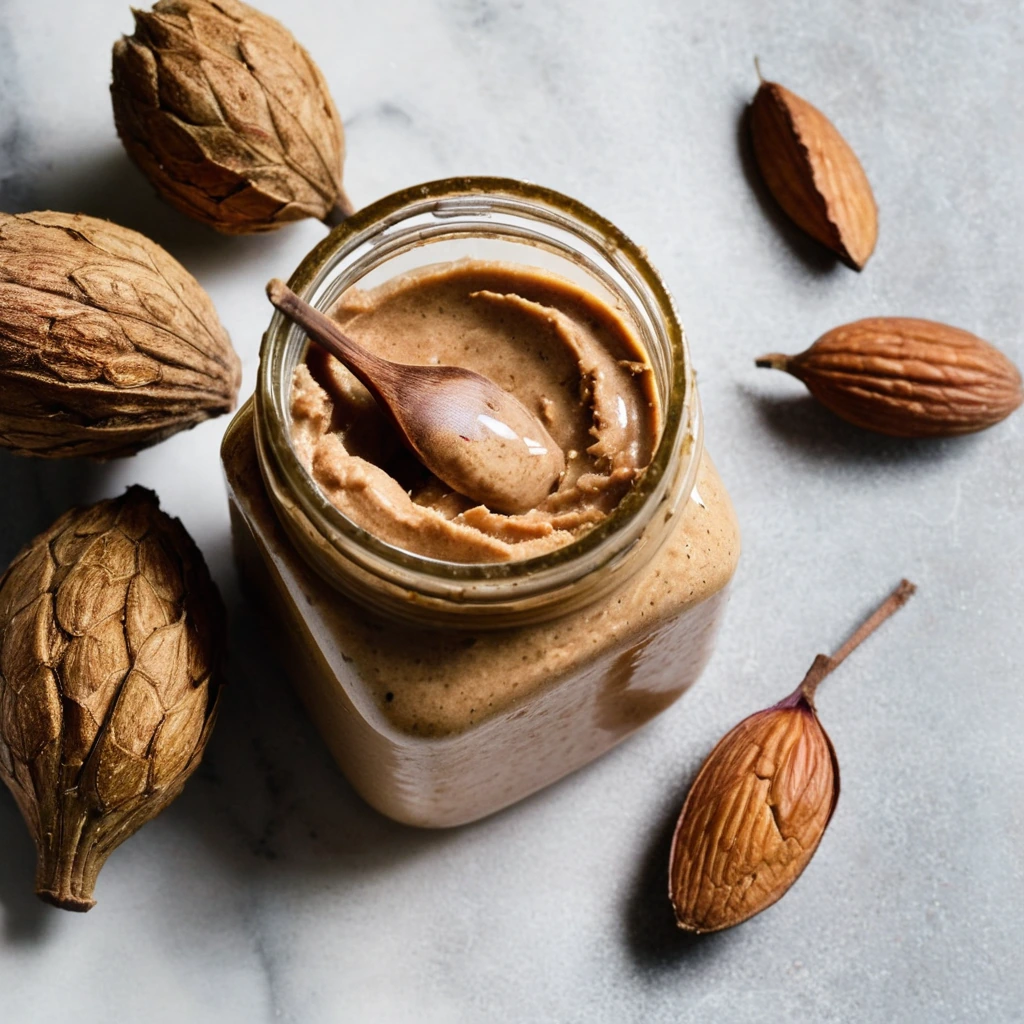
Almond Butter
A velvety, nutty spread crafted from finely ground almonds, offering a rich and satisfying flavor that's both comforting and indulgent.
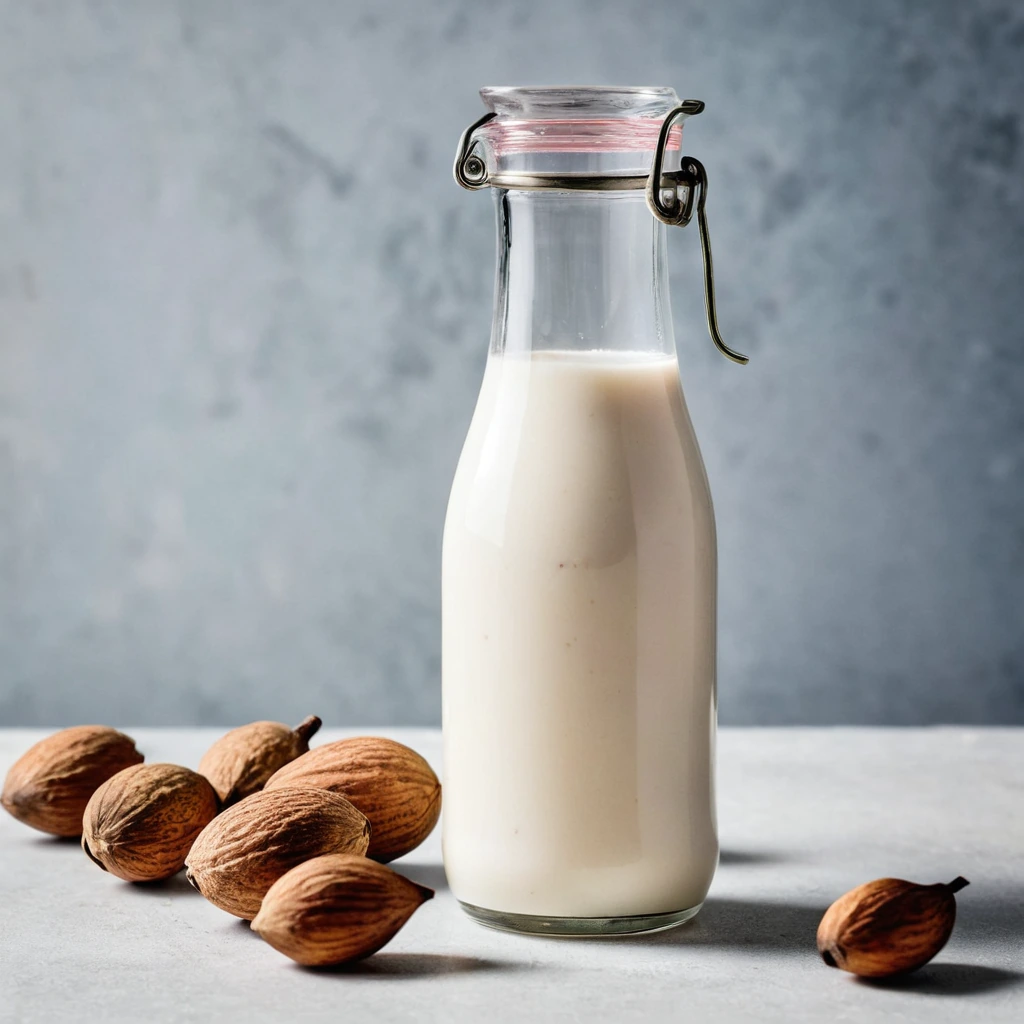
Almond Milk
Almond milk is a plant-based milk alternative made from ground almonds and water. Originating from traditional recipes in medieval Europe and the Middle East, it has gained widespread popularity in modern times as a dairy-free option. Almond milk has a subtly nutty flavor with a mild sweetness, and its aroma is reminiscent of fresh almonds. Its texture is smooth and creamy, though typically lighter than dairy milk. In cooking, almond milk behaves well in both savory and sweet applications, though it does not brown or caramelize like dairy milk. It is often used in cereals, smoothies, and baking, where its delicate flavor complements rather than overpowers other ingredients.
Recipes to try
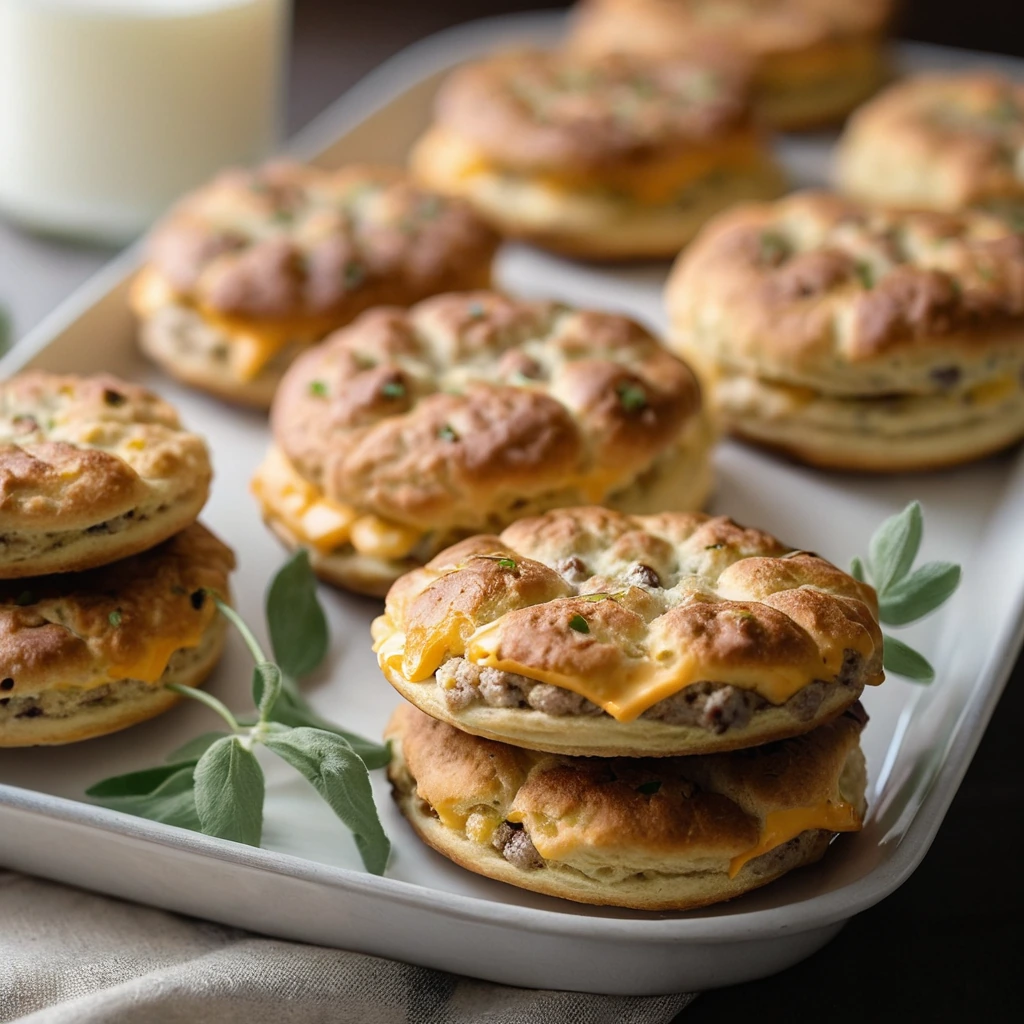
Maple Sausage and Cheddar Breakfast Biscuits
Golden, flaky biscuits stuffed with savory maple sausage and melted sharp cheddar—it's a hearty breakfast hug in every bite.
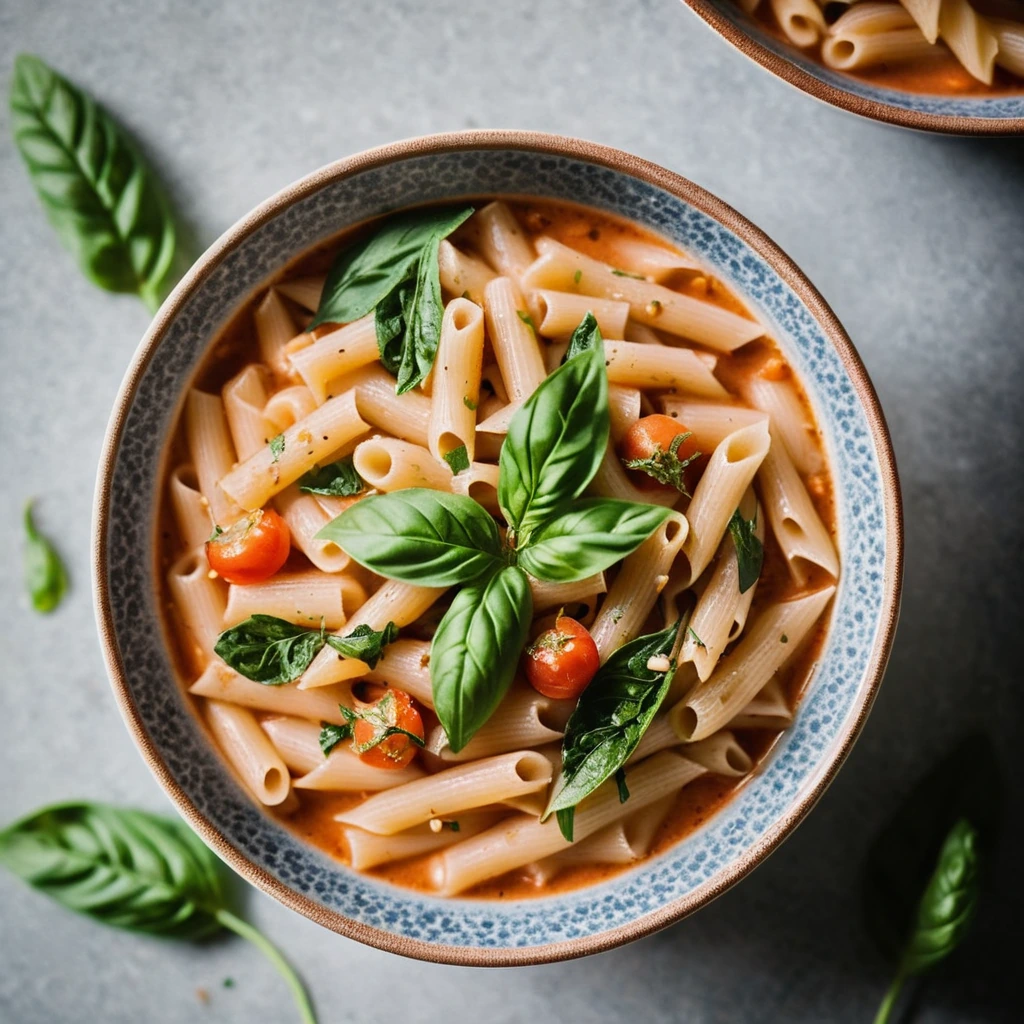
One-Pot Tuscan White Bean and Pasta Stew
Warm up with this hearty stew where tender pasta mingles with creamy cannellini beans in a rich, garlicky tomato broth.