Baking Technique: Chilling Dough to Control Spread
Chilling dough before baking is a fundamental technique that can transform your cookies, pastries, and breads from flat and featureless to beautifully shaped and textured. This method is especially crucial for recipes that rely on precise structure, like flaky pie crusts or cookies with intricate cut-out designs. By chilling dough, you slow down the melting of fats and control the spread, ensuring your baked goods maintain their intended shape and achieve a desirable texture. Understanding the science behind this process empowers home bakers to produce professional-level results. Dough chilling allows the gluten to relax, which prevents over-spreading and toughening during baking. Moreover, it solidifies the fats, leading to a more controlled release of moisture and a flakier texture in pastries. This technique is versatile and can be applied to a wide range of recipes, from buttery shortbread to laminated doughs like croissants. The key to mastering this technique lies in knowing how long to chill and how to properly handle the dough to maximize its benefits.
Notes
The science behind chilling dough is rooted in fat behavior and gluten relaxation. Chilling solidifies fats, which prevents them from melting too quickly in the oven and causing excessive spread. Additionally, cold temperatures relax the gluten strands, leading to a more tender final product. Common mistakes include insufficient chilling time or not wrapping the dough properly, which can lead to drying out. To troubleshoot spreading issues, ensure your butter is properly chilled before making the dough and avoid overworking the dough. For safety, always use clean utensils and surfaces. Chilled dough can be stored in the refrigerator for up to 3 days or frozen for longer storage. Thaw frozen dough in the refrigerator before using.
Steps
- 1 Prepare your dough according to your recipe.
- 2 Shape the dough into the desired form (e.g., logs for cookies, discs for pie crusts).
- 3 Wrap the dough tightly in plastic wrap to prevent drying.
- 4 Place the dough in the refrigerator for at least 30 minutes, or up to overnight.
- 5 For quicker chilling, place the dough in the freezer for 15 to 20 minutes, then transfer to the fridge to finish.
- 6 When ready to bake, preheat your oven to the recipe's specified temperature.
- 7 Allow the dough to rest at room temperature for 5 to 10 minutes before handling.
- 8 Cut or shape the dough as needed and place it on a parchment-lined baking sheet.
- 9 Return the shaped dough to the refrigerator for an additional 10 to 15 minutes before baking.
- 10 Bake according to your recipe's instructions, monitoring for color and texture cues.
Ingredients to explore
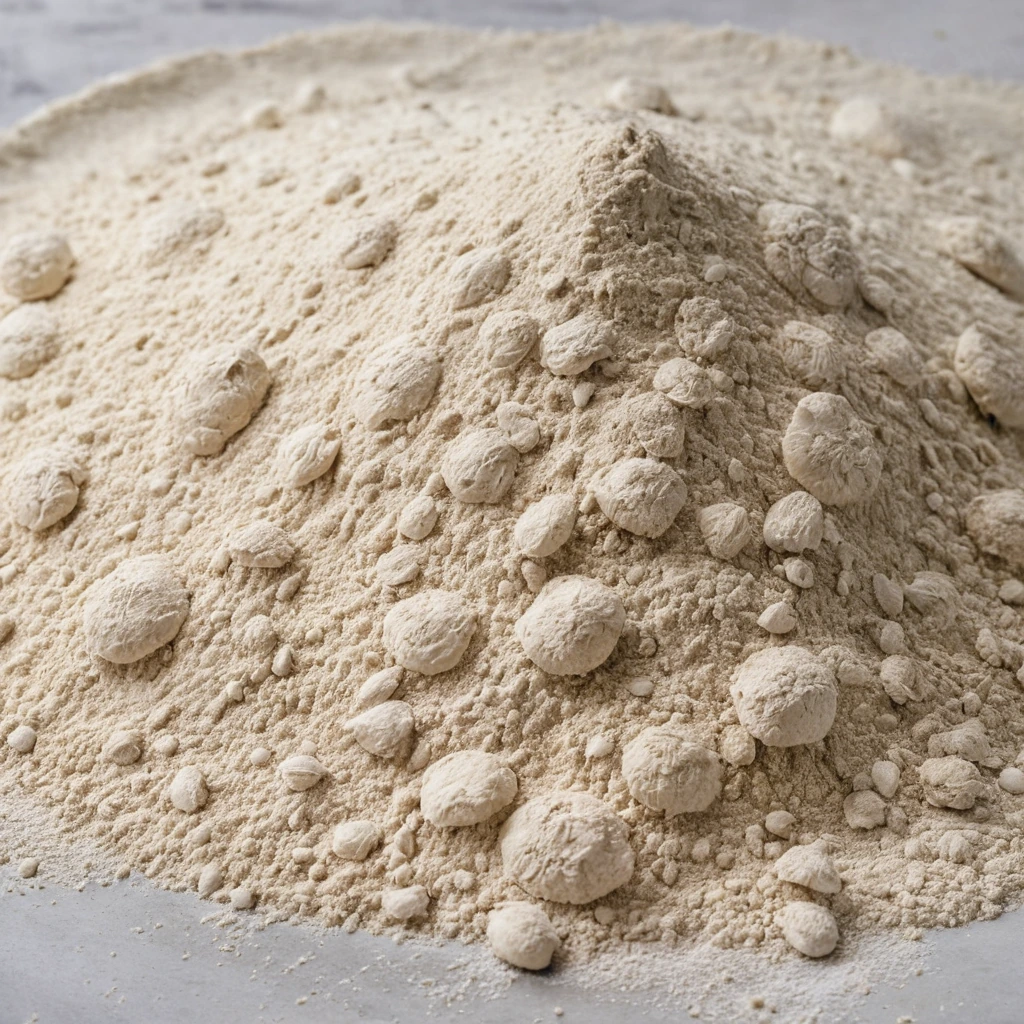
00 Pizza Flour
00 pizza flour is a finely milled Italian flour prized for its versatility in creating authentic Neapolitan-style pizza crusts. Originating from Italy, it is milled to a very fine consistency, which is reflected in its name, 'doppio zero,' indicating its fine grind. This flour has a balanced flavor profile, offering a mild, slightly sweet taste with a subtle nuttiness. Its texture is silky and smooth, contributing to a tender yet chewy crust when used in pizza making. In cooking, 00 pizza flour is known for its ability to hydrate quickly and develop a desirable gluten structure, resulting in a light and airy crust that can withstand high-heat cooking without becoming overly crispy or hard.
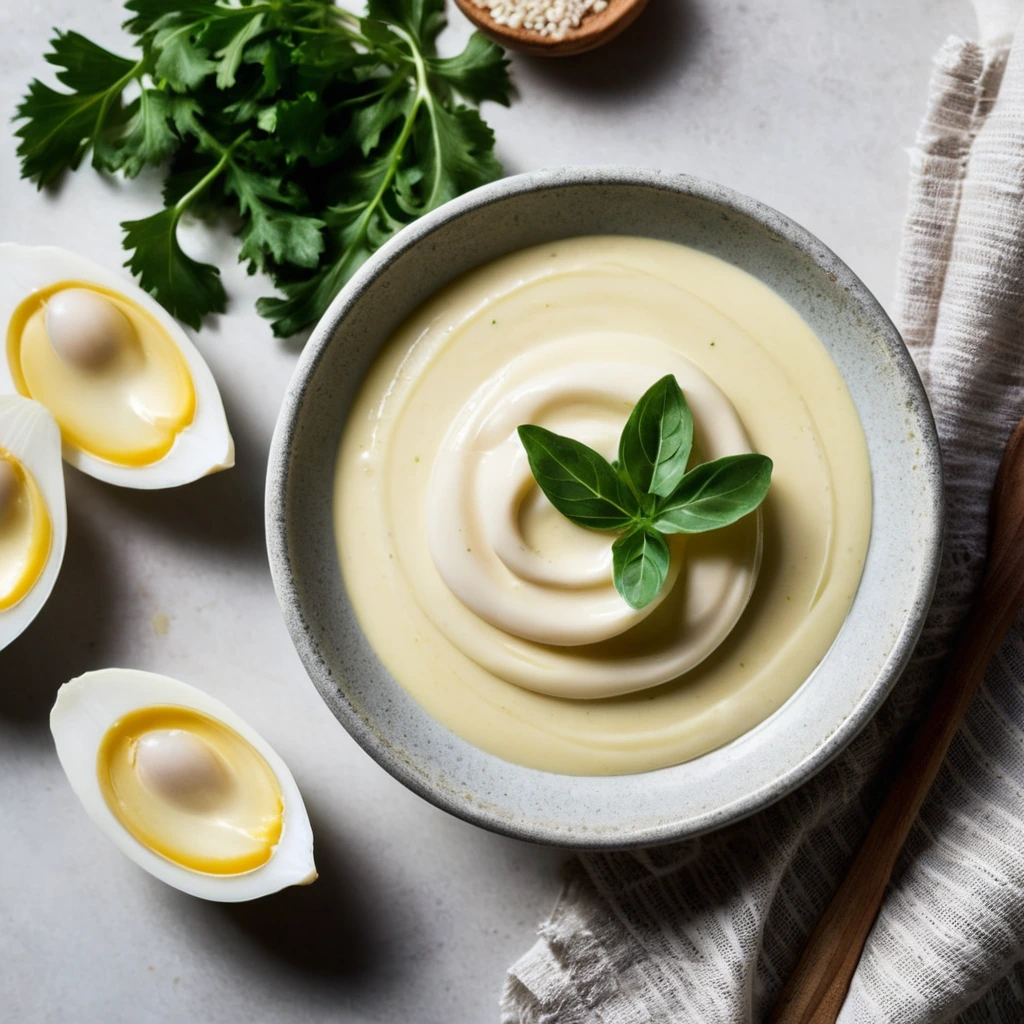
Aioli
A luscious, velvety emulsion of garlic and olive oil, aioli is a rich and aromatic sauce that dances on the palate with its creamy texture and bold, pungent flavor.
Recipes to try
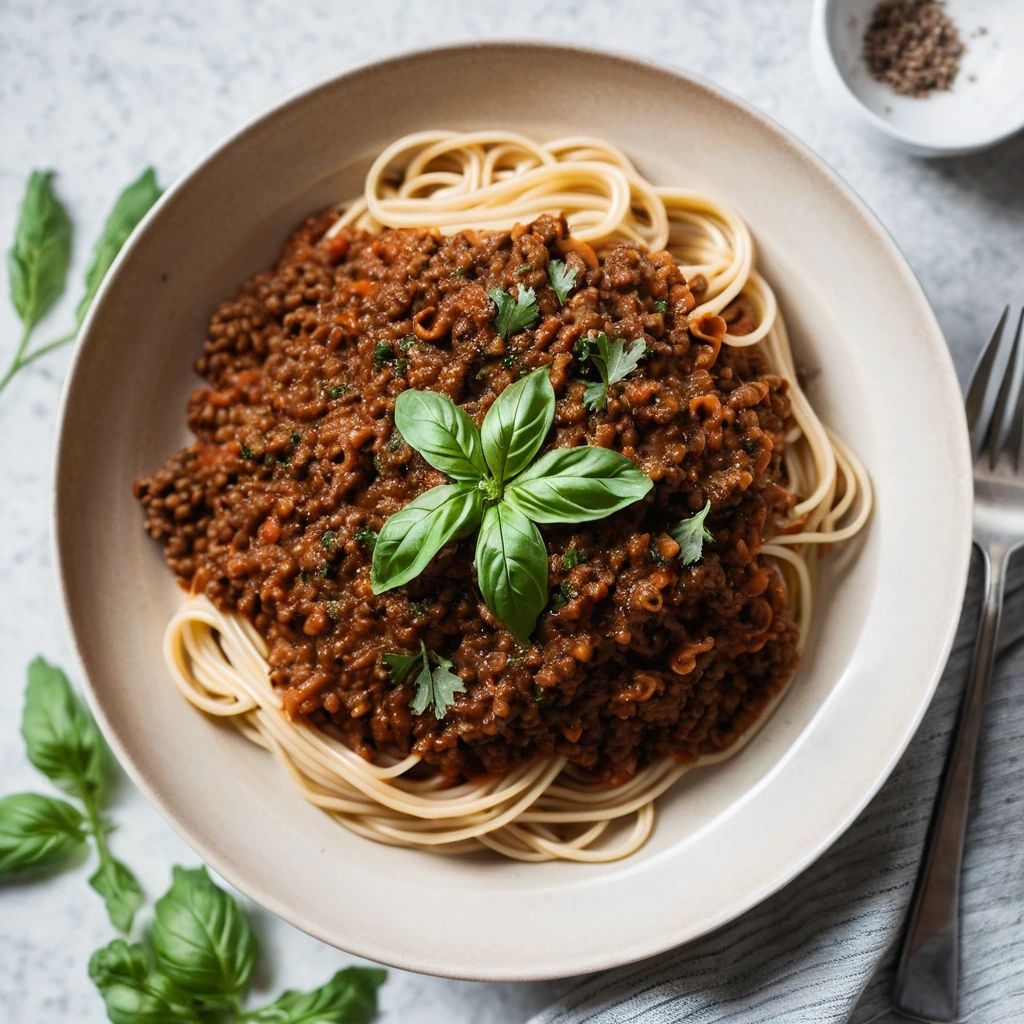
Mushroom and Lentil Bolognese over Spaghetti
A hearty, savory Bolognese packed with earthy mushrooms and protein-rich lentils, served over perfectly al dente spaghetti.
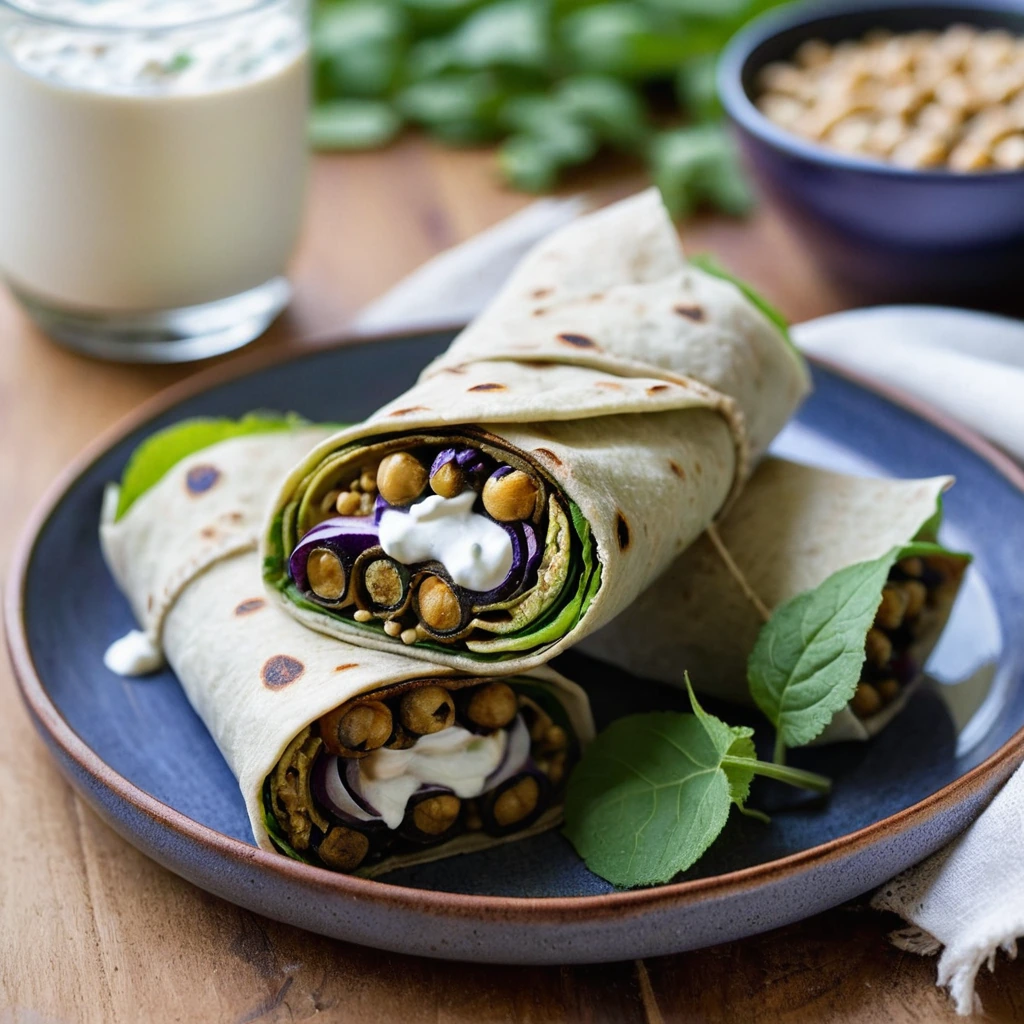
Roasted Eggplant and Chickpea Wraps with Yogurt
Creamy yogurt swirls with smoky roasted eggplant and hearty chickpeas, all wrapped in a warm tortilla for a veggie-packed meal.