Baking: Royal Icing Piping Basics
Royal icing is the go-to for creating stunning piped decorations on cookies, cakes, and pastries. Its smooth texture and ability to harden into a glossy finish make it a favorite among bakers. To master royal icing piping, you need to understand the balance of ingredients, consistency, and technique. Achieving the right consistency is crucial; too thick and the icing won’t flow smoothly from the piping bag, too thin and it won’t hold its shape. This guide will walk you through the essential steps to create and pipe royal icing like a pro. We'll start with the basics of making the icing, then move on to loading your piping bag, and finally, the techniques to create beautiful designs. Whether you're aiming for delicate lacework or bold outlines, mastering royal icing piping opens up a world of creative possibilities. Let's dive into the details to ensure your next batch of cookies is not just delicious but also a visual delight.
Notes
The science behind royal icing lies in its ingredients: powdered sugar provides structure, meringue powder stabilizes the mixture, and water activates the proteins. A common mistake is adding too much water, which can weaken the structure; always add water sparingly. Ensure your workspace is clean to avoid dust settling on wet icing. For storage, piped items are best kept at room temperature away from humidity. To avoid drying out, work in small batches and cover unused icing with a damp cloth. Practice piping on parchment paper to refine your technique before applying it to your baked goods.
Steps
- 1 Combine 2 cups powdered sugar and 1 tablespoon meringue powder in a mixing bowl.
- 2 Add 2 to 3 tablespoons water and mix with an electric mixer on low speed.
- 3 Increase speed to medium and whip for 7-10 minutes until stiff peaks form.
- 4 Divide the icing into separate bowls for different colors if desired.
- 5 Add food coloring to each bowl and mix until evenly colored.
- 6 Fit a piping bag with a round or star tip, depending on your design.
- 7 Transfer one color of icing into the piping bag and twist the top to create pressure.
- 8 Hold the bag at a 90-degree angle to the surface and apply even pressure to pipe.
- 9 Start with simple designs like dots or outlines to get comfortable.
- 10 For flooded areas, thin the icing slightly with water to achieve a honey-like consistency.
- 11 Pipe an outline first, then fill in with thinned icing and spread with a scribe.
- 12 Allow the icing to dry completely, which can take several hours.
- 13 Store piped items in an airtight container to protect the designs.
- 14 Practice regularly to improve control and precision with your piping.
Ingredients to explore

2% Milk
Creamy and just a touch lighter than whole milk, 2% milk offers a perfect balance of richness and reduced fat. Its smooth texture and subtle sweetness make it a delightful choice for sipping or cooking.
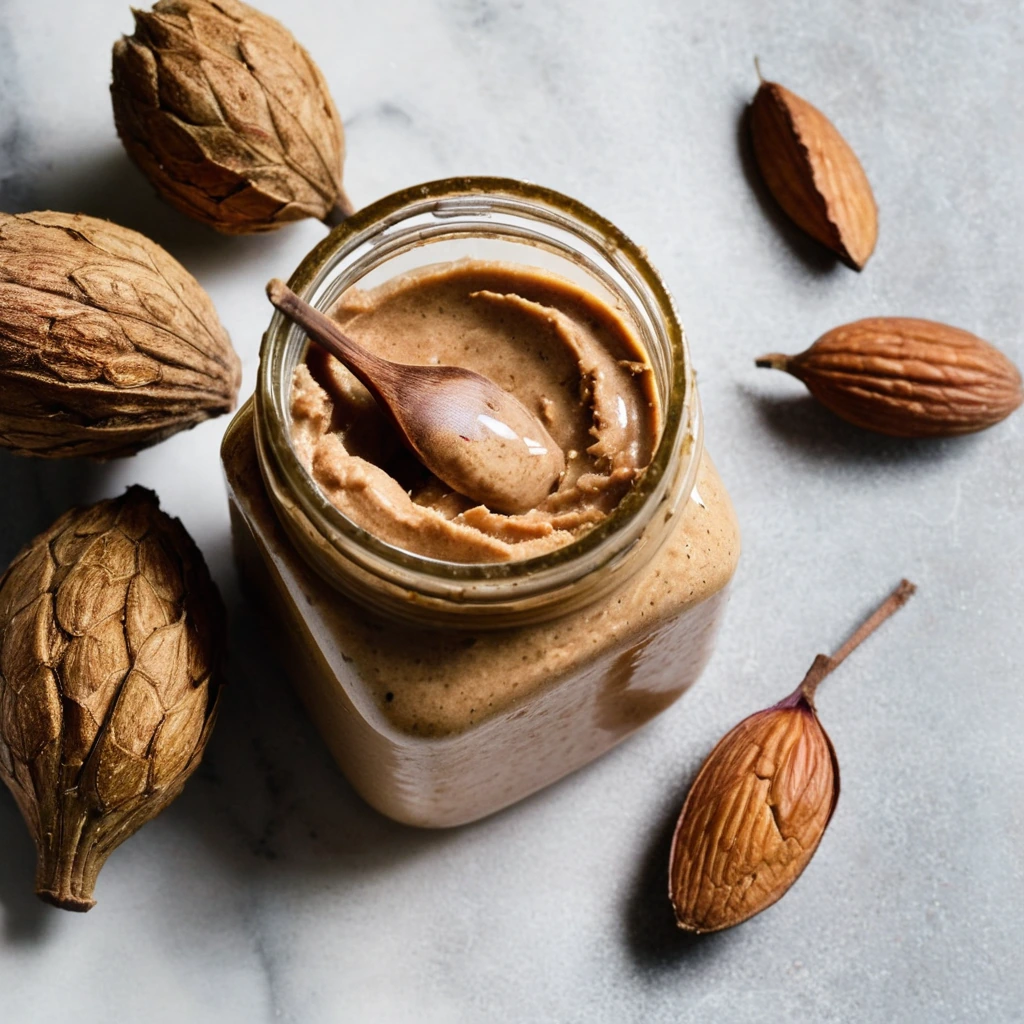
Almond Butter
A velvety, nutty spread crafted from finely ground almonds, offering a rich and satisfying flavor that's both comforting and indulgent.
Recipes to try
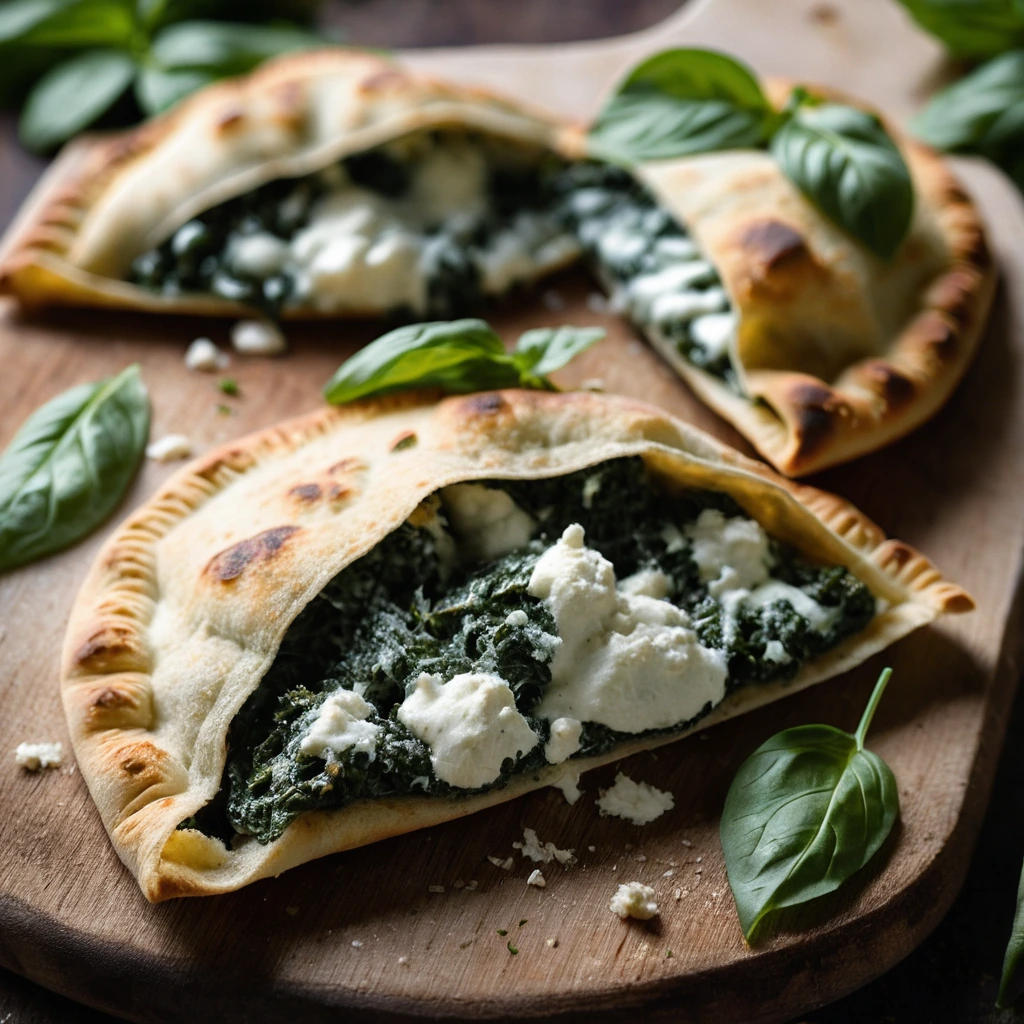
Spinach and Ricotta Stuffed Pizza Pockets
Golden, crispy pockets filled with a creamy ricotta and spinach blend that'll have you reaching for seconds.
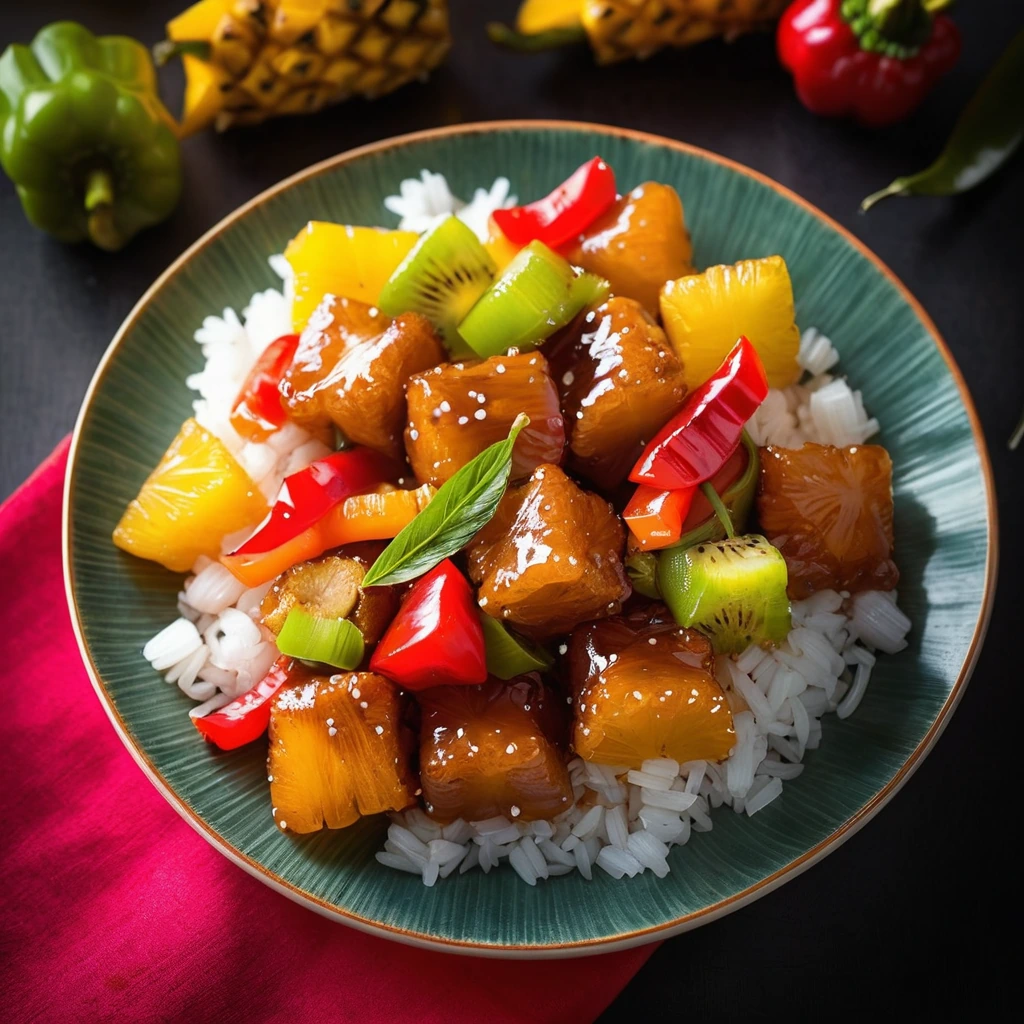
Sweet and Sour Pork with Pineapple and Peppers
Tangy, sweet, and a touch sour, this pork dish is a carnival of flavors with juicy pineapple chunks and crisp bell peppers.