Baking: Proofing Dough - Signs of Readiness
Proofing dough is an essential step in bread making that allows yeast to ferment and produce carbon dioxide, resulting in a light and airy loaf. It's a delicate dance of time, temperature, and technique. Understanding the signs of readiness can elevate your homemade bread from good to great. This guide dives into the art of proofing, offering insights into ideal conditions, visual cues, and troubleshooting tips to ensure your dough is perfectly proofed every time. Let's explore how to harness the power of yeast and create bread with the perfect texture and structure. First, we'll discuss the science behind proofing: yeast consumes sugars in the dough, producing carbon dioxide gas and alcohol, which causes the dough to rise. Temperature plays a crucial role, as yeast is most active between 75°F and 85°F. Too cold, and the yeast will slumber; too hot, and you risk killing it. Next, we'll look at the visual and tactile signs that your dough is ready. A properly proofed dough will look puffy and feel springy to the touch. It should also pass the 'poke test': gently press your finger into the dough; if the indentation remains slightly visible but springs back within a few seconds, it's ready. Throughout this guide, we'll also address common mistakes, like overproofing, which can lead to a collapsed structure, and underproofing, resulting in dense bread. With patience and attention to detail, you can master the art of proofing dough and bake bread that's light, airy, and full of flavor.
Notes
The science of proofing relies on yeast activity, which is influenced by temperature and time. Ensuring your dough is in an environment that's not too hot or too cold is crucial for optimal yeast performance. Troubleshooting common mistakes includes monitoring your dough's environment for consistent warmth and avoiding disturbances that can deflate it. Overproofing is a common pitfall that can lead to a dough that collapses or bakes into a bread with a coarse texture. To prevent this, keep an eye on the clock and trust your senses. For make-ahead considerations, you can retard proofed dough in the refrigerator to slow yeast activity, giving you flexibility in your baking schedule. Store your baked bread in an airtight container to maintain freshness.
Steps
- 1 Prepare your dough according to your recipe.
- 2 Shape the dough into a ball or loaf and place it in a greased bowl.
- 3 Cover the bowl with a clean kitchen towel or plastic wrap.
- 4 Place the bowl in a warm, draft-free spot with a temperature around 75°F to 85°F.
- 5 Let the dough rest for the time specified in your recipe, typically 1 to 2 hours.
- 6 Check the dough by gently pressing your finger into it; it should spring back slowly.
- 7 If using the float test, drop a small piece of dough into water; it should float if ready.
- 8 Ensure the dough has increased in volume by approximately 50% to double in size.
- 9 Proceed with baking if all signs of readiness are met.
- 10 Preheat your oven to the temperature specified in your recipe before baking.
Ingredients to explore

Andouille Sausage
Andouille sausage is a coarse-grained, smoked pork sausage with a rich history rooted in French cuisine, particularly from the Alsace region. It was adapted in Louisiana, where it became a staple in Cajun and Creole cooking. The sausage is known for its robust, smoky flavor with hints of garlic, pepper, and other spices, creating a spicy and savory profile. Its texture is firm yet slightly chewy, making it a hearty addition to dishes. When cooked, andouille sausage maintains its shape well and infuses dishes with its distinctive smoky essence, enhancing stews, soups, and rice dishes.
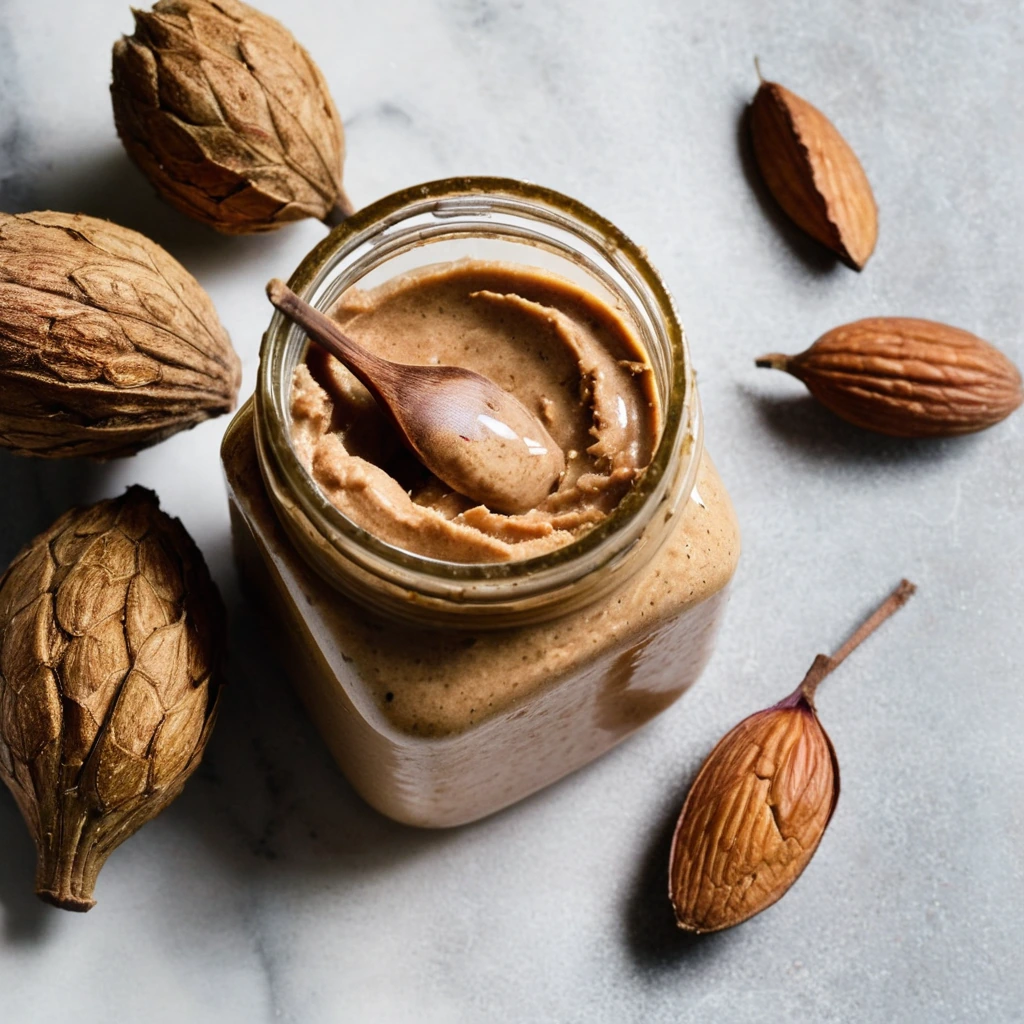
Almond Butter
A velvety, nutty spread crafted from finely ground almonds, offering a rich and satisfying flavor that's both comforting and indulgent.
Recipes to try
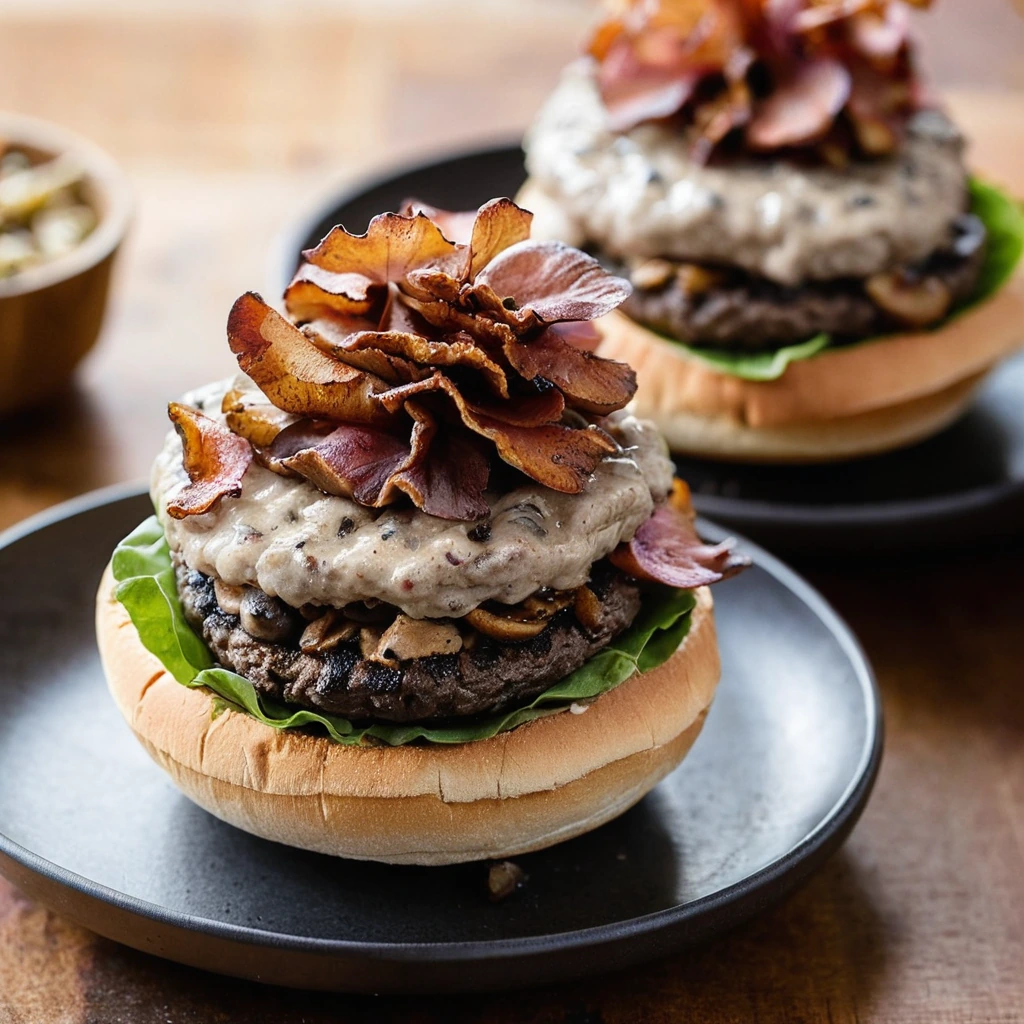
Maple Bacon Mushroom Burger Bowls
Sweet, smoky, and savory come together in these hearty bowls, where juicy burger patties meet crispy bacon and earthy mushrooms.
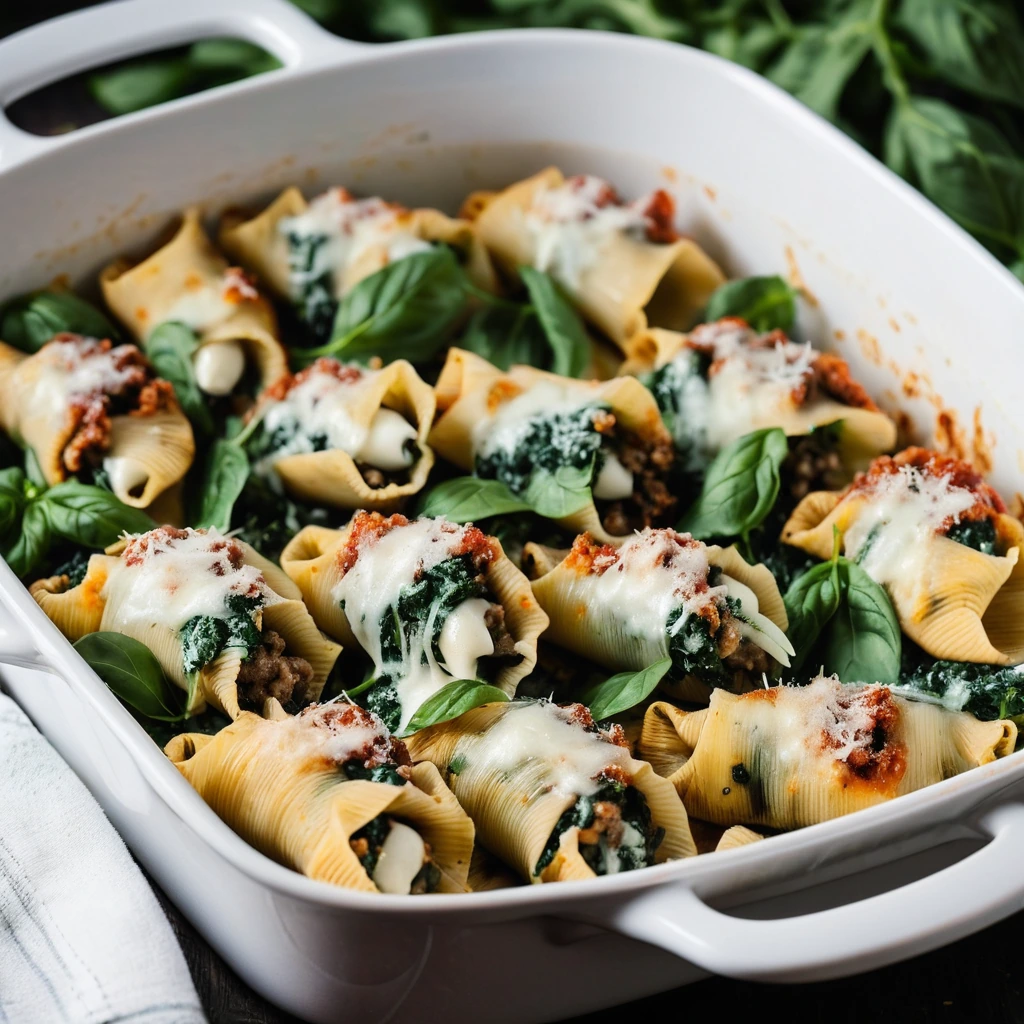
Sausage and Spinach Stuffed Shells Bake
Creamy ricotta and hearty sausage nestled in pasta shells, crowned with a blanket of melted mozzarella and fresh spinach.