Baking: Hydration and Flour Types Explained
Understanding hydration and flour types is crucial for achieving consistent baking results. Hydration refers to the ratio of water to flour in a recipe, profoundly affecting texture and structure. Different flours absorb water differently due to their protein content, which impacts gluten formation. All-purpose flour, with its moderate protein level, is versatile but not ideal for everything. Bread flour, high in protein, creates a chewy texture perfect for crusty loaves. Conversely, cake flour's low protein content yields tender, crumbly cakes. Knowing your flour's protein content allows you to adjust hydration for desired outcomes. Too much water can lead to a sticky mess, while too little yields a dry, crumbly disaster. This guide dives into the science of hydration and flour, offering tips to tailor recipes to your needs, ensuring your baked goods rise beautifully and have the perfect texture.
Notes
The science behind hydration lies in gluten formation. When flour meets water, gluten proteins begin to bond, forming a network that traps air and provides structure. Too much water can overdevelop gluten, leading to toughness, while too little hinders proper gluten development, resulting in a crumbly texture. Common mistakes include measuring flour inaccurately or not adjusting for different flour types. For safety, ensure your workspace is clean to avoid contamination. Store flours in airtight containers to maintain freshness. Make-ahead tip: Prepare doughs with precise hydration levels and store them in the refrigerator for up to two days before baking.
Steps
- 1 Measure your flour accurately using a kitchen scale for precision.
- 2 Check the protein content of your flour to determine its ideal hydration level.
- 3 Start with the recipe's recommended hydration percentage as a baseline.
- 4 Gradually add water to the flour, mixing gently until just combined.
- 5 Observe the dough's consistency; adjust hydration by adding water or flour in small increments.
- 6 Knead the dough until smooth and elastic, ensuring even hydration throughout.
- 7 Allow the dough to rest for 10-15 minutes to let the flour fully absorb the water.
- 8 Assess the dough's texture and adjust hydration if necessary before proceeding.
- 9 Preheat your oven to the recipe's specified temperature, usually between 350°F and 450°F.
- 10 Bake your creation, monitoring closely for visual cues like browning or rising.
- 11 Cool baked goods on a wire rack to prevent sogginess.
- 12 Adjust future recipes based on your observations and experiences with different flours.
Ingredients to explore
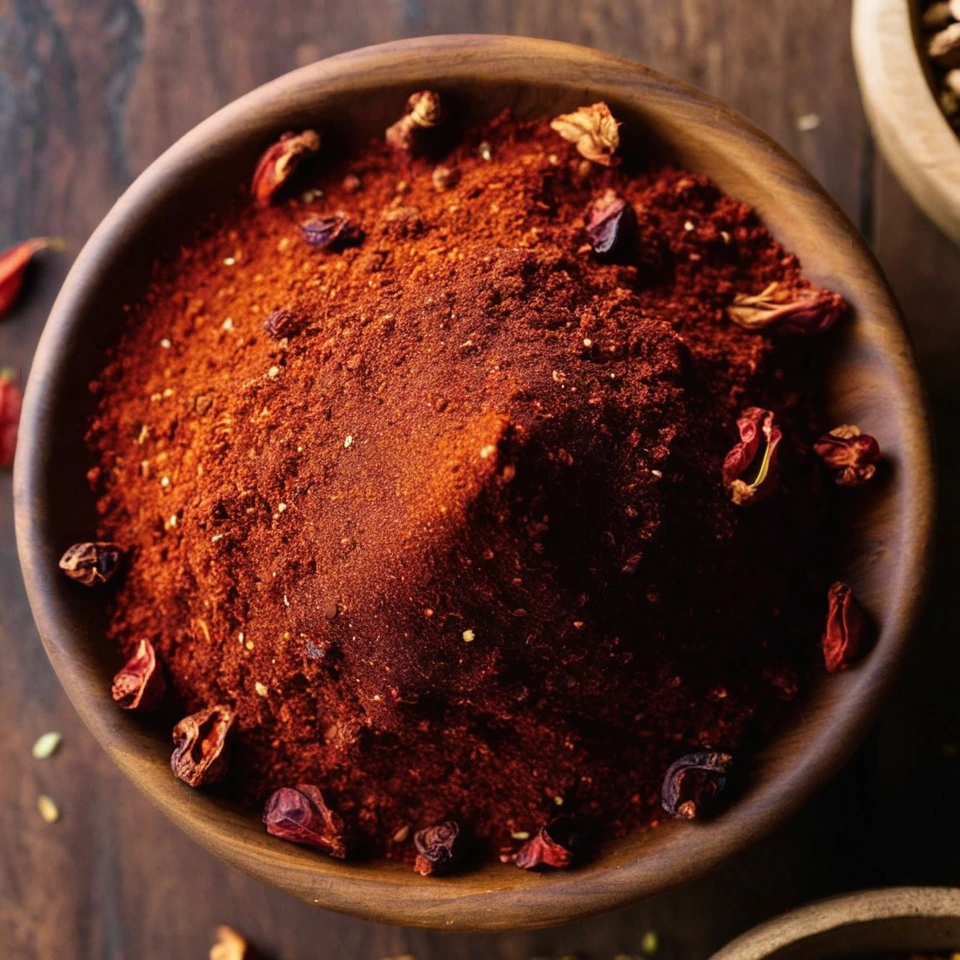
Aleppo Pepper
Aleppo pepper offers a harmonious balance of heat and sweetness, with a subtle fruity aroma reminiscent of sun-dried tomatoes and currants. Originating from the region around Aleppo, Syria, it has a fine, slightly coarse texture that shatters easily between fingers. Its mild yet complex flavor profile makes it a prized seasoning for enhancing dishes without overwhelming them. Valued for its versatility, it bridges the gap between spice and seasoning, bringing a touch of warmth and depth to a variety of cuisines.

Andouille Sausage
Andouille sausage is a coarse-grained, smoked pork sausage with a rich history rooted in French cuisine, particularly from the Alsace region. It was adapted in Louisiana, where it became a staple in Cajun and Creole cooking. The sausage is known for its robust, smoky flavor with hints of garlic, pepper, and other spices, creating a spicy and savory profile. Its texture is firm yet slightly chewy, making it a hearty addition to dishes. When cooked, andouille sausage maintains its shape well and infuses dishes with its distinctive smoky essence, enhancing stews, soups, and rice dishes.
Recipes to try
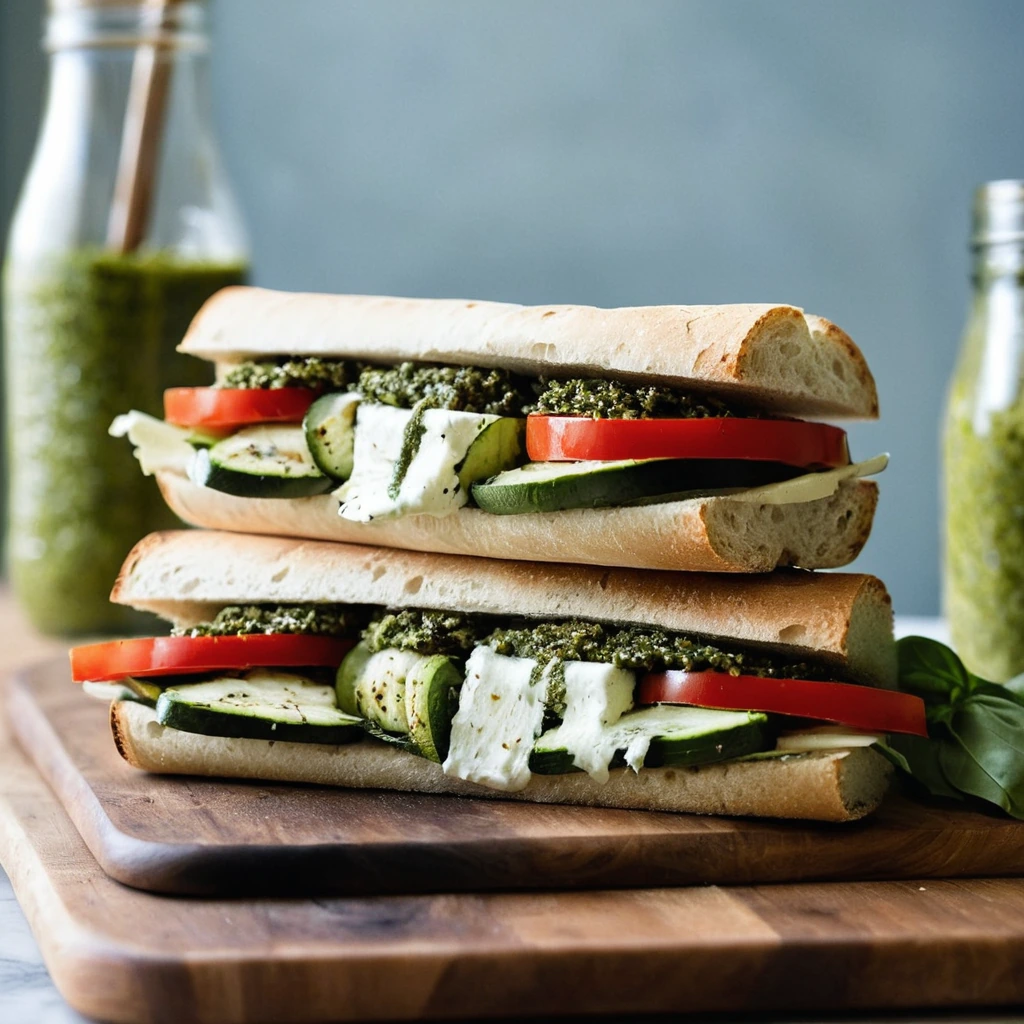
Pesto Roasted Veggie Sandwiches with Mozzarella
Warm, toasty ciabatta cradles a medley of roasted veggies, vibrant pesto, and melty mozzarella for a sandwich that's as hearty as it is fresh.
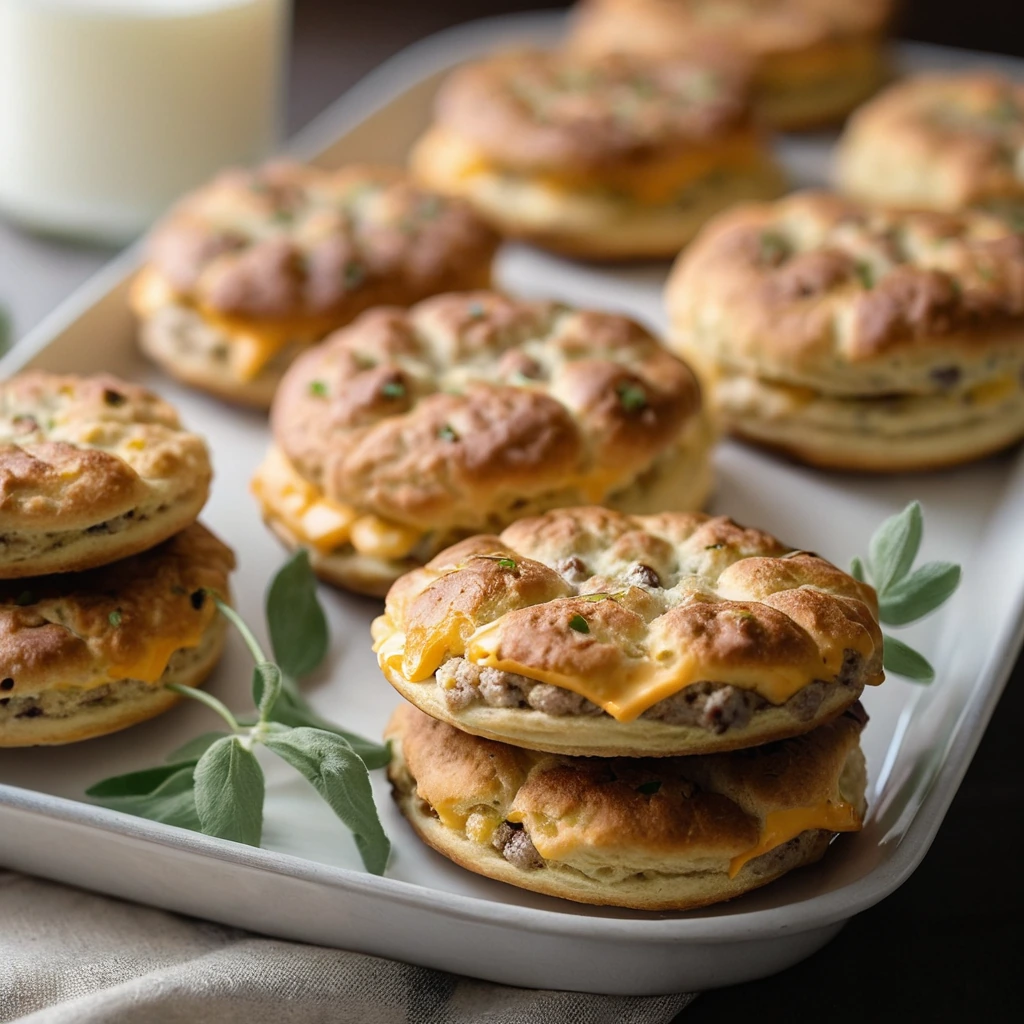
Maple Sausage and Cheddar Breakfast Biscuits
Golden, flaky biscuits stuffed with savory maple sausage and melted sharp cheddar—it's a hearty breakfast hug in every bite.