Baking: Crimping Decorative Pie Edges
Crimping decorative pie edges is an artful technique that transforms an ordinary pie into a show-stopping masterpiece. This method not only adds visual appeal but also serves a functional purpose by sealing the pie crust to prevent filling leakage during baking. The crimped edge creates a barrier that holds in the delicious filling while allowing steam to escape. This technique is versatile and can be adapted to suit any pie style, from classic apple to savory quiche. By mastering the art of crimping, you elevate your pie game and ensure your creation is as delightful to look at as it is to taste. Achieving the perfect crimp requires attention to detail and a bit of practice, but fear not – with patience, anyone can create professional-looking pie edges. Different tools can be used, from your fingers to specialized crimpers, offering unique textures and patterns. Let’s dive into the world of pie crust crimping and discover how to make your next pie crust the star of the dessert table.
Notes
The science behind crimping is simple: it creates a tight seal that prevents the filling from oozing out while allowing steam to escape through the slits. To troubleshoot, ensure your dough isn’t too warm or too cold, as this can affect how easily it crimps. A common mistake is not sealing the edges well enough, leading to leakage. To avoid this, press firmly and consider brushing the edges with a bit of water before crimping to enhance adhesion. Safety is generally straightforward, but ensure your hands are dry to prevent slipping with sharp tools. For make-ahead pies, crimp the edges before refrigeration or freezing to maintain the integrity of the design.
Steps
- 1 Preheat your oven to 375°F.
- 2 Roll out your pie dough to fit your pie dish, leaving an overhang for crimping.
- 3 Fill the pie crust with your desired filling.
- 4 Place the top crust over the filling, aligning the edges with the bottom crust.
- 5 Trim excess dough, leaving about 1 inch beyond the pie dish edge.
- 6 Use your thumb and forefinger to create a fluted edge by pinching small folds around the pie.
- 7 Alternatively, use a fork to press a decorative pattern along the edge.
- 8 For a more intricate design, use a pie crust cutter or your fingers to twist and fold the dough into patterns.
- 9 Ensure the edges are tightly sealed to prevent filling leakage.
- 10 Cut small slits in the top crust to allow steam to escape during baking.
- 11 Bake the pie according to your recipe’s instructions.
- 12 Check the pie after 30 minutes; if the edges are browning too quickly, cover them with a pie crust shield.
- 13 Continue baking until the crust is golden brown and the filling is bubbly.
Ingredients to explore
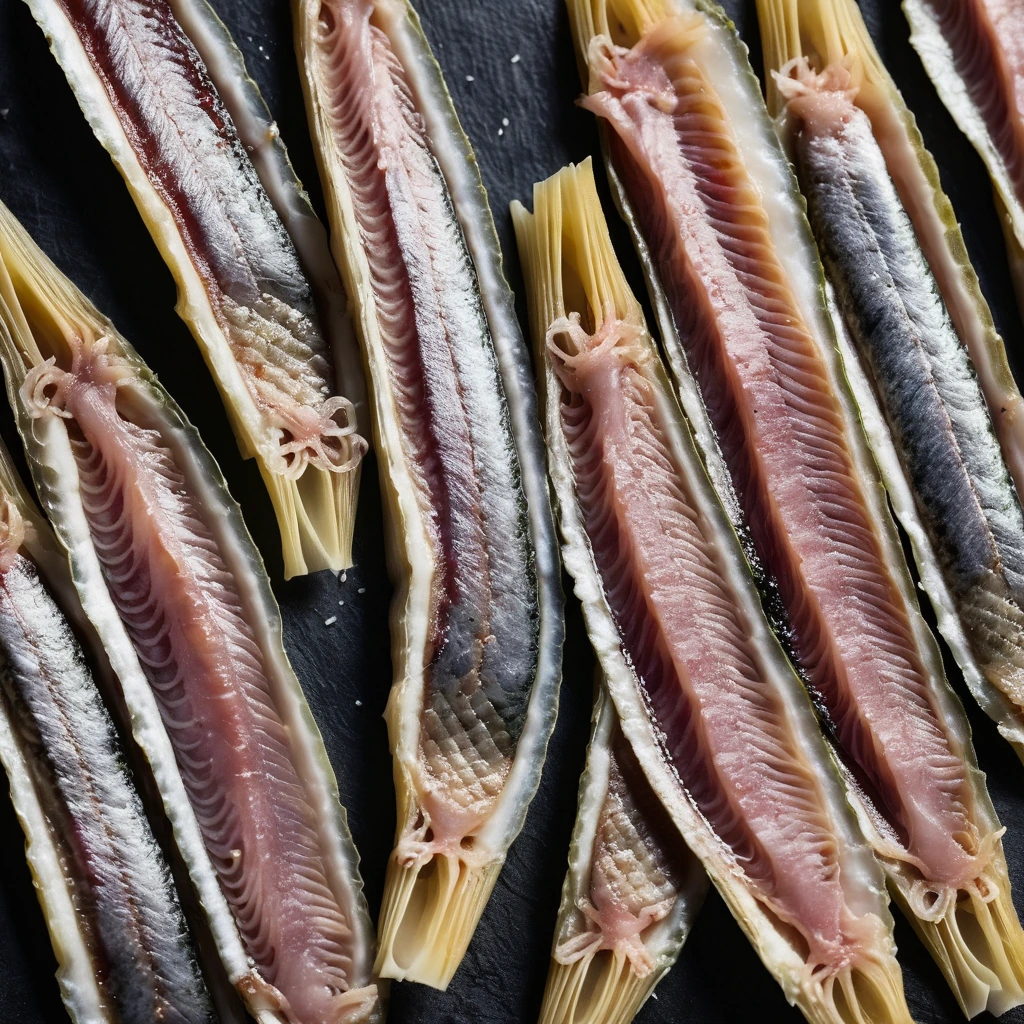
Anchovy Fillets
Silvery and succulent, anchovy fillets are a briny treasure from the sea. Their rich, umami flavor adds depth to dishes, making them a beloved ingredient in kitchens worldwide.
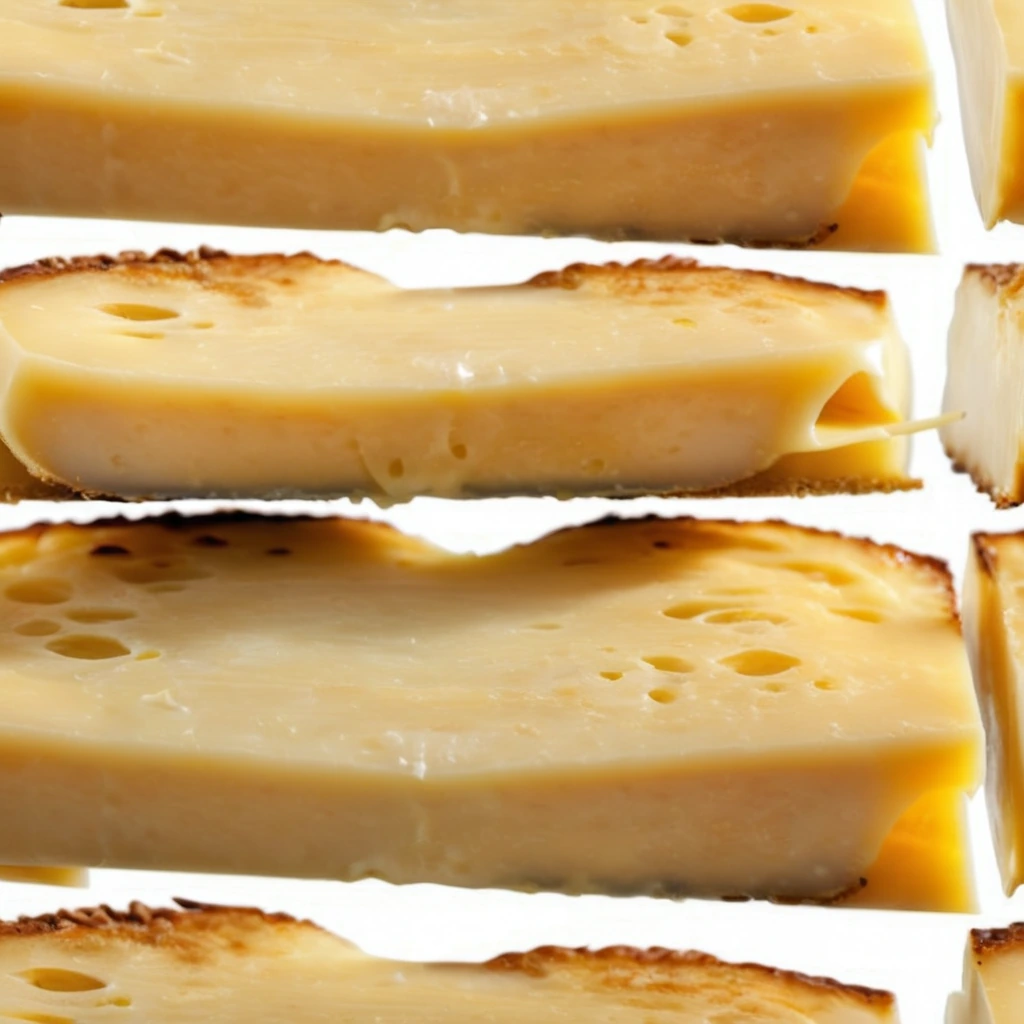
American Cheese Slices
Those iconic, perfectly pliable slices of creamy, mild American cheese. Each slice boasts a smooth, melt-in-your-mouth texture that brings comfort to any dish.
Recipes to try

Mediterranean Chickpea Bowls with Lemon Tahini
A vibrant medley of textures and flavors, these bowls are packed with lemony tahini drizzle and fresh Mediterranean herbs.
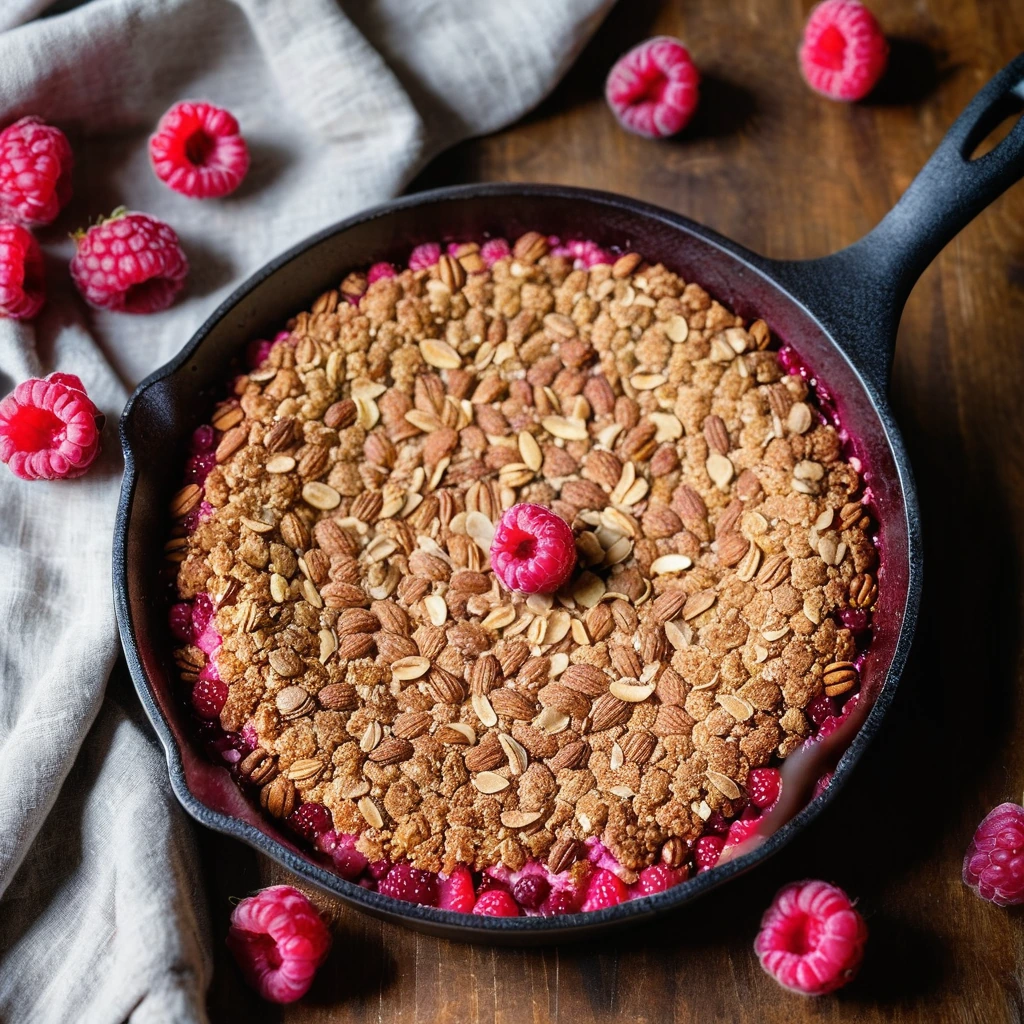
Raspberry Almond Crumble Skillet
A symphony of sweet raspberries nestled under a golden, almond-studded crumble, perfect for cozy evenings and brunch spreads.