Braising 101: Low and Slow Cooking Basics
Unlock the secrets of braising with this beginner's guide to low and slow cooking. Transform tough cuts into tender, flavorful masterpieces.
Introduction to Braising: The Magic of Low and Slow
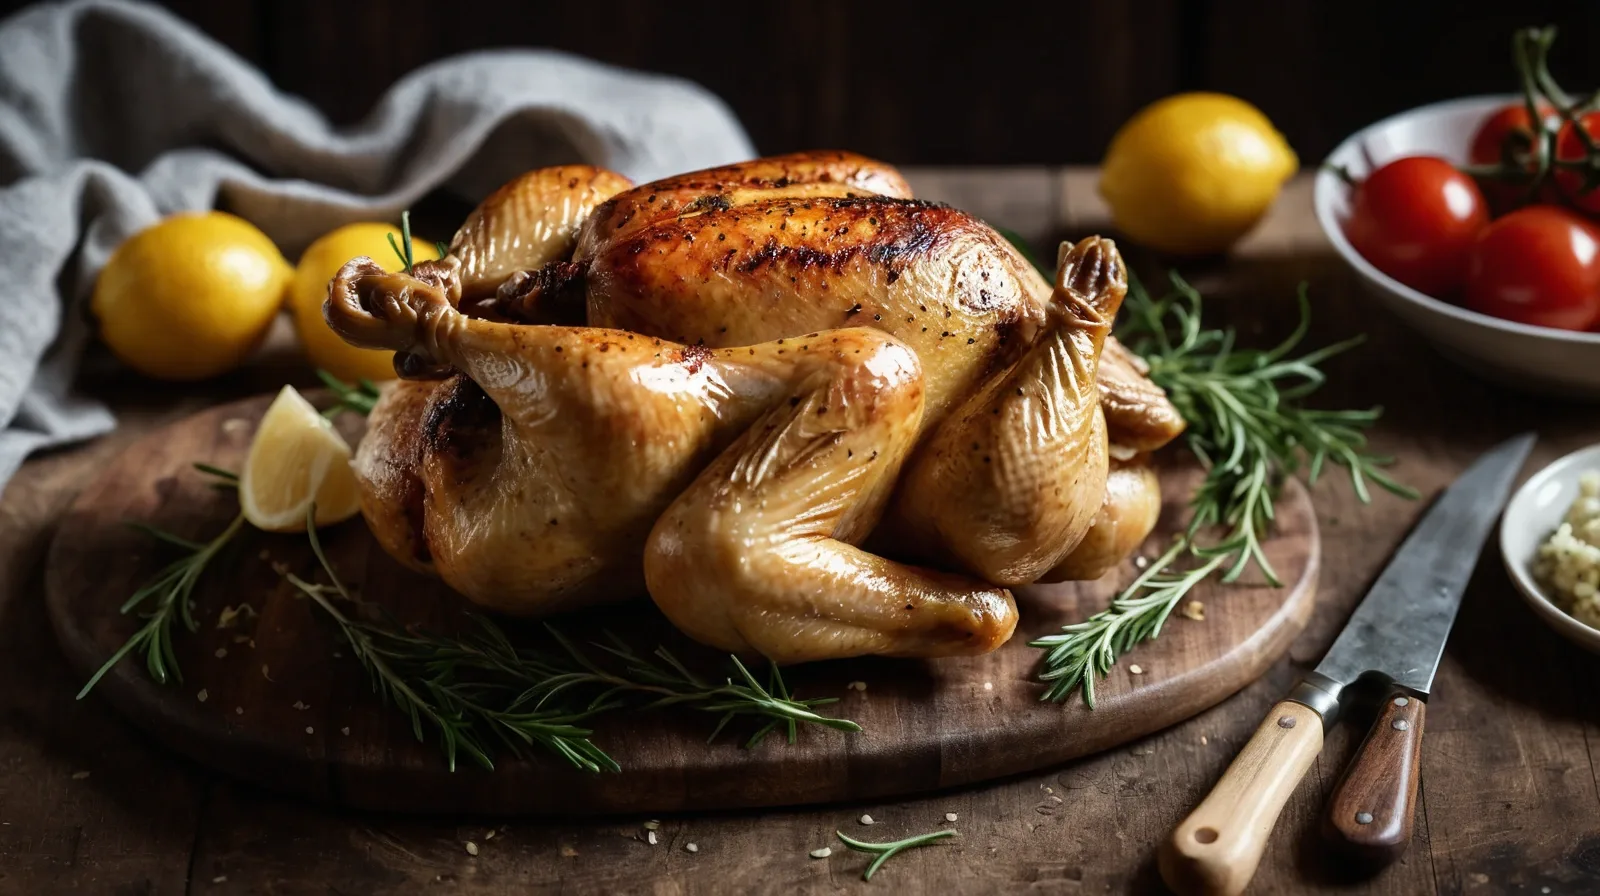
Ever wonder how restaurants manage to turn humble cuts of meat into melt-in-your-mouth dishes? The secret's out: it's braising, my friends. This cooking technique is a home cook's bestie for coaxing deep, rich flavors from even the toughest cuts. Here's how to get started with braising 101.
What is Braising?
Braising is a two-step cooking method that starts with searing meat at high heat, then slowly simmering it in liquid. The key is patience—low and slow is the mantra here. This process breaks down tough connective tissues, resulting in fall-apart tender meat that's full of flavor.
The Braising Process
Step 1: The Sear
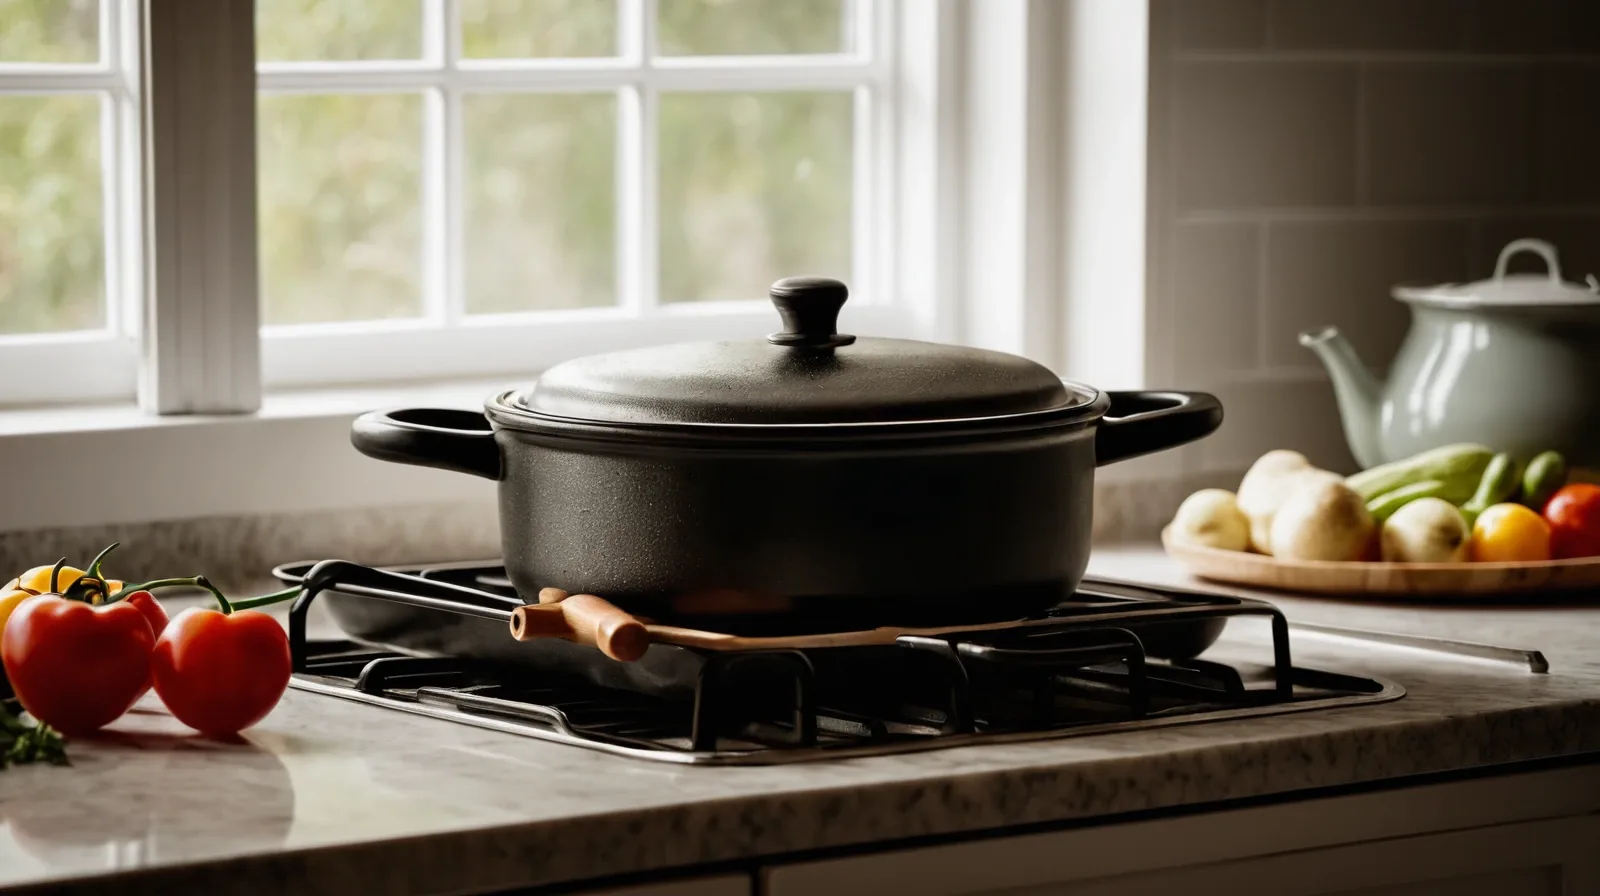
Start by seasoning your meat generously with salt and pepper. Preheat a heavy pot (cast iron is ideal) over medium-high heat and add a couple of tablespoons of oil. Sear the meat until it gets a nice, golden-brown crust. This step is all about building flavor, so resist the urge to crowd the pot.
Step 2: The Simmer
After searing, remove the meat and set it aside. In the same pot, sauté your aromatics: onions, garlic, carrots, whatever veggies strike your fancy. Then, add back the meat and pour in enough liquid (stock, wine, beer) to come halfway up the sides of the meat. Bring it to a simmer, then cover and reduce the heat to low.
Choosing Your Cuts
Not all cuts are created equal when it comes to braising. Look for tougher cuts like beef chuck, pork shoulder, or lamb shanks. These have lots of connective tissue and fat, which melt into lusciousness during the long cooking process.
Braising Liquids
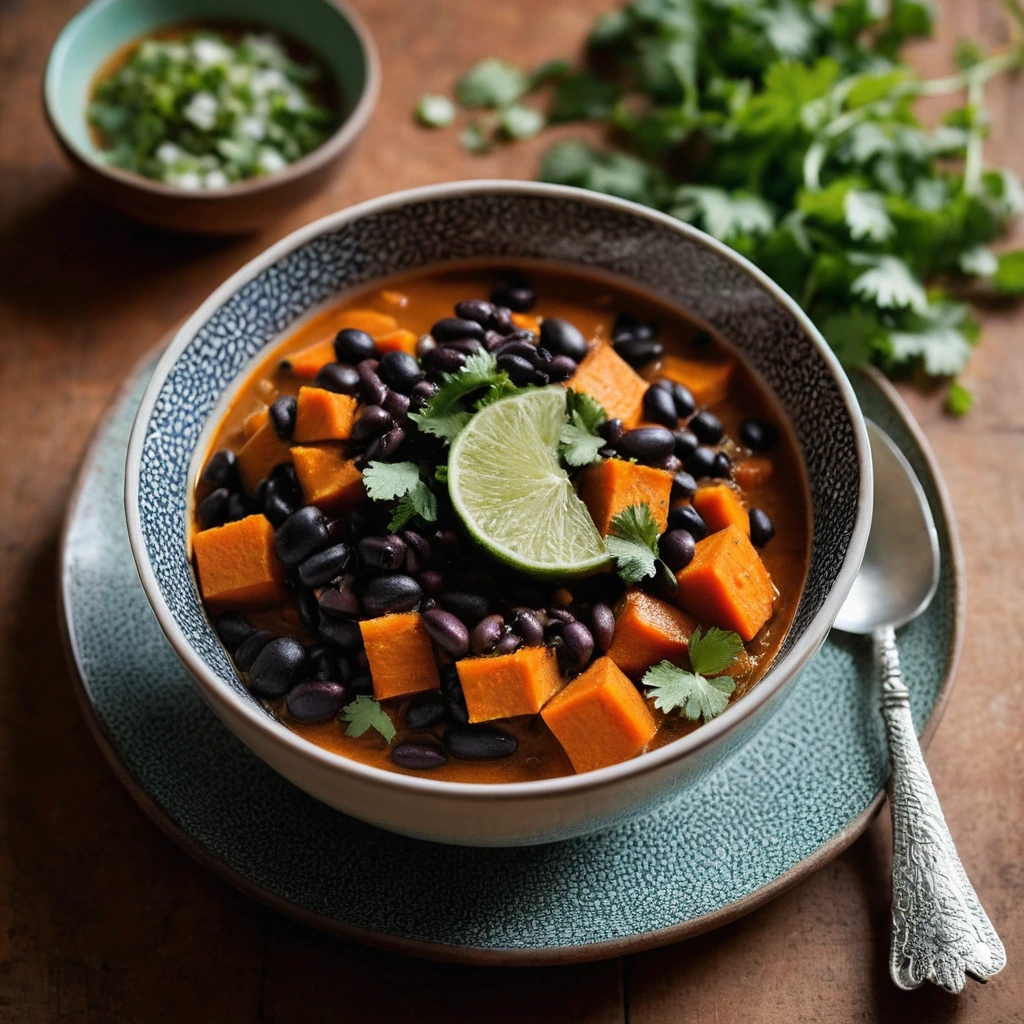
The liquid you use is crucial to flavor. Stick with stocks for a classic taste, or get adventurous with wine or beer. Adding acidic ingredients like tomatoes or vinegar can also brighten the final dish.
Timing is Everything
Braising is not a quick affair—expect to cook for at least two hours, sometimes more. The low and slow approach allows time for the flavors to meld and the meat to become fork-tender. Remember, though, that overcooking can lead to a mushy texture, so keep an eye on your pot.
Pro Tips for Braising Success
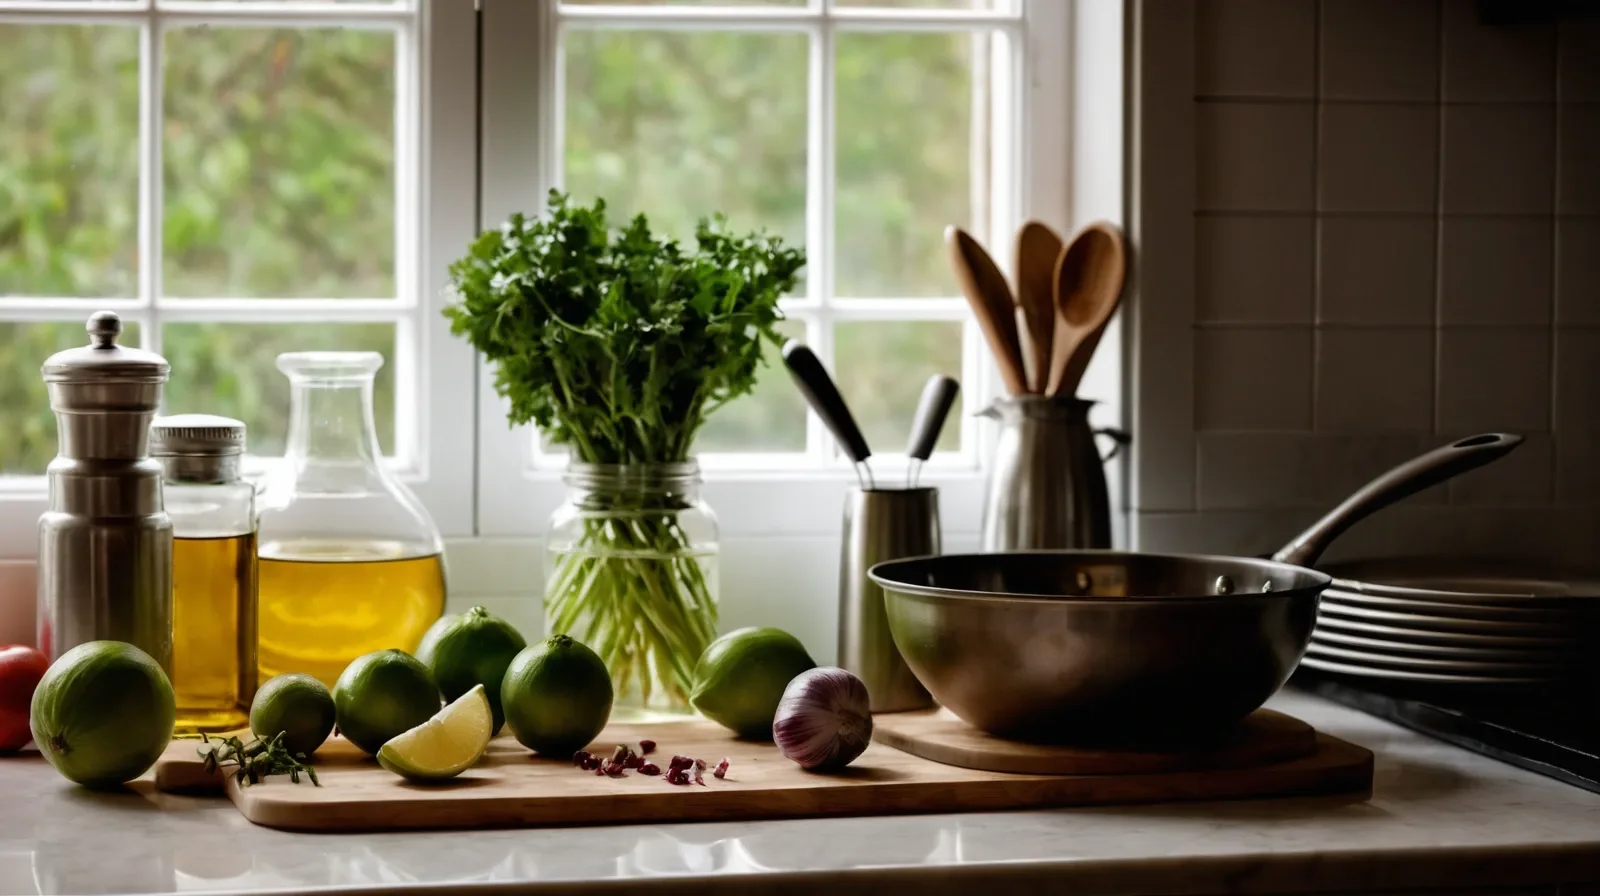
- Prep ahead: Chop your veggies and measure out your liquids before you start cooking.
- Skillet to oven: Start searing on the stovetop, then transfer your pot to a preheated oven for even cooking.
- Resting period: Let your braised masterpiece rest for 10-15 minutes before serving to allow the juices to redistribute.
Common Braising Mistakes to Avoid
Overcrowding the Pot
Too much meat in the pot can lead to steaming rather than searing. Sear in batches if needed.
Ignoring the Skillet Fond
Those browned bits stuck to the bottom of your pot are pure gold. De-glaze with liquid to capture all that flavor.
Mini FAQ
Can I braise in a slow cooker?
Absolutely! Just sear the meat on the stovetop first, then transfer to your slow cooker along with the other ingredients.
How do I thicken braising liquid?
You can simmer to reduce the liquid, or mix a slurry of cornstarch and water, stirring it in towards the end of cooking.
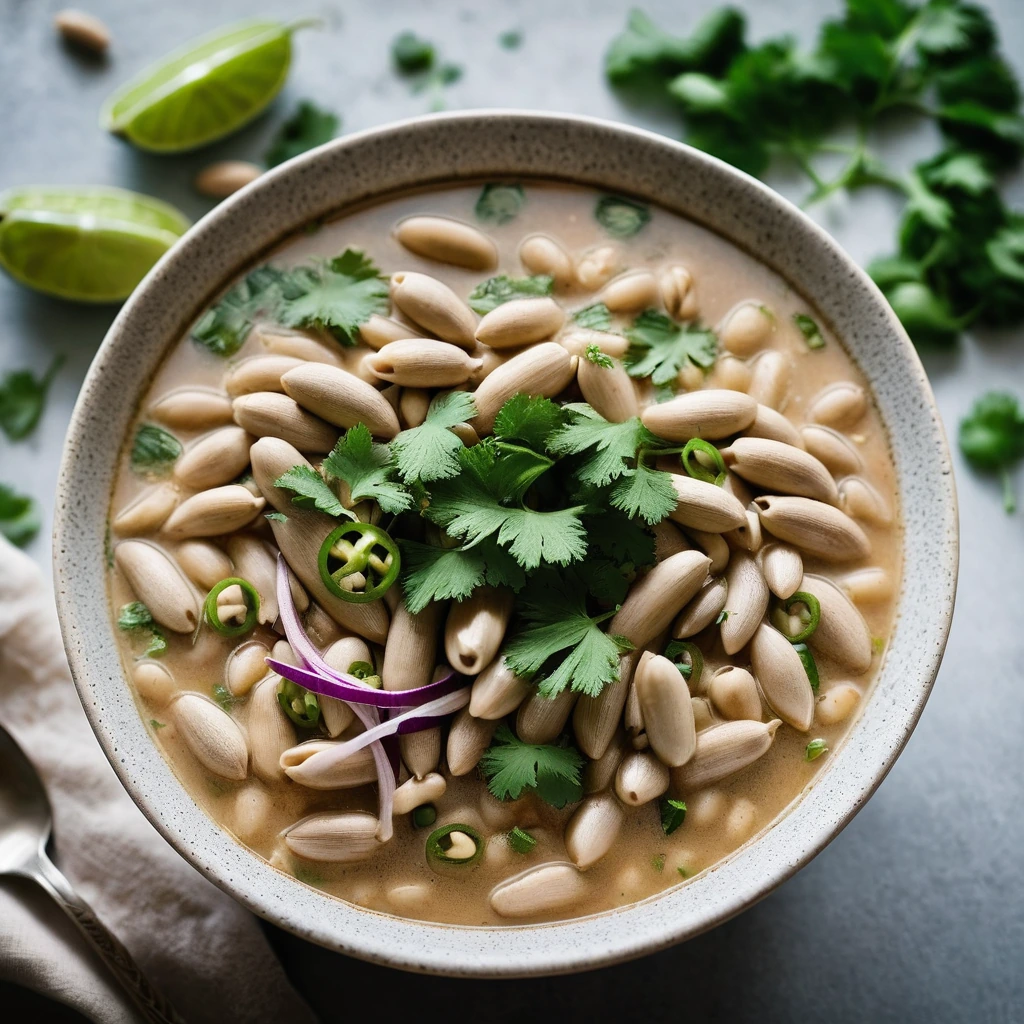
Braising is your ticket to creating hearty, comforting dishes that'll have your family thinking you've been cooking for decades. Give it a try, and let the magic of low and slow transform your home cooking.