Precision Knife Work: Scoring Fat Caps for Better Rendering
Scoring fat caps is a technique that can transform your cooking by ensuring even fat rendering and enhancing the flavor of your dishes. This method is particularly useful when dealing with cuts of meat like pork belly, brisket, or duck breast, where a thick layer of fat can inhibit even cooking. By making precise cuts into the fat, you create pathways for heat to penetrate, allowing the fat to render more uniformly and the meat to cook more evenly. This technique not only improves the texture and taste of your dish but also helps in achieving that coveted crispy exterior. Understanding the anatomy of fat and how it responds to heat is key to mastering this skill. The right tools, such as a sharp chef’s knife, are essential for making clean, precise cuts. Additionally, patience and attention to detail will ensure your scoring enhances rather than hinders your cooking. This guide will walk you through the technique step by step, ensuring you achieve professional results in your home kitchen.
Notes
The science behind scoring fat caps lies in creating a larger surface area for heat to interact with the fat, promoting even rendering and cooking. This technique prevents the fat from curling up and shields the meat from direct heat, ensuring a more even cook. Common mistakes include cutting too deep into the meat or using a dull knife, which can lead to uneven cuts and potential damage to the meat. For safety, always use a sharp knife and keep your fingers clear of the blade's path. Scored fat can be stored in the refrigerator for up to 24 hours if covered tightly to prevent drying out. When ready to cook, let the meat come to room temperature for the best results.
Steps
- 1 Select a sharp chef’s knife suitable for precise cuts.
- 2 Place the meat on a stable cutting board with the fat cap facing up.
- 3 Using the tip of the knife, make a shallow cut into the fat, about 1/4 inch deep.
- 4 Continue making parallel cuts across the fat cap, spacing them about 1/2 inch apart.
- 5 Turn the meat 90 degrees and repeat the cuts to create a grid pattern.
- 6 Ensure each cut is consistent in depth and spacing for even rendering.
- 7 Avoid cutting into the meat beneath the fat to preserve its integrity.
- 8 Gently lift the fat cap after scoring to ensure you haven’t cut into the meat.
- 9 Pat the scored fat dry with paper towels to ensure optimal browning.
- 10 Proceed with your chosen cooking method, whether grilling, roasting, or pan-searing.
Ingredients to explore
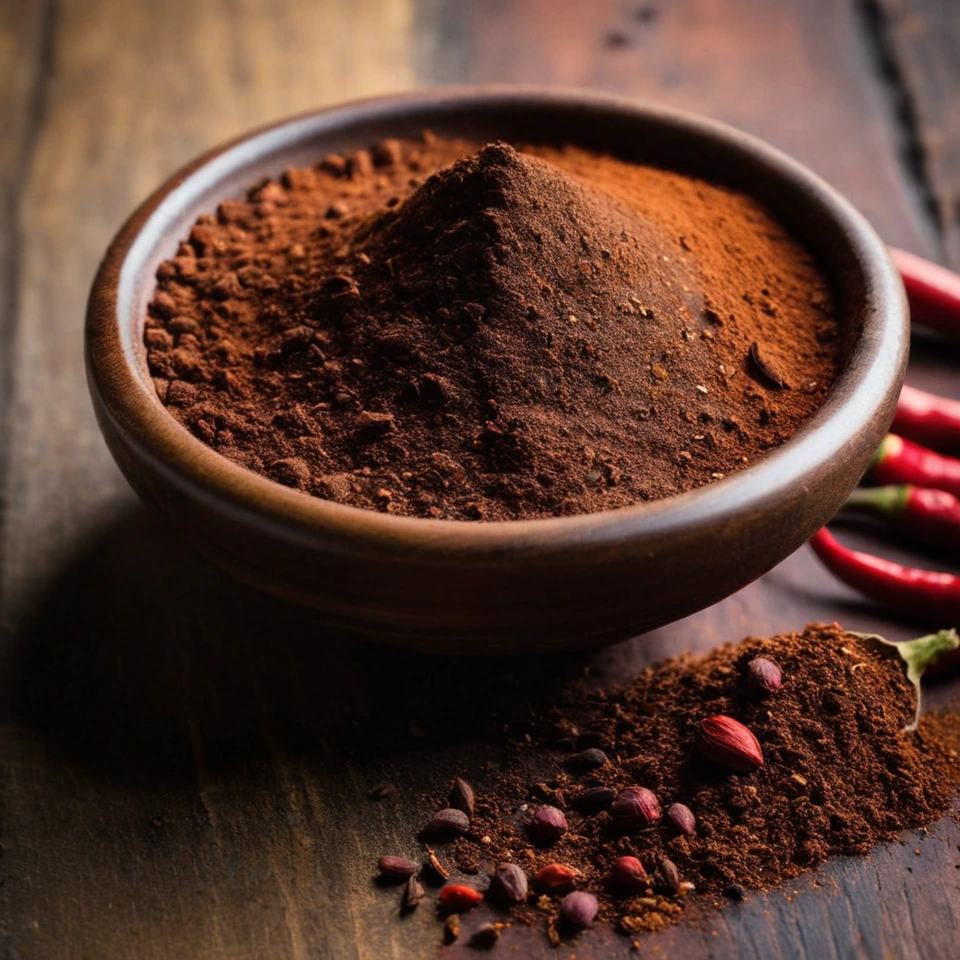
Ancho Chili Powder
Ancho chili powder offers a deep, smoky sweetness with hints of dried fruit and cocoa, reminiscent of its origin as dried poblano peppers from Mexico. Its aroma is warm and inviting, with a mild heat that lingers gently. The texture is fine and velvety, making it easy to incorporate into a variety of dishes. This powder is prized for its ability to add complexity without overwhelming spice, ideal for enriching both traditional Mexican moles and contemporary global cuisines.
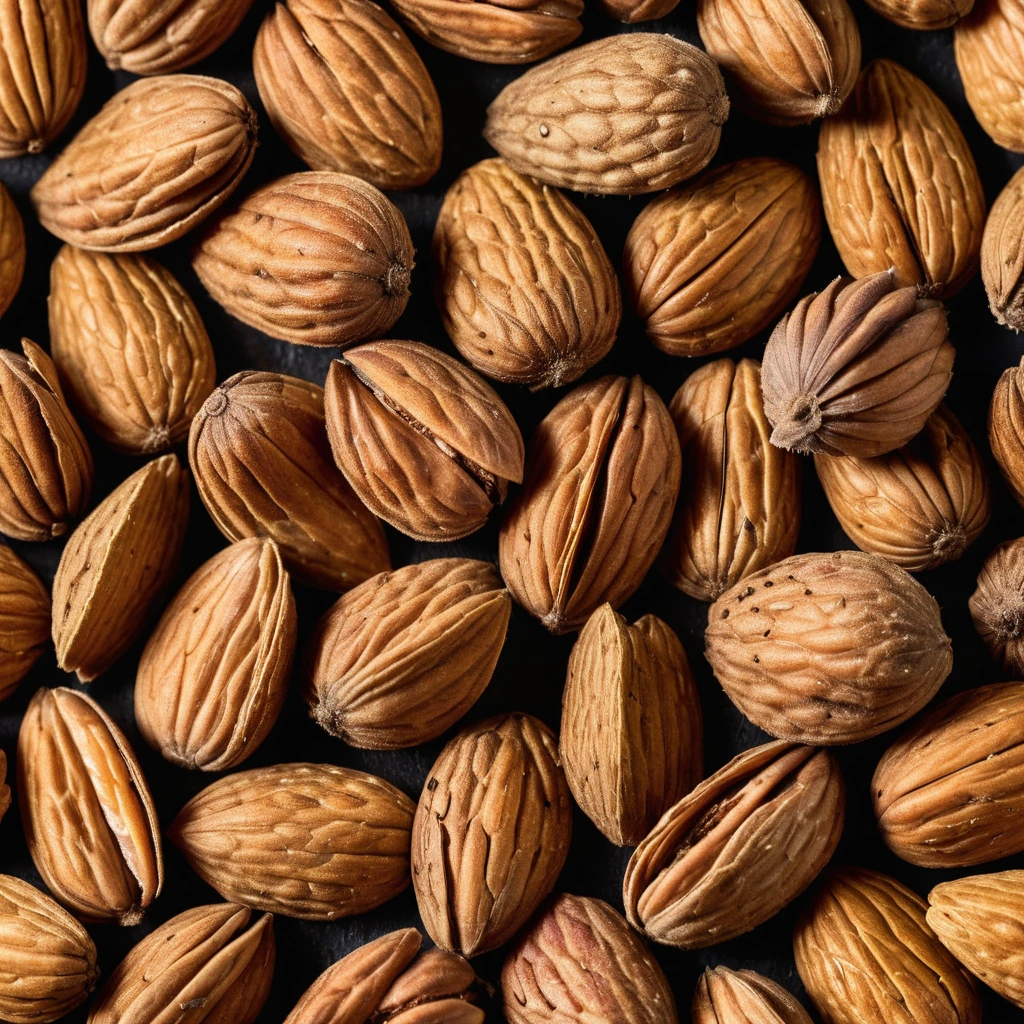
Almonds
With their golden-brown hue and delicate, edible skin, almonds are a crunchy delight. These versatile nuts boast a rich, buttery flavor that adds depth to both sweet and savory dishes.